Installing a garden fence involves measuring the area, digging post holes, setting posts in concrete, attaching fence panels, and securing the fence with necessary hardware. A garden fence provides both aesthetic appeal and practical functionality to your outdoor space.
It not only enhances the overall look of your garden but also offers privacy and protection. If you’re considering installing a garden fence, there are a few key steps involved. This includes measuring the area, digging post holes, setting the posts in concrete, attaching fence panels, and securing the fence with necessary hardware.
By following these steps, you can easily install a garden fence that meets your needs and enhances the beauty of your garden.
Credit: gardenerspath.com
Choosing The Right Fence For Your Garden
Consider the purpose of the fence. Assess your garden’s needs and requirements. Research different fence materials and styles.
When choosing a garden fence, it’s important to consider its purpose. Are you looking to keep out unwanted animals or create a secure space for children or pets to play? Assessing your garden’s needs and requirements is crucial in determining the right fence for you.
Researching different fence materials and styles is essential to find the one that best suits your garden. Factors such as durability, maintenance, and aesthetic appeal should be taken into account. Wooden fences are popular for their natural charm, while vinyl fences offer low maintenance and longevity. Metal fences provide security and durability. Bamboo fences are eco-friendly and add a touch of zen to your garden.
Choosing The Right Fence Material
Wood: Provides a classic look and offers privacy. Requires regular maintenance to prevent rotting or warping.
Vinyl: Low-maintenance option that requires minimal upkeep. Comes in a variety of styles and colors.
Metal: Offers security and durability. Available in ornamental designs or chain link for a more budget-friendly option.
Bamboo: Eco-friendly choice that adds a natural and tropical feel to your garden. Requires regular maintenance to prevent weathering.
Choosing The Right Fence Style
Panel/Framed: Consists of individual panels that are attached to posts. Provides privacy and security.
Picket: Composed of vertical boards with pointed or flat tops. Offers a decorative touch while maintaining an open feel.
Chain Link: Affordable and low-maintenance option. Offers visibility and security.
Split Rail: Comprises horizontal rails inserted into posts. Adds a rustic charm without providing privacy.
Garden fences provide both functionality and visual appeal to your outdoor space. By considering the purpose of the fence, assessing your garden’s needs, and researching different materials and styles, you can choose the right fence that complements your garden and meets your requirements.
Measuring And Marking The Garden Space
To install a garden fence, start by taking accurate measurements of your garden area. This will help you determine the amount of materials needed for the fence installation. Use a measuring tape to measure the length and width of your garden space. Be sure to measure all sides to get an accurate overall measurement.
Next, determine the fence line and mark it using stakes and string. Use the measurements you took to mark out the boundaries of the fence line. Place stakes at each corner and string them together to create a straight line. This line will serve as your guide when installing the fence posts.
Gathering The Necessary Tools And Materials
Gathering the necessary tools and materials is essential before starting the installation process of your garden fence. To ensure a smooth and efficient installation, it is important to create a checklist of the required items.
Here is a list of tools and materials you will need:
| Tools | Materials |
| Measuring tape | Fence panels |
| String or twine | Wooden or metal fence posts |
| Stakes | Gravel or concrete |
| Digging tools (shovel, post hole digger) | Fence post caps |
| Level | Fasteners (nails, screws, or brackets) |
| Hammer or drill | Fence gate (if needed) |
Make sure to purchase or gather all the necessary items before you begin the installation process. This will save you time and ensure a successful outcome.
Preparing The Ground For Fence Installation
To ensure a successful installation of your garden fence, it’s important to start by preparing the ground properly. Begin by clearing any obstacles or debris along the fence line. This will help to create a clean and unobstructed area for the fence to be installed. Additionally, it’s crucial to level the ground before proceeding. Uneven ground can make the installation process more difficult and may result in an unstable fence. Use a shovel or rake to remove any weeds or grass in the area. This will help to prevent any vegetation from interfering with the fence post placement. Taking the time to carefully prepare the ground will create a solid foundation for your garden fence, ensuring it stands strong and secure for years to come.
Setting The Fence Posts
When installing a garden fence, the first step is to set the fence posts. This involves digging holes for the fence posts using a post hole digger. Make sure to dig the holes deep enough to provide stability for the fence. Once the holes are dug, insert the posts into the holes and ensure they are level and sturdy. This can be achieved by using a level to check the alignment of the posts and adding concrete or gravel around the base of each post to secure them in place. By following these steps, you can successfully set the fence posts for your garden fence installation.
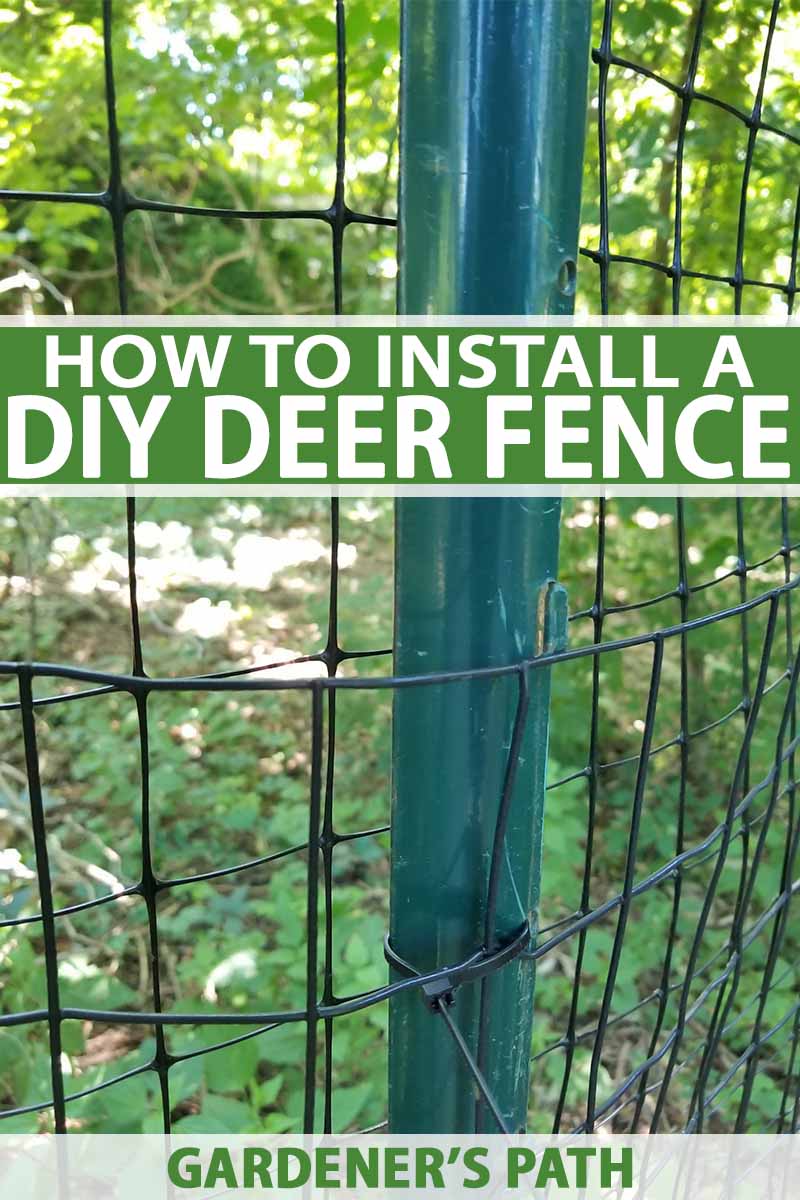
Installing The Fence Panels
When it comes to installing a garden fence, it is important to properly attach the fence panels to the posts. This can be done using screws or nails. Make sure the panels are straight and evenly spaced for a professional-looking finish. It is recommended to use a level to ensure the panels are installed correctly.
Securing The Fence Panels And Adding Finishing Touches
Securing the Fence Panels and Adding Finishing Touches
One of the essential steps in installing a garden fence is to secure the fence panels to the posts using brackets or brackets. This ensures that the panels are stable and properly aligned. You can easily attach the brackets to both the panels and the posts with the help of screws or nails.
After successfully securing the fence panels, you can proceed to add decorative elements or paint the fence to enhance its appearance. Adding decorative elements such as post caps or decorative metalwork can give your fence a unique and personalized touch. Additionally, you can choose to paint the fence in a color that complements your garden or home’s aesthetic.
These finishing touches not only contribute to the overall look of your garden fence but also provide additional protection and durability. So, make sure to choose high-quality materials and techniques for securing the panels and adding the desired finishing touches to your garden fence.
Maintaining And Caring For Your Garden Fence
Regularly inspecting your garden fence for any damages or signs of wear is essential for its longevity. By catching any issues early on, you can prevent them from worsening and potentially compromising the integrity of the fence. Inspect the entire fence, examining each section and checking for loose or broken boards, bent or rusted metal parts, or any other visible damage.
If you notice any problems, it’s important to promptly perform necessary repairs and maintenance to extend the fence’s lifespan. This may include replacing damaged boards or panels, tightening loose screws or nails, or smoothing out any rough spots. Additionally, consider painting or staining the fence regularly to protect it from the elements and prevent rot, decay, or color fading.
By taking the time to inspect and maintain your garden fence, you can ensure its durability and enhance the overall appearance of your outdoor space.
Frequently Asked Questions For How To Install A Garden Fence
Is It Easy To Put Up A Garden Fence?
Yes, putting up a garden fence is relatively easy. Just follow the instructions, secure the posts, attach the panels, and ensure everything is level and sturdy. With some basic tools and DIY skills, you can successfully install a garden fence.
What Is The Easiest Garden Fence To Install Yourself?
The easiest garden fence to install yourself is a vinyl fence. It is simple to put together and requires minimal tools and expertise. Vinyl fences are durable, low maintenance, and come in various styles to suit your garden’s aesthetic.
How Do You Install Garden Fence Posts In The Ground?
To install garden fence posts in the ground, start by measuring the distance between each post. Dig a hole that is one-third the length of the post and one-third of the post’s width in diameter. Place the post in the hole and fill it with concrete mix.
Allow it to dry for 24 hours before attaching the fence panels.
Should Fence Posts Be Set In Concrete Or Dirt?
Fence posts should be set in concrete for more stability and durability. Concrete provides strong support and helps prevent post movement. Setting posts in dirt alone is less reliable as it can lead to shifting and leaning over time.
Conclusion
By following these step-by-step instructions, you can easily install a garden fence to protect your plants and enhance the overall aesthetic of your garden. Remember to gather the necessary materials, measure and mark the perimeter, dig post holes, install the fence panels, and secure them properly.
With a little patience and effort, your garden will be well-protected and visually appealing. Enjoy the fruits of your labor!