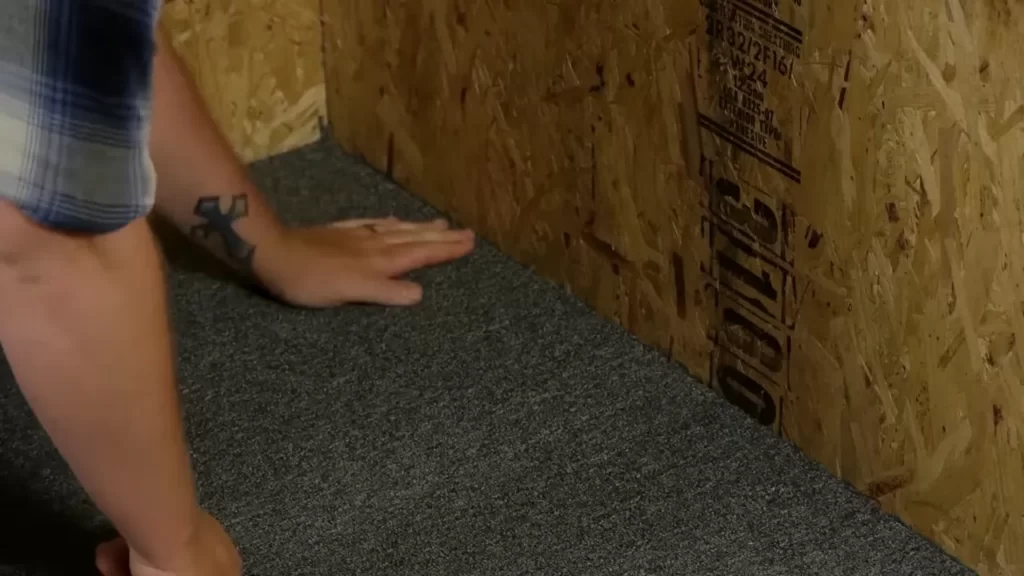
To install carpet with an attached pad, you need to unroll the carpet, position it in place, and use a knee kicker to stretch and secure it to the room’s edges.
Tools And Materials Required
| Tools and Materials Required | |
|---|---|
| Carpet with Attached Pad | This is the primary material you’ll need for installing carpet with an attached pad. It combines both the carpet and the padding into one convenient product. |
| Measuring Tape | Use a measuring tape to accurately measure the dimensions of the room you’ll be installing the carpet in. |
| Carpet Knife | A carpet knife is essential for cutting the carpet to fit the shape and size of the room. |
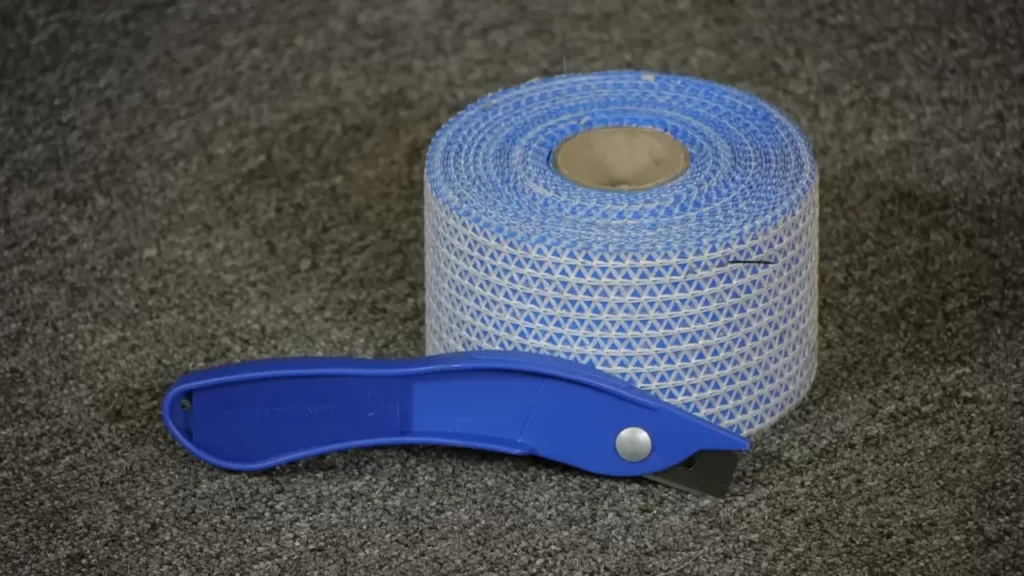
| Carpet Seam Tape | Carpet seam tape is used to join and secure the seams of the carpet together. |
| Carpet Stretcher | Using a carpet stretcher will help ensure that the carpet is properly stretched and installed without any wrinkles or bumps. |
| Knee Kicker | A knee kicker is a tool used to help stretch and secure the carpet in tight areas, like corners or along walls. |
| Staples | Staples are used to secure the carpet to the subfloor or underlayment. |
| Hammer | You’ll need a hammer to secure the tackless strips to the perimeter of the room. |
| Utility Knife | A utility knife is useful for cutting the carpet padding to fit the shape of the room. |
| Seam Iron | A seam iron is used to activate the adhesive on the carpet seam tape, ensuring a strong bond between the seams. |
| Carpet Padding | Carpet padding provides cushioning and insulation underneath the carpet, enhancing comfort and performance. |
| Tackless Strips | Tackless strips are nailed to the subfloor around the perimeter of the room, providing a secure edge for the carpet to be stretched and tucked into. |

Preparing The Space
In order to properly install carpet with an attached pad, it is important to prepare the space beforehand. This includes removing any old flooring to ensure a clean and even surface. Clean the floor thoroughly to remove any dirt or debris that could affect the installation. Inspect the floor for any damages and make necessary repairs to ensure stability. Additionally, it is crucial to measure the dimensions of the room accurately to determine the amount of carpet and pad needed for the installation. By following these steps, you can ensure a successful and seamless carpet installation with an attached pad.
Installing Tackless Strips
When it comes to installing carpet with an attached pad, one of the key steps is installing tackless strips. These strips are necessary for holding the carpet in place and ensuring a smooth and secure installation. To get started, you need to determine the perimeter where the strips will be placed. Measure the length and width of the room and calculate the required amount of tackless strips.
Next, cut the strips to the appropriate length and align them along the walls. Make sure they are positioned about half an inch away from the wall to allow space for the carpet to be stretched over them. Proper spacing is essential for ensuring even tension and preventing rippling or bulging.
Once the strips are aligned, securely attach each one to the floor using a hammer and nails or adhesive. Ensure that they are firmly in place to provide a solid foundation for the carpet installation. With the tackless strips installed, you are now ready to lay the carpet over them, ensuring a professional and durable result.
Laying Carpet Padding

One important step when installing carpet with attached pad is laying the carpet padding properly. The first thing to do is unroll the carpet padding and lay it across the room. Make sure to trim the padding to fit the room’s dimensions accurately. This will ensure a neat and proper fit for the carpet.
To secure the carpet padding to the floor, you can use staples or adhesive. Staples are commonly used for wood subfloors, while adhesive is suitable for concrete or tile floors. Be sure to space the staples or apply adhesive evenly across the padding to ensure a secure attachment.
Rolling Out And Cutting The Carpet
When installing carpet with an attached pad, it is important to start by rolling out the carpet in the desired area. Make sure to position the carpet correctly before moving on to the next step. Measure and cut the carpet to fit the space, ensuring a snug and precise fit.
Trim any excess carpeting that extends beyond the edges, giving the carpet a clean and polished look. Take your time during this process to avoid any unnecessary mistakes or errors. By following these steps, you can successfully install carpet with attached pad in any room of your home.
Securing The Carpet Edges
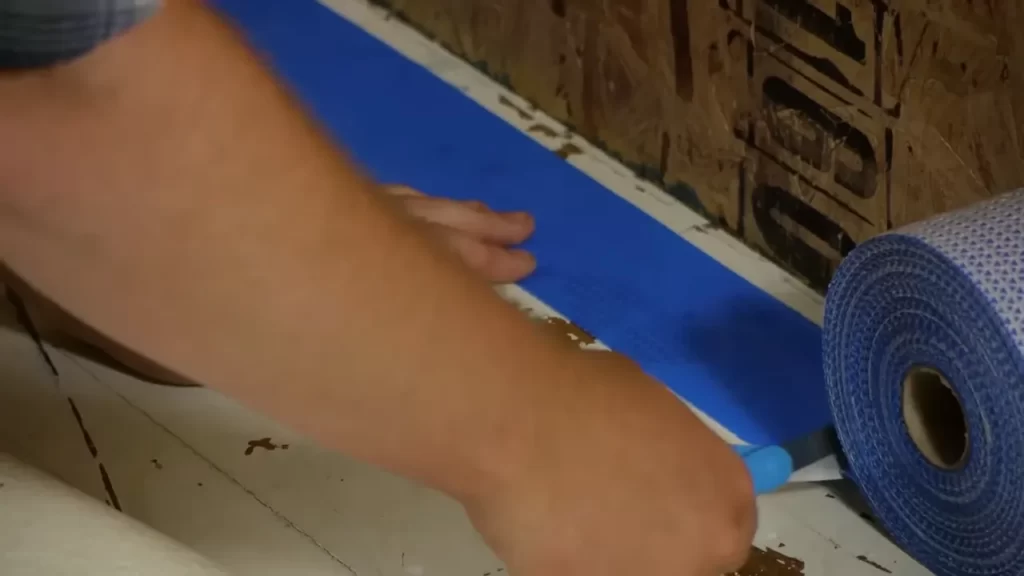
When installing carpet with an attached pad, it is important to secure the edges properly. The first step is to fold back half of the carpet, exposing the subfloor underneath. This allows for easier access to the seam where the carpet will be joined together. Next, apply seam tape to the seam, making sure to press it firmly in place. This tape helps to ensure a strong bond between the two sections of carpet. Once the tape is applied, fold the carpet back over the seam, aligning the edges as you go. Finally, heat the seam using a carpet seam iron or a hot iron, moving it back and forth over the seam to activate the adhesive on the tape. Press firmly to create a secure bond.
Stretching And Attaching The Carpet

When installing carpet with an attached pad, one important step is to stretch and attach the carpet securely. Stretching the carpet lengthwise is crucial for a proper installation. Begin by using a knee kicker to secure one side of the carpet. Place the knee kicker a few inches from the wall and kick it with your knee to stretch and attach the carpet.
Next, use a carpet stretcher to stretch the other side of the carpet. Position the stretcher about six inches from the wall and use the lever to stretch the carpet taut. This step ensures a smooth and wrinkle-free installation.
Finally, trim any excess carpet with a utility knife and staple it to the tack strips along the walls. Be careful not to cut into the pad or baseboards. Stapling the carpet securely completes the installation process and ensures it stays in place.
Finishing Touches
Finishing Touches
After installing carpet with an attached pad, there are a few finishing touches you need to consider. Firstly, trim any excess carpet along the edges to ensure a neat and clean appearance. Use a carpet knife or utility knife for this task.
Next, tuck the carpet edges under the baseboards for a seamless look. Start at one corner and use a putty knife or similar tool to press the carpet firmly into the gap between the baseboard and the floor. Work your way around the room until all edges are tucked.
If you have transition areas where the carpet meets another type of flooring, install transition strips to create a smooth transition between the two surfaces. These strips can be nailed or glued down, depending on the type of flooring and the manufacturer’s instructions.
Frequently Asked Questions On How To Install Carpet With Attached Pad
What Is Carpet With Pad Attached Called?
Carpet with pad attached is commonly referred to as “attached pad carpet. ” It provides the convenience of having the pad already integrated into the carpet, reducing installation time and costs.
Are You Supposed To Glue Carpet Pad Down?
Yes, you should glue carpet pad down. It is important for securing the pad in place and preventing it from shifting and wrinkling. Gluing the carpet pad down ensures a smooth and stable surface for your carpet installation.
Which Side Goes Up On A Carpet Pad When Installing?
The carpet pad’s rough side should face up when installing.
Conclusion
Installing carpet with an attached pad is a straightforward process that can transform any room into a cozy oasis. By following these step-by-step instructions, you can achieve professional results without the need for expensive tools or professional assistance. Remember to prepare your space, measure accurately, and carefully lay the carpet, ensuring a smooth and even installation.
With a little patience and attention to detail, you’ll be enjoying your plush and comfortable carpet in no time. So, go ahead and give your home the upgrade it deserves. Happy carpeting!
