To install a hacksaw blade, loosen the blade tension, insert the blade into the saw frame, and tighten the tension. Installing a hacksaw blade is a simple task that requires minimal effort.
By following a few easy steps, you can have your hacksaw ready for use in no time. Start by loosening the blade tension on the saw frame. Then, insert the blade into the frame, making sure it is facing the right direction.
Finally, tighten the tension to secure the blade in place. With these quick and straightforward steps, you’ll be able to replace or install hacksaw blades effortlessly whenever needed. So, let’s dive into the details of this process to ensure successful blade installation.
Choosing The Right Hacksaw Blade
Choosing the right hacksaw blade is essential for the success of any cutting job. There are different types of hacksaw blades available in the market, each designed for specific purposes. It is important to understand the different types and their uses before making a selection.
| HSS (High-Speed Steel) Blades: | These blades are made from high-speed steel, which is heat-resistant and can withstand high cutting temperatures. They are ideal for cutting through metal, including stainless steel. |
| Bimetal Blades: | These blades are made by bonding a high-speed steel cutting edge to a flexible carbon steel body. They offer excellent cutting performance and are suitable for cutting metals, pipes, and tubes. |
| Carbon Steel Blades: | These blades are made from high-carbon steel and are more affordable than other types. They are suitable for cutting wood, plastic, and softer metals. |
| Tungsten Carbide Grit Blades: | These blades are coated with tungsten carbide grit, which makes them ideal for cutting through hard materials such as ceramics, glass, and composite materials. |
When selecting a hacksaw blade, there are certain factors to consider. The blade’s teeth per inch (TPI) determines the cutting speed and finish. Higher TPI blades are suitable for cutting thin materials, while lower TPI blades are ideal for thicker materials. The material being cut, the desired finish, and the type of cutting operation should also be taken into account. By choosing the right hacksaw blade for the job, you can ensure efficient and precise cutting.
Preparing The Hacksaw For Blade Installation
html
Before installing a new hacksaw blade, it’s crucial to ensure that the hacksaw itself is in good working condition.
Start by thoroughly cleaning the hacksaw to remove any build-up of dirt, rust, or debris. This can be done using a wire brush or a rag with some soapy water. Make sure to clean both the frame and the handle of the hacksaw.
Once the hacksaw is clean, inspect it for any signs of damage or wear. Check the frame, handle, and adjusting mechanism for any cracks, bends, or loose parts.
It’s important to note that a damaged or worn-down hacksaw may affect the blade installation process and compromise the strength and stability of the saw. In such cases, it may be necessary to replace the hacksaw altogether.
By thoroughly cleaning and inspecting the hacksaw before blade installation, you can ensure that it is in optimal condition and ready to effectively cut through materials.
Step-by-step Instructions For Installing A Hacksaw Blade
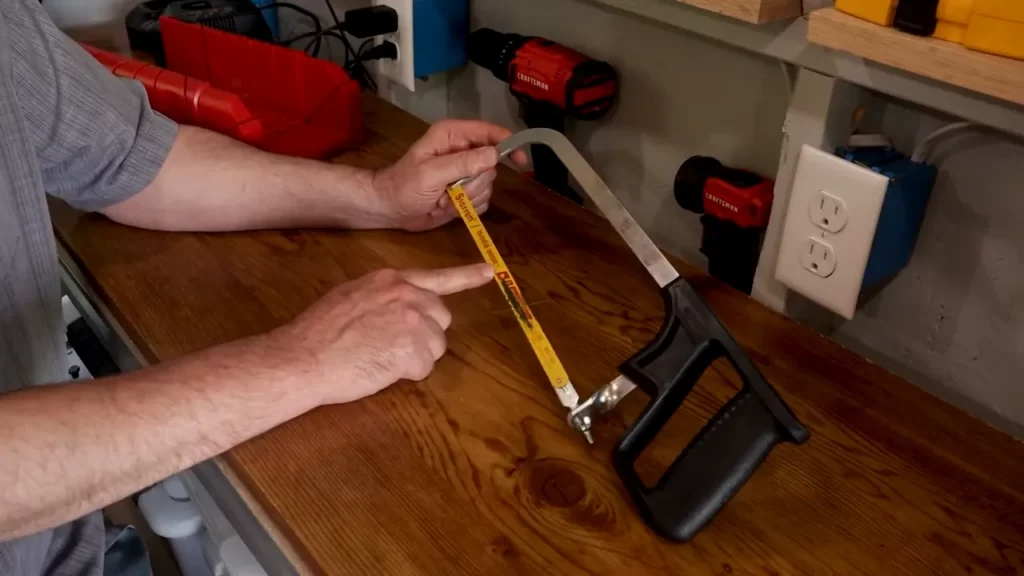
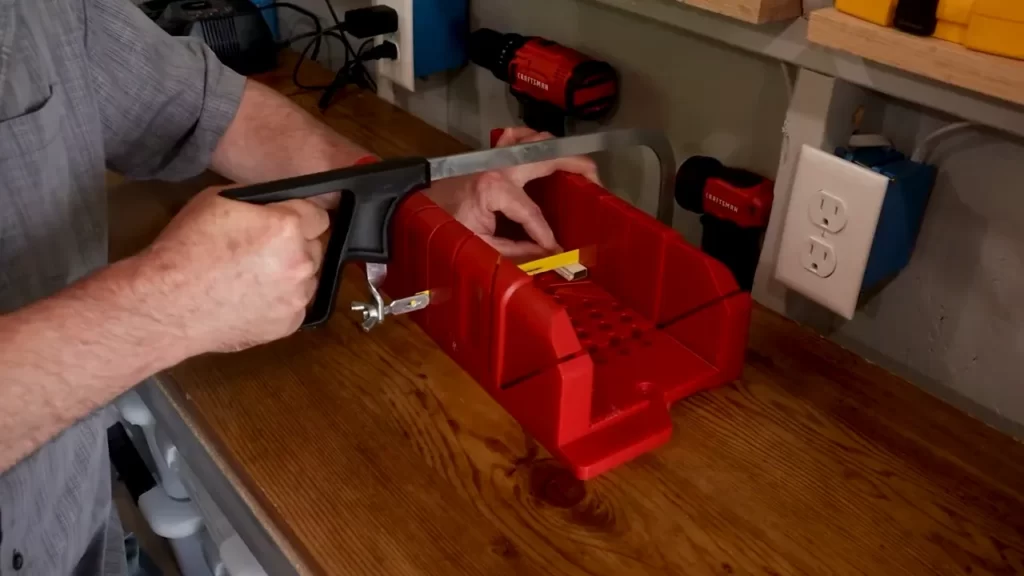
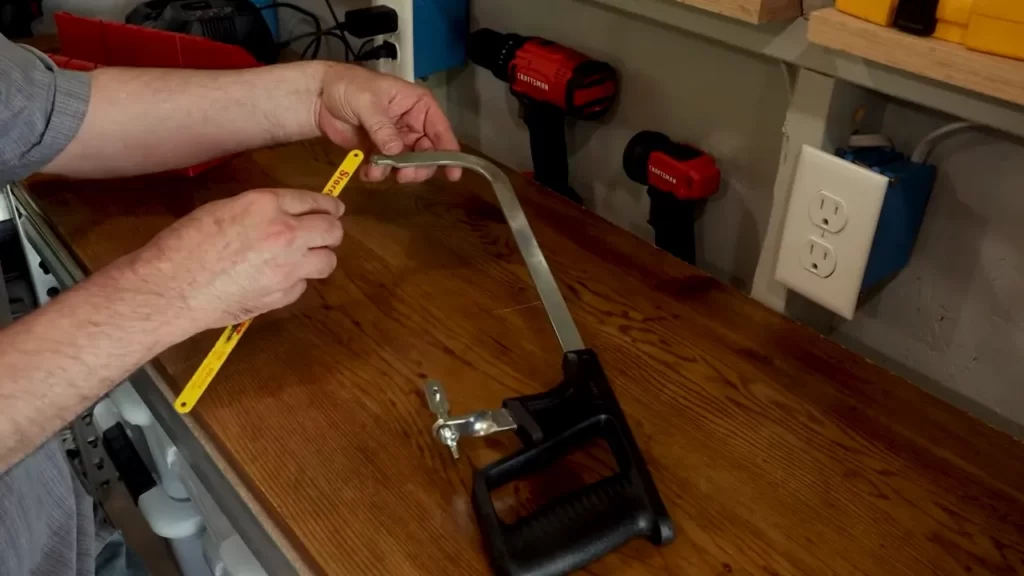
Installing a hacksaw blade is a relatively simple process that can be done in just a few steps. To begin, you’ll need to remove the old blade. Start by loosening the tension on the saw and then detach the blade from the pins. Next, you’ll want to carefully insert the new blade. Make sure it is facing the correct way, with the teeth facing forward. Once the blade is in place, tighten the tension on the saw to secure it. You may need to adjust the tension to ensure the blade is taut. Test the blade by making a few gentle strokes to ensure it is securely in place. Once you are satisfied with the installation, you are ready to start using your hacksaw with its new blade.
Testing And Adjusting The Hacksaw Blade
To ensure optimal performance, it is important to test and adjust the hacksaw blade. Start by verifying the blade’s alignment. Place a straightedge against the blade and check if it sits flat against it. If there are any gaps, the blade may need adjustment. Ideally, it should be aligned parallel to the saw frame. Adjust the position by tightening or loosening the blade tension with the tensioning screw.
Next, check the tension of the blade. Gently pluck the blade, and it should produce a clear, distinct sound. If the sound is dull or weak, the tension may be too low. Increase the tension by turning the tensioning screw clockwise. On the other hand, if the blade produces a high-pitched sound or breaks easily, the tension may be too high. Decrease the tension by turning the screw counterclockwise.
Regularly test and adjust the hacksaw blade to ensure accurate cutting and longevity. Remember to always wear protective gear and follow safety guidelines while working with tools.
Frequently Asked Questions For How To Install A Hacksaw Blade
How Should A Hacksaw Blade Be Installed?
To install a hacksaw blade, first, loosen the blade tension by turning the knurled knob. Then, insert the blade with the teeth facing forward into the slots on the hacksaw’s frame. Ensure the blade is centered and aligned properly. Finally, tighten the tension knob to secure the blade in place.
Which Way Do Saw Blade Teeth Go?
The teeth on a saw blade should point in the direction of the rotation. This ensures clean and efficient cutting.
How To Change The Blade On A Hacksaw?
To change the blade on a hacksaw, follow these steps: 1. Loosen the wingnut holding the current blade. 2. Remove the old blade carefully. 3. Place the new blade in the hacksaw frame. 4. Tighten the wingnut to secure the new blade.
5. Ensure the blade is aligned properly before using.
Conclusion
Installing a hacksaw blade is a relatively simple process that can greatly improve your cutting efficiency. By following these step-by-step instructions, you can ensure a secure and efficient attachment. Remember to prioritize safety and regularly check your blade’s condition for optimal performance.
With this knowledge, you can confidently tackle your next cutting project with ease. Explore our website for more DIY tips and tricks!