To install an in-ground sprinkler system, start by planning the layout and marking the locations for sprinkler heads and pipes. Then, dig trenches for the pipes, connect the pipes to the water supply, and install the sprinkler heads at the marked locations.
Cover the trenches with soil and test the system for any leaks or malfunctions. Adjust the sprinkler heads as needed for proper coverage.
Benefits Of Installing An In Ground Sprinkler System
Installing an in ground sprinkler system offers numerous benefits. One of the key advantages is that it saves time and effort. Unlike manual watering, where you have to move sprinklers around and constantly monitor the process, an in ground system does all the work for you. It operates on a set schedule, ensuring that your lawn and plants receive the right amount of water at the right time.
Another notable benefit is water conservation. In ground sprinkler systems are designed to deliver water directly to the root zone of plants, minimizing wastage through evaporation or runoff. This targeted approach ensures that every drop of water is utilized effectively, ultimately leading to significant water savings.
Additionally, an in ground sprinkler system provides even coverage. Traditional sprinklers often result in patchy or uneven watering, which can lead to brown spots or overwatering in certain areas. With an in ground system, the water distribution is evenly spread out, resulting in a lush, well-maintained lawn.
Factors To Consider Before Installation
Installing an in-ground sprinkler system can greatly enhance the efficiency and convenience of watering your lawn. Before starting the installation process, there are a few important factors to consider. Firstly, assessing the landscape is crucial to determine the layout of the sprinkler system. Identify any obstacles, slopes, or areas with specific water needs. Next, it’s essential to determine the water source and pressure. This will help determine the size and capacity of the sprinkler system and ensure adequate water supply. Finally, mapping out the sprinkler zones is necessary to ensure even and effective coverage. Divide the landscape into separate sections based on water needs and plan the layout accordingly. Taking these factors into account will ensure a successful installation and optimal performance of your in-ground sprinkler system.
Step-by-step Guide To Installing An In Ground Sprinkler System
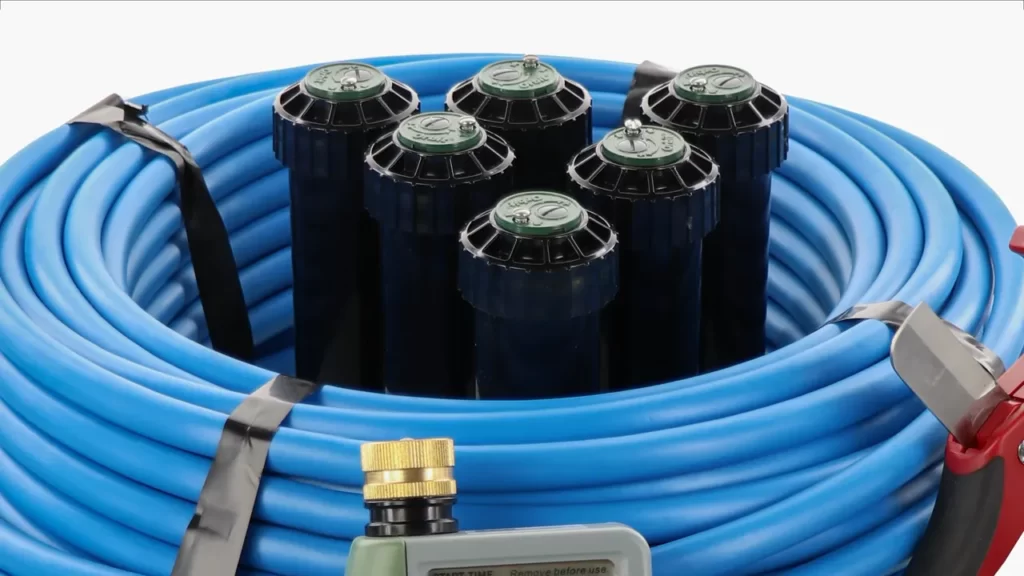
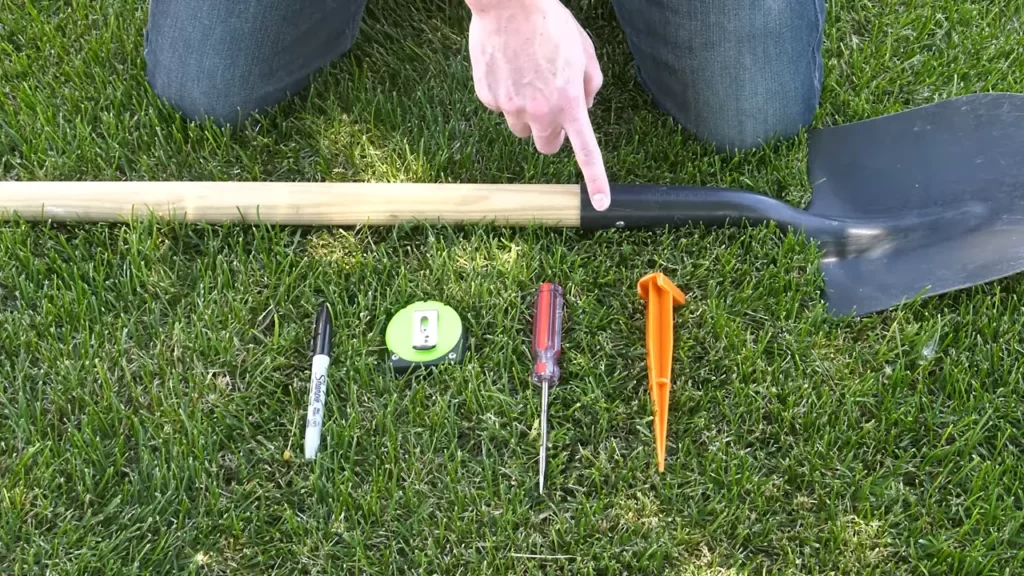
Gathering the necessary tools and materials: Before starting the installation process, it is important to gather all the required tools and materials. This includes a trenching tool, PVC pipes, connectors, sprinkler heads, a water source, PVC cement, a tape measure, and a marker.
Digging trenches for the pipes: Once all the required tools and materials are gathered, the next step is to dig trenches for the pipes. Use the tape measure and marker to mark the locations where the trenches need to be dug. Then, using the trenching tool, dig the trenches according to the marked locations. Ensure that the trenches are deep enough to accommodate the PVC pipes.
Installing the sprinkler heads: After the trenches are dug, it is time to install the sprinkler heads. Connect the sprinkler heads to the PVC pipes using connectors and PVC cement. Place the sprinkler heads at appropriate locations to ensure complete coverage of the desired area.
Connecting the system to the water source: Once the sprinkler heads are installed, connect the system to a water source. This can be done by attaching a valve to the main water supply line and connecting the PVC pipes to the valve. Ensure that all connections are secure and leak-proof.
Testing and adjusting the system: The final step is to test the system and make any necessary adjustments. Turn on the water supply and check for any leaks or malfunctions. Adjust the sprinkler heads if needed to ensure that the water is distributed evenly and covers the desired area.
Tools And Materials Needed For Installation
In order to install an in-ground sprinkler system, you will need a few essential tools and materials. These include a pipe cutter to accurately cut the PVC pipes to the required length, a shovel to dig the trenches for laying the pipes, sprinkler heads that will distribute water evenly across your lawn, PVC pipes that will serve as the main conduits for water supply, and solvent cement to securely connect the pipes and fittings. When installing an in-ground sprinkler system, it is important to have the necessary tools and materials on hand. A pipe cutter will help you make precise cuts to ensure proper pipe fitment. A shovel is essential for digging the trenches needed to lay the pipes at the correct depths. Sprinkler heads are pivotal in evenly distributing water to your lawn. PVC pipes are the backbone of the system and should be selected based on the size and layout of your lawn. Lastly, solvent cement is crucial for creating strong and leak-proof connections between pipes and fittings. By having these tools and materials available, you will be well-equipped to successfully install an in-ground sprinkler system in your yard.
Digging Trenches For The Pipes
One of the key aspects of installing an in-ground sprinkler system is digging trenches for the pipes. This involves determining the layout of the system, calculating the depth and width of the trenches, and then digging them accordingly.
Determining the layout of the sprinkler system is crucial for efficient irrigation. It’s important to plan where each sprinkler head should be placed to ensure proper coverage of the lawn or garden.
Calculating the depth and width of the trenches is necessary to accommodate the pipes and fittings. The depth will depend on the frost line in your area and any specific requirements of the sprinkler system you’re installing. The width should allow enough space to work with the pipes and ensure proper water flow.
Once the layout and measurements are determined, it’s time to start digging the trenches. Use a shovel or a trenching machine to excavate the soil along the planned path. Take care not to damage any existing utilities or structures while digging.
Installing The Sprinkler Heads
To install an in-ground sprinkler system, it is important to choose the appropriate sprinkler heads. Selecting the right type of heads will ensure efficient and effective watering of your lawn or garden. Consider factors such as the size and shape of the area to be watered, as well as the water pressure and flow rate of your system.
Once you have chosen the sprinkler heads, the next step is to dig holes for them. Use a shovel or a sprinkler head trenching tool to create the holes at appropriate locations in your yard. Ensure that the holes are deep enough to accommodate the sprinkler heads and allow for proper water distribution.
After the holes are dug, it is time to connect the sprinkler heads to the pipes. Use PVC pipes and fittings to create a network of water supply lines. Connect each sprinkler head to the main pipe using the appropriate fittings and adapters. Make sure to follow the manufacturer’s instructions for proper installation and sealing of the connections to prevent leaks and ensure optimal performance.
Connecting The System To The Water Source
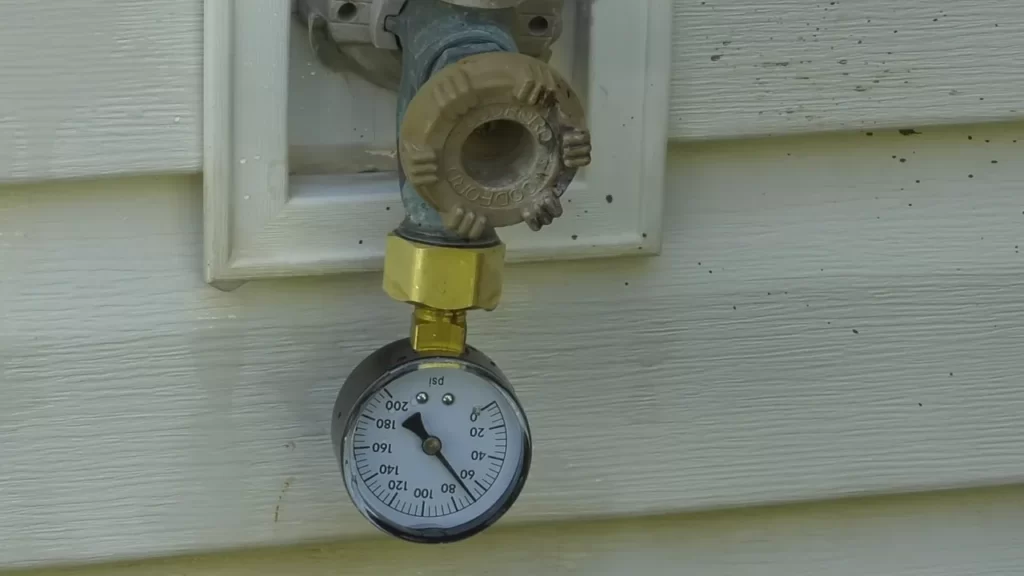
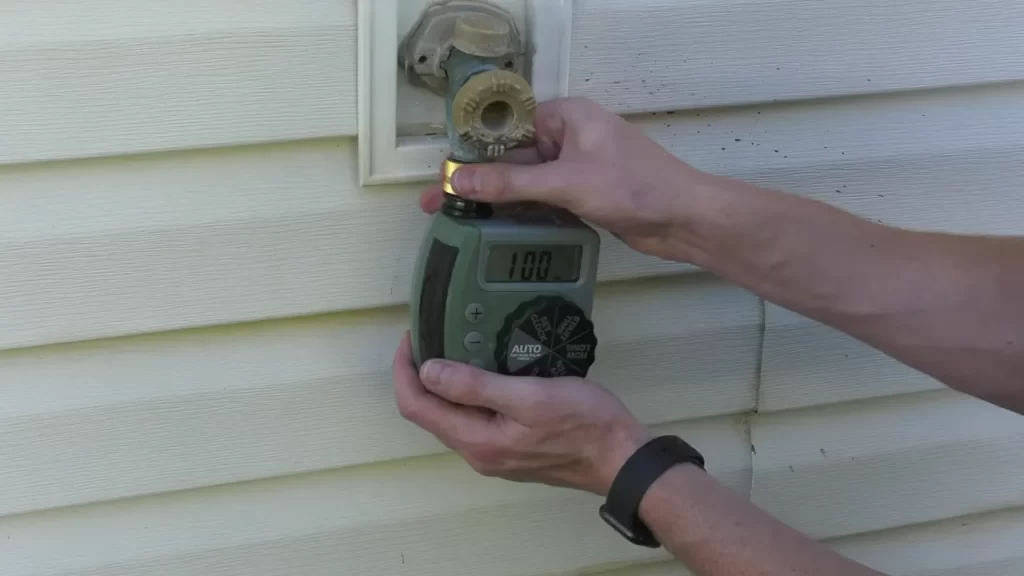
To install an in-ground sprinkler system, you need to connect it to a water source. The first step is to locate the water source on your property. This could be a hose bib or a water main. Once you have located the water source, the next step is to install a backflow preventer. This device is important as it prevents the irrigation water from flowing back into the main water supply, ensuring the water is clean and safe. After installing the backflow preventer, you can proceed to connect the pipes to the water source. Make sure to use the correct fittings and connectors to ensure a secure and leak-free connection. It is important to note that proper installation of the system is crucial for efficient operation and longevity.
Testing And Adjusting The System
To ensure that your in-ground sprinkler system is working efficiently, it is important to test and adjust the system. One of the first things you should do is check for leaks. Start by examining the pipes and connections for any signs of water leakage. If you notice any leaks, be sure to repair them as soon as possible to prevent water wastage.
In addition, it is crucial to adjust the direction and arc of the sprinkler heads. By doing so, you can make sure that the water is being distributed evenly across your lawn. To adjust the direction, simply rotate the sprinkler head until it is aligned with the desired area. To adjust the arc, check the manufacturer’s instructions and use a screwdriver to customize the arc length.
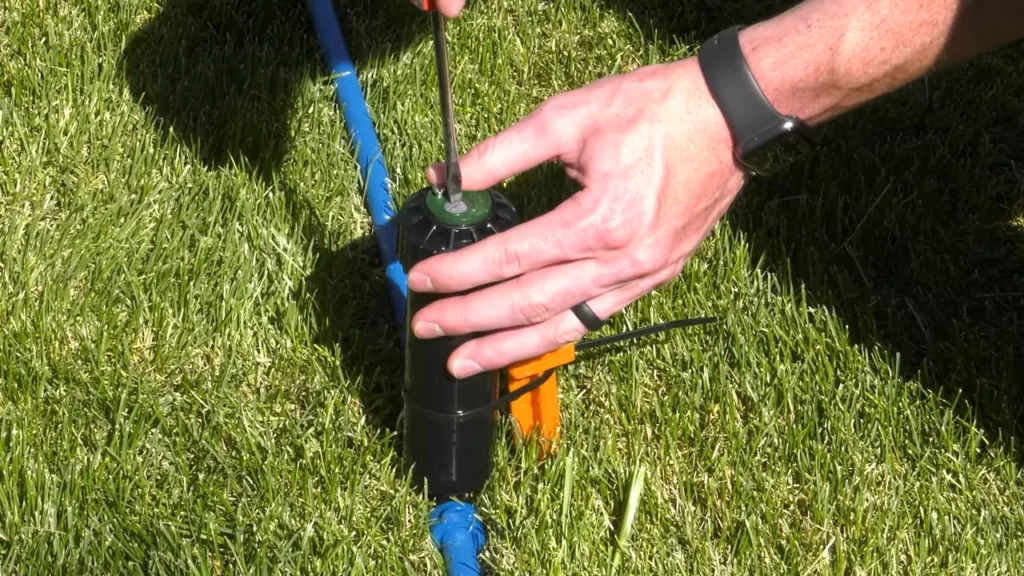
Lastly, setting the watering schedule is another important step. You want to make sure that your lawn is being watered at the optimal times to prevent over or under-watering. Take into consideration factors such as the climate, soil type, and plant needs when determining the appropriate watering schedule for your system.
By following these steps, you can ensure that your in-ground sprinkler system is functioning properly and efficiently.
Maintenance And Troubleshooting Tips
Regular inspections and repairs are crucial for maintaining the performance and efficiency of an in-ground sprinkler system. Adjusting the sprinkler heads as needed is an important task that should be done periodically to ensure optimal coverage and prevent water waste. By examining the direction and range of each sprinkler head, you can make the necessary adjustments to ensure proper watering of your lawn or garden.
In addition to regular inspections, dealing with common issues such as clogs or low water pressure is essential. If you notice any signs of clogging, clearing the clogs immediately will help prevent damage to the system and ensure proper water flow. Low water pressure can be caused by various factors, including a damaged valve or a leak in the system. Identifying the cause and fixing the issue promptly will help maintain the system’s efficiency.
Frequently Asked Questions For How To Install In Ground Sprinkler System
Can I Install In-ground Sprinkler System Myself?
Yes, you can install an in-ground sprinkler system yourself. By following instructions carefully and having basic DIY skills, you can save money on professional installation. However, it’s important to do thorough research, plan properly, and ensure you have the necessary tools and knowledge for a successful installation.
How Deep Do Inground Sprinklers Need To Be?
Inground sprinklers should be buried at a depth of 6 to 12 inches to ensure proper irrigation.
How Do You Layout An Inground Sprinkler System?
To layout an inground sprinkler system, follow these steps: 1. Start by measuring your yard to determine the coverage area. 2. Plan the location of sprinkler heads, taking into account water pressure and coverage requirements. 3. Map out the placement of pipes and valves, ensuring proper water flow.
4. Dig trenches for the irrigation system components. 5. Connect the pipes, valves, and sprinkler heads, testing for any leaks.
Conclusion
Installing an in-ground sprinkler system can greatly simplify the task of watering your lawn and garden. By following the steps outlined in this post, you can easily set up an efficient and effective irrigation system. From planning and layout to trenching and connecting the pipes, we have covered all the essential aspects.
Remember to regularly inspect and maintain your system to ensure optimal performance. With this comprehensive guide, you’ll be well-equipped to enjoy a lush and healthy landscape. Happy watering!