To install a Murphy Door, first measure the opening and determine the height and width needed. Then, attach the hinges to the door and frame, making sure to align them properly.
Lift the door into place, secure it with screws, and test its functionality.
Planning And Preparation

Installing a Murphy Door can be a great way to optimize space in your home while adding a touch of style. Before starting the installation process, it is important to plan and prepare for the project. The first step is to choose the right location for your Murphy Door. Consider areas such as unused closets or walls between rooms to maximize the functionality of the door. Once you have selected the location, measure the space carefully and determine the appropriate door size. This will ensure a proper fit and seamless installation. In addition, gather all the necessary tools and materials required for the project. These may include a measuring tape, drill, screws, hinges, and the Murphy Door kit. By following these initial steps and being well-prepared, you will be ready to embark on installing your own Murphy Door.
Installing The Door Frame
Installing the Door Frame
Marking and Cutting the Opening for the Door Frame
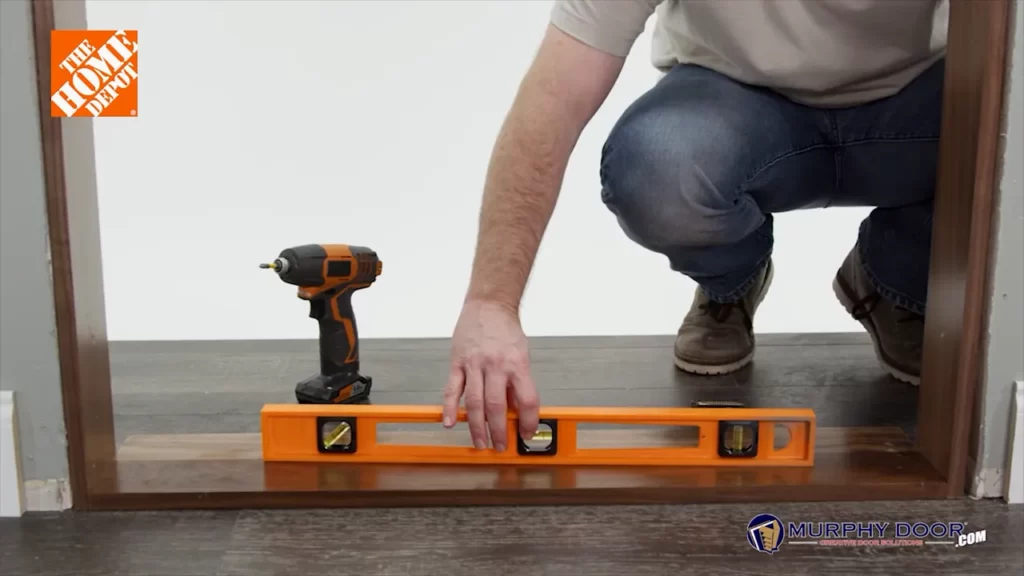
To start installing a Murphy door, you need to mark and cut the opening for the door frame. Measure the dimensions of your door and mark the area on the wall or bookcase where the door frame will go. Use a level and pencil to ensure accurate markings.
Next, carefully cut out the marked area using a jigsaw or reciprocating saw. Take caution when cutting and make sure to follow the lines precisely.
Assembling and Securing the Door Frame in the Opening
Once the opening is cut, it’s time to assemble and secure the door frame. Use the provided hinges and screws to attach the hinges to the door frame and the bookcase or wall.
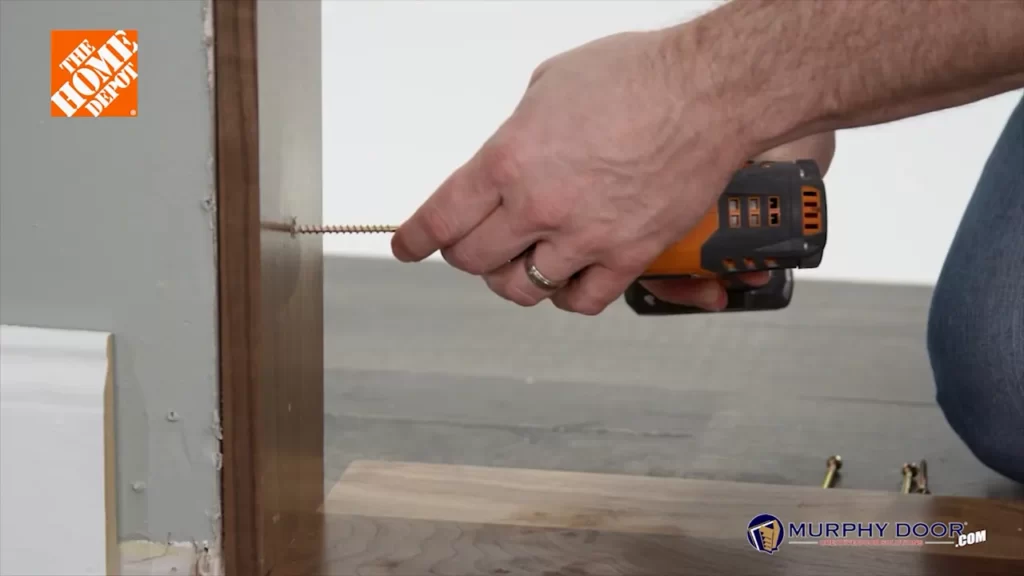
Place the door frame in the cut-out opening and make sure it fits correctly. Use a level to ensure the door frame is straight, and adjust as necessary. Secure the frame in place by screwing it into the wall or bookcase.
Adjusting the Frame for Proper Alignment

After securing the door frame, you may need to make adjustments for proper alignment. Check if the door swings open and closes smoothly without any obstructions or sticking.
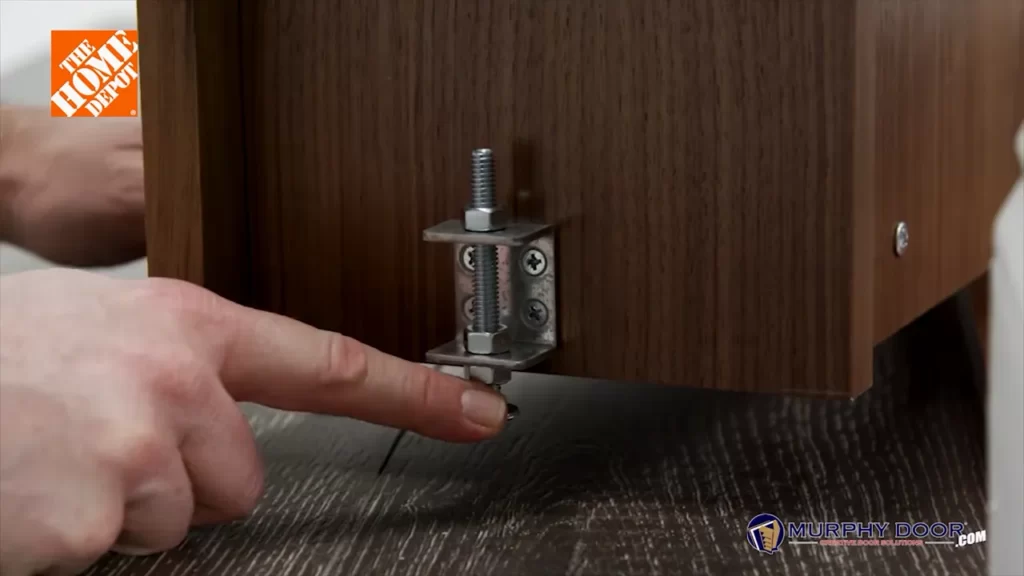
If needed, use shims or adjust the hinges to ensure the door aligns properly and operates smoothly.
Mounting The Door
To install a Murphy Door, you need to carefully mount it on the door frame. Start by preparing the hinges. Make sure the hinges are securely attached to the door using the provided screws. Ensure that they are aligned properly to ensure smooth operation.
Once the hinges are in place, it’s time to attach the door to them. Lift the door and align the hinge plates on the door with the ones on the frame. Insert the hinge pins to connect the door and the frame. Double-check that all the hinges are securely attached.
After attaching the door, it’s essential to test its functionality. Open and close the door a few times to verify if it operates smoothly. Pay attention to any issues or adjustments that might need to be made. If the door is not functioning as desired, make necessary adjustments to ensure optimal functionality.
Adding The Finishing Touches

html
To add the finishing touches to your Murphy door installation, start by sanding and painting the door frame and door to achieve a smooth and polished look. Once you have sanded the surfaces, apply a coat of primer and let it dry. Then, choose a color that matches your existing decor or opt for a contrasting color to make a statement. Apply paint in thin layers, allowing each layer to dry before applying the next. This will ensure that the paint adheres properly and provides a professional finish. After the paint has dried, it’s time to install the door handle and lock. Measure and mark the desired height and placement for the handle and lock, and use a drill to create the necessary holes. Install the hardware according to the manufacturer’s instructions, ensuring a secure fit. To create a seamless look, conceal the hinges by attaching a hinge plate or hinge mortise template. This will hide the hinges and give the door a streamlined appearance. Make any necessary adjustments to ensure that the door opens and closes smoothly. By following these steps, you can successfully install a Murphy door and add the finishing touches to enhance the overall aesthetics of your space.
Frequently Asked Questions Of How To Install A Murphy Door
Where Do You Mount Murphy Door Hinges?
Mount Murphy door hinges directly onto the frame and door, ensuring a secure fit. By following manufacturer instructions, you can customize the placement to best suit your needs. Make sure to measure accurately and use suitable tools for installation.
How Much Does It Cost To Install A Murphy Door?
The cost to install a Murphy door varies depending on factors such as door size, design, materials, and installation complexity. Generally, prices range from $500 to $2,500, excluding additional customization and hardware. It’s best to consult with a professional for a detailed quote.
How Much Clearance Does A Murphy Door Need?
A Murphy door requires approximately 6-8 inches of clearance for proper operation.
Conclusion
Installing a Murphy Door is a practical and innovative way to maximize space in your home. With the step-by-step guide provided, you can easily transform any doorway into a hidden storage space or a functional bookshelf. By following the tips and techniques discussed in this blog post, you are well-equipped to embark on your DIY Murphy Door journey.
Enhance the functionality and aesthetics of your home today!
