o install carpet trim, measure and cut the trim to fit the space, then secure it in place with adhesive or nails. If you’re looking to finish off your carpet installation with a professional touch, installing carpet trim is the way to go.
Carpet trim, also known as edge trim or carpet transition, provides a clean and polished look while protecting the edges of your carpet from fraying or damage. Whether you’re transitioning from carpet to another flooring material or simply want to secure the edges of your carpet against the wall, installing carpet trim is a straightforward process.

In this guide, we will walk you through the steps of measuring, cutting, and securing carpet trim to achieve a seamless and professional finish. So let’s get started!
Choosing The Right Carpet Trim
When installing carpet, it is important to choose the right carpet trim. There are different types of carpet trims available, each serving a specific purpose. The carpet trim you select will depend on the look you want to achieve and the functionality you need.
One factor to consider when selecting carpet trim is the type of carpet you have. Different carpet types may require different trim options. For example, if you have a low-pile carpet, a slim trim may be sufficient, whereas a thicker trim might be needed for a high-pile carpet.
Another factor to consider is the location where the carpet trim will be installed. If it is in a high-traffic area, a more durable trim material, such as metal or rubber, may be advisable. On the other hand, if it is in a low-traffic area, a decorative trim option, such as wood or vinyl, may be more suitable.
Tools And Materials Needed
- Hammer
- Pry bar
- Measuring tape
- Pencil
- Hacksaw
- Miter box
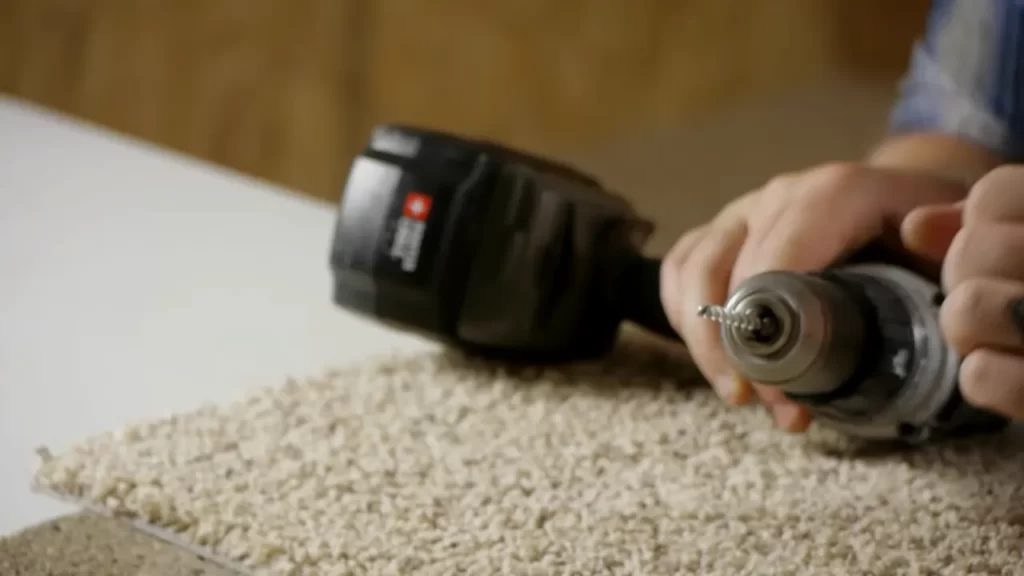
- Power drill
- Screwdriver
- Carpet trim
- Finishing nails
- Screws
- Wood putty
To successfully install carpet trim, you will need a few essential tools and necessary

materials. The list of tools required includes a hammer, pry bar, measuring tape, pencil, hacksaw, miter box, power drill, and screwdriver. These tools will help you measure and cut the trim to the appropriate size, secure it in place, and make any necessary adjustments during installation.
In addition to the tools, you will also need the following materials: carpet trim, finishing nails, screws, and wood putty. The carpet trim is essential for providing a smooth and finished transition between the carpet and other flooring surfaces. Finishing nails and screws are used to secure the trim to the subfloor, ensuring its stability. Finally, wood putty is used to fill any nail or screw holes and create a seamless appearance.
Measure And Prepare
Measure and Prepare
When installing carpet trim, it’s crucial to start by accurately measuring the area where the carpet trim will be installed. This will ensure a proper fit and a seamless finish. Use a tape measure to measure the length and width of the space, and make sure to account for any corners or angles.
Once you have the measurements, it’s time to prepare the surface for installation. Start by thoroughly cleaning the area, removing any dirt or debris. Next, check for any imperfections or damage on the surface and repair them if necessary. You may need to fill in gaps, smooth rough edges, or sand any uneven surfaces.
Once the surface is prepped and ready, you can proceed with the installation of the carpet trim. Make sure to follow the manufacturer’s instructions and use the appropriate tools and materials for a successful installation.
Cutting The Carpet Trim
Choosing the appropriate length of carpet trim is essential for a proper installation. It should be slightly longer than the width of your doorway, allowing for any adjustments needed during the cutting process. To cut the trim accurately, follow these steps:
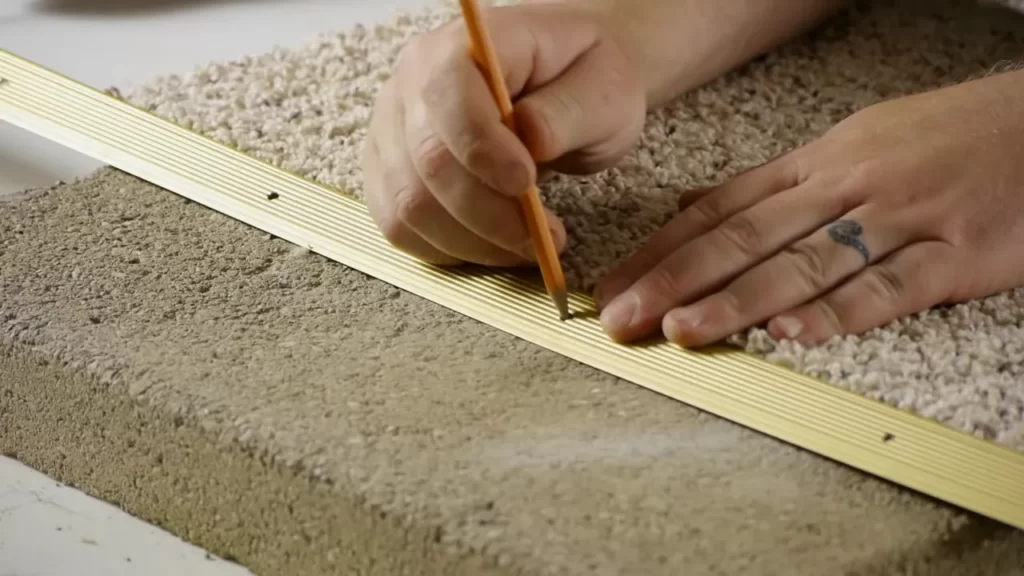
- Measure twice: Take precise measurements of the doorway width and transfer them to the trim. Use a pencil to mark the cutting line.
- Use the right tools: A miter saw or a hand saw with a fine-tooth blade is recommended for a clean and precise cut.
- Secure the trim: Before cutting, ensure the trim is securely clamped or held down to prevent any movement or vibrations.
- Make the cut: Align the saw blade with the cutting line and make a smooth, steady cut through the carpet trim.
- Sand and finish: If needed, sand the cut edge for a smooth finish using sandpaper or a sanding block. Remove any excess debris.
By following these steps, you can achieve a precise and accurate cut for your carpet trim, ensuring a seamless and professional-looking installation.
Positioning And Attaching The Carpet Trim

Aligning the trim with the edge of the carpet is a crucial step in installing carpet trim. To ensure a professional and seamless finish, it is important to carefully position and attach the trim. One method of alignment is to use a straightedge to create a guide line that runs parallel to the carpet edge. This will help you keep the trim straight and consistent.
Once aligned, securing the trim can be done using either adhesive or nails. Adhesive is a popular choice as it provides a strong bond and eliminates the need for visible nails. Apply the adhesive evenly along the back of the trim and firmly press it against the subfloor. Alternatively, nails can be used by driving them through the trim and into the subfloor.
By following these steps, you can successfully install carpet trim in a professional and secure manner. Attention to detail during the alignment process and choosing the appropriate method of attachment will result in a well-finished look in your carpeted space.
Finishing Touches
When installing carpet trim, it’s essential to achieve a clean and professional-looking finish. One crucial step in this process is trimming any excess carpet if necessary. Begin by carefully measuring the area where the trim will be installed, ensuring accuracy. Use a sharp utility knife or pair of carpet shears to cut along the marked line, ensuring the cut is straight and clean.
Next, firmly secure the carpet trim in place. Start by applying strong adhesive along the edge of the trim and the subfloor. Press the trim firmly onto the adhesive, making sure it is aligned with the edge of the carpet. Apply pressure along the entire length of the trim to secure it in place.
If any gaps appear between the trim and the carpet, use a color-matched caulk or adhesive to fill them. This will create a seamless and polished look. Finally, clean up any excess adhesive or caulk before it dries for a professional result.
Troubleshooting And Tips

In order to have a successful carpet trim installation process, it is important to be aware of common issues that may arise and troubleshoot them effectively. One common issue is uneven or inconsistent trimming. This can be avoided by ensuring that the carpet is cut precisely and accurately using a sharp utility knife. It is also essential to measure and mark the trim accurately before cutting.
Another issue that can arise is gaps between the carpet and the trim. This can make the installation look unfinished. It can be resolved by using adhesive or a bonding agent to secure the carpet to the trim firmly. Additionally, careful brushing and tucking of the carpet edges can help minimize any gaps.
Finally, it is important to pay attention to the direction and alignment of the carpet trim. Misalignment can make the installation look unprofessional. Double-checking the alignment before securing the trim in place is crucial in achieving a polished finished look.
Maintaining And Repairing Carpet Trim
Routine maintenance is essential for prolonging the life of carpet trim. Regular cleaning is recommended to prevent dirt and debris from accumulating in the trim. Vacuuming the area around the trim on a weekly basis will help keep it clean. Inspecting the trim periodically is also important to identify any damage or wear.
If you notice damaged or worn carpet trim, it is crucial to repair it promptly to prevent further issues. Begin by assessing the extent of the damage. If there are small cracks or chips, you may be able to use a repair kit to fix them. However, for larger or more severe damage, it is often best to replace the trim entirely.
Installing new carpet trim is a fairly straightforward process. Measure the area where the trim will be installed, and use a miter saw to cut the trim to the appropriate length. Apply adhesive to the back of the trim and press it firmly in place, ensuring it is properly aligned. Finally, use finishing nails to secure the trim and create a polished look.
Frequently Asked Questions For How To Install Carpet Trim
Do You Put Trim On Before Or After Carpet?
Trim should be installed before carpet. It provides a smooth transition between the floor and wall, enhancing the carpet’s appearance and preventing fraying.
Does Trim Need To Be Removed To Install Carpet?
No, trim does not need to be removed to install carpet.
How Do You Install Carpet Trim On Concrete?
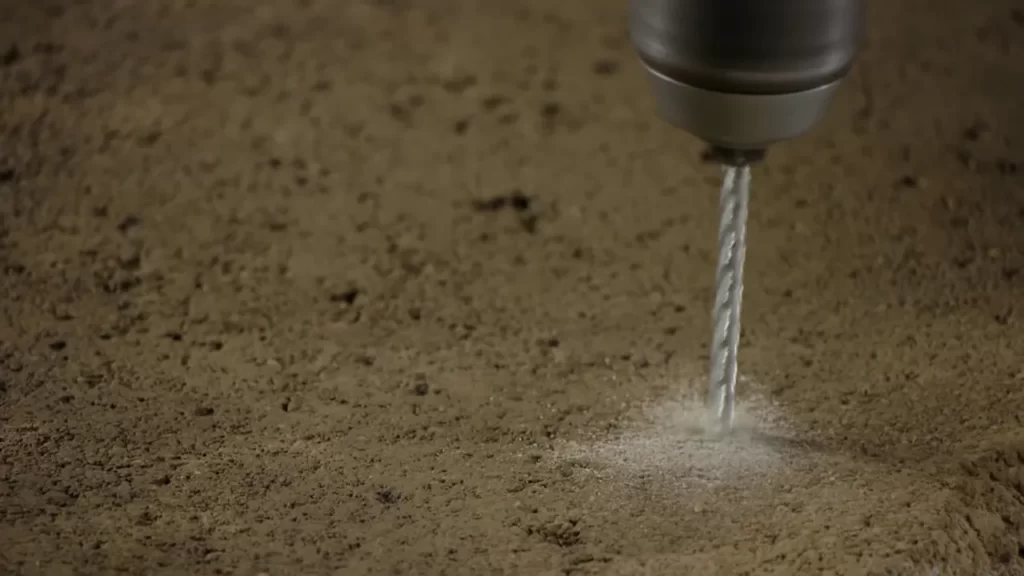
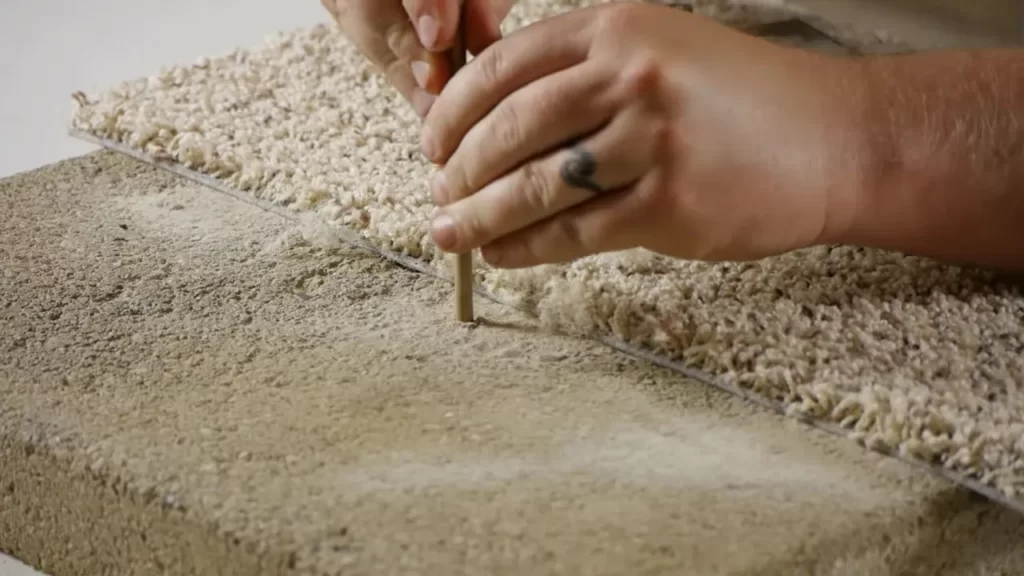
To install carpet trim on concrete, follow these steps: 1. Clean the concrete surface thoroughly. 2. Measure and mark the trim’s placement on the concrete. 3. Use a masonry drill to create holes in the marked spots. 4. Insert concrete screws into the holes and tighten them securely.
5. Attach the carpet trim to the screws, ensuring it is aligned properly.
Conclusion
Installing carpet trim does not have to be a daunting task. By following these simple steps and guidelines, you can achieve a professional-looking finish that enhances the overall appearance of your space. Remember to measure accurately, use the appropriate tools, and take your time for precise cuts and installations.
With a bit of patience and focus, you can transform your floor edges into a neat and polished final touch that adds value and beauty to your home.
Leave a Comment
Logged in as arif. Edit your profile. Log out? Required fields are marked *
Comment
