To install a cargo net, attach the hooks to the designated anchor points and adjust the net to fit securely. Installing a cargo net is a simple process that ensures the safe and secure transportation of goods in your vehicle.
By following a few easy steps, you can install a cargo net quickly and efficiently. Whether you’re hauling groceries, sporting equipment, or luggage, a cargo net provides added stability and prevents items from shifting during transit. In this guide, we will outline the steps necessary to install a cargo net in your vehicle, ensuring that your belongings arrive safely at your destination.
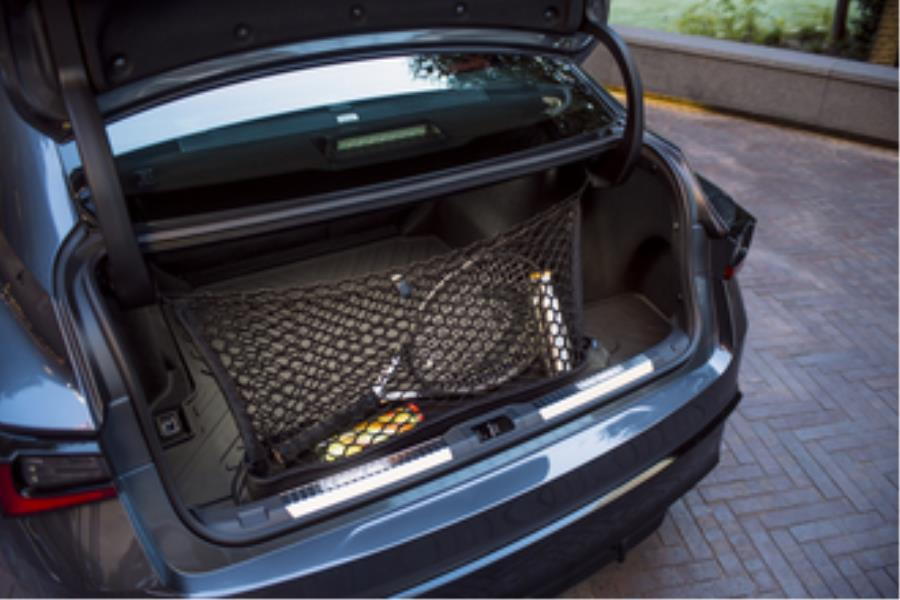
Credit: www.clublexus.com
Tools And Materials Needed
To install a cargo net in your car, you will need the following tools and materials:
- A car manual – It is important to consult your car manual to ensure you are installing the cargo net correctly and in the right location.
- A screwdriver – This will be necessary to loosen or remove any screws or fasteners that may be holding the cargo net in place.
- Hooks or carabiners – These will be used to secure the cargo net to the designated attachment points in your car.
- Bungee cords or straps – These will provide additional support and ensure the cargo net is secured tightly.
Before starting the installation process, it is recommended to gather and organize these tools and materials in one place. This will make the installation process more efficient.
Frequently Asked Questions On How To Install A Cargo Net
Are Cargo Nets Worth It?
Yes, cargo nets are worth it. They provide security for your items during transportation, preventing them from sliding or getting damaged. They are easy to install and can be used for various purposes, such as securing luggage, sports equipment, or groceries.
Overall, cargo nets offer convenience and peace of mind.
How To Install Cargo Net Toyota Corolla?
To install a cargo net in a Toyota Corolla: 1. Open the trunk and locate the mounting hooks. 2. Attach the cargo net to the hooks, ensuring a secure fit. 3. Adjust the net to cover the trunk area and secure any loose items.
4. Test the net by gently tugging to ensure proper installation. 5. Enjoy a tidier and organized trunk space with your new cargo net.
How To Install A Nissan Altima Cargo Net?
To install a Nissan Altima cargo net, locate the four attachment hooks in the trunk. Hook the net onto the top and bottom hooks on each side, making sure it is secure. Adjust the net as needed to fit your cargo.
Done!
How Do You Use A Cargo Net?
To use a cargo net, attach the hooks or buckles to secure points in your vehicle or cargo area. Make sure the net is stretched tight so items cannot slip through. Use it for securing luggage, groceries, or any loose items during transportation.
Always check for any signs of wear and tear before each use.
Conclusion
Installing a cargo net in your vehicle is a simple yet effective way to secure your belongings during transportation. By following the step-by-step process outlined in this guide, you can easily set up a cargo net and ensure the safety of your cargo.
Remember to regularly inspect the net for any signs of wear and tear to maintain its effectiveness. With a properly installed cargo net, you can enjoy worry-free trips and protect both your belongings and passengers.