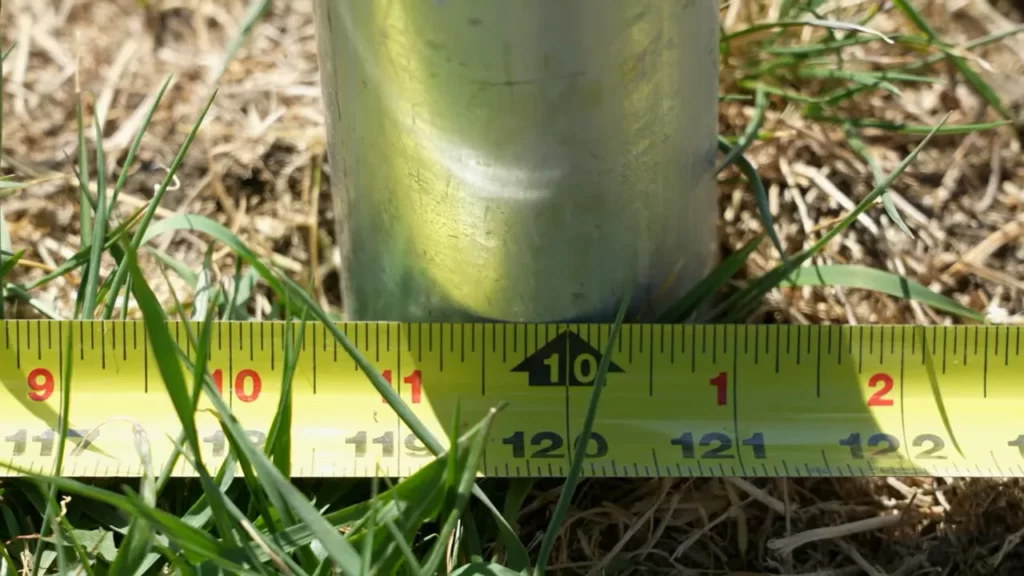
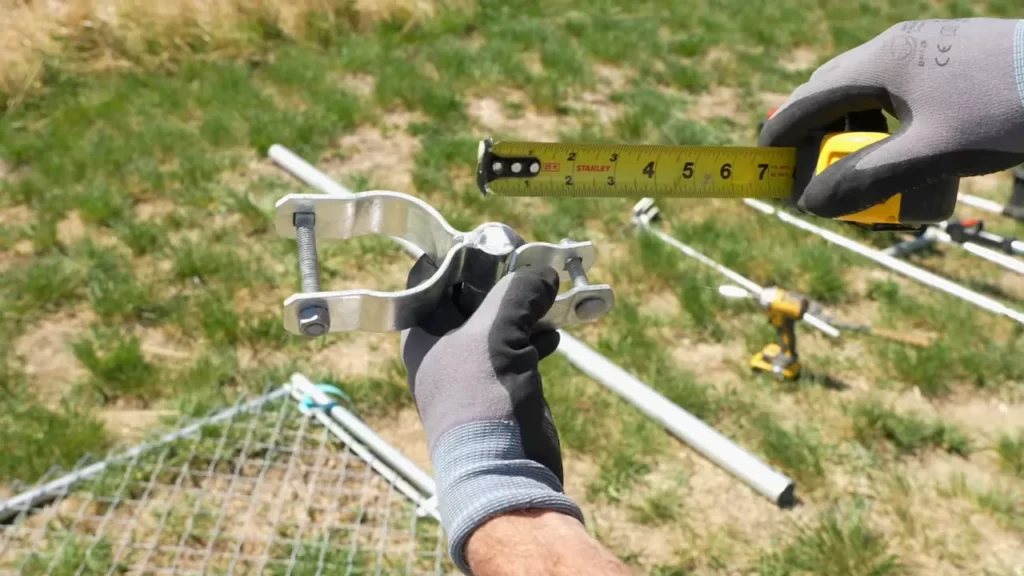
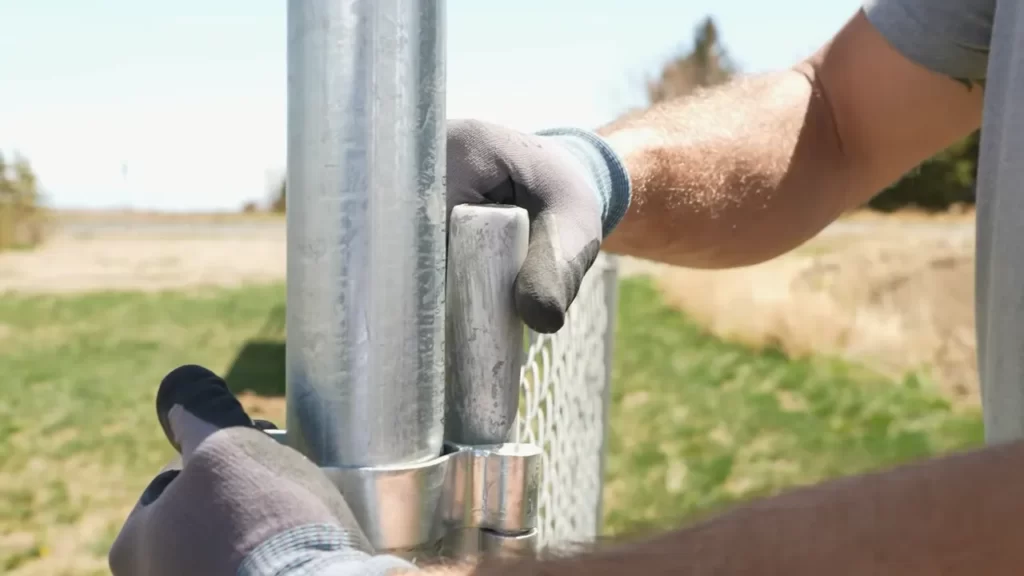
To install a chain link fence double gate, follow these steps: measure and mark the gate posts, dig holes for the gate posts, set the gate posts in cement, attach hinge post fittings to one gate post, install the gate frame, attach gate latch hardware and gate fabric, and finally, make adjustments as needed. Installing a chain link fence double gate requires careful measurement and the proper installation of gate posts, frame, and hardware.
Follow these steps for a successful installation.

Selecting The Perfect Chain Link Fence Double Gate: Factors To Consider
Selecting the Perfect Chain Link Fence Double Gate: Factors to Consider
When it comes to installing a chain link fence double gate, there are a few important considerations to keep in mind. One of the first factors to consider is the gate size. The gate size should be large enough to allow easy access for people and vehicles while still being secure. It’s essential to measure the opening accurately to ensure the gate fits properly.
Another important factor is the gate material. Chain link fence double gates are typically made from galvanized steel for durability and to prevent rust. However, they can also be made from aluminum for a lighter and more corrosion-resistant option. Consider the specific needs of your project when choosing the gate material.
Lastly, the gate hardware is crucial for the functionality and security of the double gate. High-quality hardware, such as hinges, latches, and locks, should be chosen to ensure smooth operation and reliable locking mechanisms. These components should be designed to withstand the elements and provide long-lasting performance.
Planning And Preparing For The Installation Process:

When installing a chain link fence double gate, it is crucial to properly plan and prepare for the installation process. One of the first steps is to measure the space where the gate will be placed. This ensures that the gate will fit properly and function as intended. Gathering the necessary tools and materials is also essential for a successful installation. You will need items such as a tape measure, gate posts, hinges, latch, and chain link fabric. It is important to ensure that you have everything you need before starting the installation process.
Clearing the area where the gate will be installed is another important step. Removing any obstacles, such as plants, rocks, or debris, ensures a smooth installation process and prevents any potential damage to the gate or fence. This step also allows for proper alignment and placement of the gate.
Step-by-step Guide To Installing A Chain Link Fence Double Gate:
Installing a chain link fence double gate can be a straightforward process if you follow these step-by-step instructions. Begin by digging the gate post holes, making sure to locate them accurately and calculate the proper post placement. Once the holes are dug, set the gate posts securely by inserting them in the holes and aligning and leveling them. After the posts are secured, you can proceed to install the gate frame and hardware. Prepare the frame and attach it to the posts, then add the necessary gate hardware. Next, hang the gate and make adjustments to ensure it is properly aligned. Aligning the gate with the existing chain link fence is important for a seamless look. Finally, add finishing touches such as installing caps and end cups, applying tension bands and brackets, and securing the chain link fabric. Test the gate’s functionality and adjust as needed for smooth operation.
Additional Tips And Considerations For Maintaining Chain Link Double Gates:

Regular inspection and maintenance are crucial for keeping your chain link double gates in optimal condition. By conducting regular inspections, you can identify any potential issues or damages early on and address them promptly. Inspect the gate hardware, including the hinges, latch, and track, ensuring they are properly aligned, secure, and functioning smoothly. Lubricate the gate hardware periodically to prevent friction and ensure smooth operation. Apply a suitable lubricant to the hinges, latch, and track, following the manufacturer’s instructions. If you notice any damages or issues such as loose screws, bent hinges, or damaged tracks, make repairs as soon as possible. Replace any damaged components to maintain the integrity of the gate. Remember, regular inspection and maintenance will extend the lifespan of your chain link double gates and ensure their efficient operation for years to come.
Frequently Asked Questions For How To Install A Chain Link Fence Double Gate
How Far Apart Should Chain-link Gate Posts Be?
Chain-link gate posts should be spaced approximately 6 to 10 feet apart. This spacing ensures adequate stability and support for the gate.
How Do You Add A Gate To An Existing Chain Link Fence?
To add a gate to an existing chain link fence, you’ll need to measure the gate opening, purchase a gate kit, and attach it to the fence posts using appropriate hardware. Make sure to follow the installation instructions provided by the manufacturer for a secure fit.
How Do You Install A Double Gate Drop Rod?
To install a double gate drop rod, follow these steps: 1. Measure and mark the desired location for the rod on both gates. 2. Attach the drop rod bracket to one gate using screws. 3. Slide the drop rod through the bracket and align it with the other gate.
4. Secure the drop rod to the second gate’s bracket using screws. 5. Test the drop rod to ensure proper function and stability.
Conclusion
Installing a chain link fence double gate may seem intimidating at first, but with the right tools and step-by-step guidance, it can be a manageable DIY project. By following the instructions outlined in this blog post, you can enjoy the convenience and functionality of a double gate in your chain link fence.
Remember to take proper measurements, secure the posts, and attach the gate hardware carefully. With patience and attention to detail, you’ll have a sturdy and secure double gate that adds value and functionality to your property. Happy fencing!
