To install a drop rod on a double gate, first, make sure the gates are properly aligned and secured. Then, position the drop rod between the gates and mark the desired height.
Next, drill pilot holes and attach the drop rod brackets using screws. Finally, insert the drop rod into the brackets and secure it in place. Make sure to test the functionality and stability of the drop rod before finishing the installation process.
When it comes to installing a drop rod on a double gate, proper alignment and stability are crucial for ensuring the gate functions effectively. A drop rod, also known as a cane bolt, is a simple yet effective device that securely holds double gates in place when closed. By preventing the gates from sagging, it helps maintain security and extends the lifespan of the gates. In this guide, we will outline the step-by-step process of installing a drop rod on a double gate, ensuring that your gate remains sturdy and functional for years to come.
Materials Needed
Materials Needed:
- Drop rod
- Mounting hardware
- Measuring tape
- Level
- Power drill
- Screwdriver
Installing a drop rod on a double gate is a relatively simple process that requires a few key materials. To begin, gather all the necessary items such as a drop rod, mounting hardware, measuring tape, level, power drill, and screwdriver. These tools will ensure a secure and precise installation.
Once you have the materials at hand, carefully follow the installation instructions provided with the drop rod. The mounting hardware will provide the necessary support and stability for the rod. Use the measuring tape and level to determine the ideal placement and alignment of the rod on the gate.
With the power drill and screwdriver, attach the drop rod securely to the gate. Ensure that all screws are tightened properly to avoid any movement or instability. By following these steps and utilizing the right tools, you can successfully install a drop rod on a double gate.
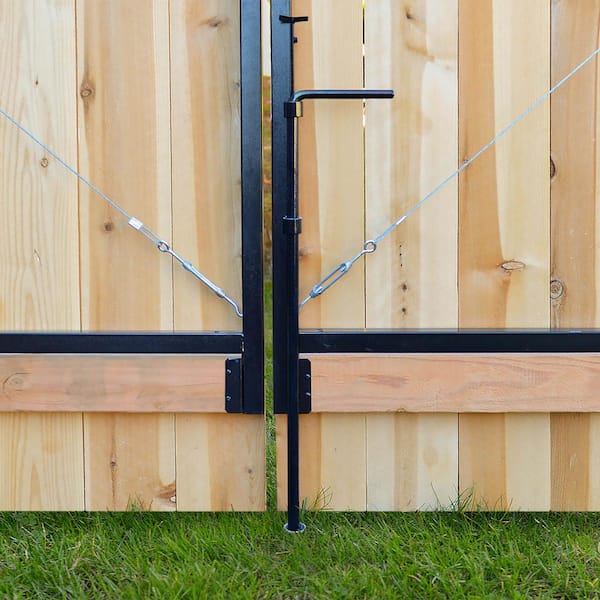
Credit: www.homedepot.com
Step 1: Assess The Gate
Installing a drop rod on a double gate requires assessing the gate to determine its suitability. Start by checking if the gate is suitable for a drop rod. Look for any obstructions or uneven surfaces that may affect proper installation. Smooth out any bumps or correct any issues before proceeding.
Once the gate is deemed appropriate, gather the necessary tools and materials for the installation. This includes a drop rod, screws or bolts, a drill or screwdriver, and a level. Measure the desired height for the drop rod and mark the spot on both gates.
Next, position the drop rod at the marked spot and secure it to one gate using the screws or bolts. Use a level to ensure it is straight and adjust as necessary. Then, close the gates and mark the spot on the other gate where the drop rod hits. Install a bracket or hinge at that point to secure the drop rod when the gates are closed.
Step 2: Measure And Mark
To install a drop rod on a double gate, the second step is to measure and mark the desired height for the drop rod. This will ensure proper functionality and alignment of the gates. Using a measuring tape, determine the appropriate height and mark it on both gates. Make sure to do this on both the gate where the drop rod will be attached and the opposite gate where the drop rod will latch onto.
Once the desired height is marked, you can proceed to mark the positions for mounting the drop rod on both gates. This step ensures that the drop rod will be installed symmetrically and provide even support to the gates. Take your time to accurately measure and mark the positions for the drop rod installation.
Step 3: Install Mounting Hardware
Attach the mounting hardware to the gate. Ensure the hardware is secure and level. Use a level to make sure the gate is straight before installing the hardware. Begin by positioning the hardware on the gate at the desired height. Mark the screw holes with a pencil. Pre-drill the holes to prevent splitting the wood. Place the hardware back on the gate and align it with the pre-drilled holes. Securely attach the hardware using screws or bolts, depending on the hardware type. Tighten the screws or bolts firmly, ensuring the hardware is firmly attached to the gate. Check again with a level to verify that the hardware is indeed level. Repeat the process for the other gate if applicable. Once the hardware is securely attached and level, you can proceed to the next step in the installation process.
Step 4: Attach Drop Rod
To attach a drop rod on a double gate, first, insert the drop rod into the mounting hardware on one gate. Make sure to verify that the rod is straight and level. This step is crucial for ensuring proper functioning of the drop rod.
Once the drop rod is securely attached, it will help to prevent the gates from swinging or sagging. Proper alignment of the drop rod is essential to ensure the gates close properly and stay securely in place.
By following these steps, you can easily install a drop rod on a double gate, providing additional stability and security. This step-by-step installation process helps to ensure a successful and efficient installation.
Step 5: Secure Drop Rod
When installing a drop rod on a double gate, it is important to secure it properly to ensure the gates function smoothly and securely. To secure the drop rod, you will need a power drill and screws. Start by positioning the drop rod in place, making sure it aligns with the ground and the other gate. Once in position, use the power drill to make pilot holes for the screws. This will prevent the wood from splitting. Insert the screws into the pilot holes and tighten them securely. Repeat this process for the other gate, ensuring both drop rods are securely attached.
Step 6: Test And Adjust
Once you have installed the drop rod on your double gate, the next step is to test and adjust it for proper functionality. To do this, you will need to open and close the gate multiple times. Pay close attention to how the drop rod engages and disengages with the ground while doing so.
If you notice any issues with the alignment or if the drop rod is not working as expected, you may need to make some adjustments. This could involve loosening or tightening the screws that hold the drop rod in place or repositioning it slightly.
By testing and adjusting the drop rod, you can ensure that it is functioning properly and providing the necessary support to keep your double gate secure. Taking the time to do this will help prevent any future problems and extend the lifespan of your gate.
Step 7: Finalize Installation
| [Blog post title] How to Install a Drop Rod on a Double Gate |
| [Heading] Step 7: Finalize Installation |
| [Subheading under heading] Tighten any loose screws or bolts |
Inspect the drop rod for stability and functionality. Make sure that all screws and bolts are properly tightened to secure the rod in place. This will prevent any shifting or wobbling of the drop rod. If any screws or bolts are loose, use a screwdriver or wrench to tighten them as needed. It is important to ensure that the drop rod is firmly attached to the gate and the ground to maintain its effectiveness. Taking the time to thoroughly inspect and tighten all components of the drop rod will result in a secure and reliable installation.
Tips For Maintenance And Troubleshooting
Proper maintenance and regular troubleshooting can help ensure that the drop rod on a double gate functions smoothly and efficiently. One important maintenance tip is to periodically lubricate the drop rod to prevent rust and reduce friction. This can be done using a lubricant designed for metal surfaces. When inspecting the drop rod, it’s essential to check for any signs of wear or damage such as loose screws, bent rods, or cracks. Addressing these issues promptly is crucial to ensure the drop rod functions properly. By taking these precautions and being proactive about maintenance and troubleshooting, you can extend the lifespan of the drop rod and enjoy seamless operation of your double gate.
Frequently Asked Questions For How To Install A Drop Rod On A Double Gate
How Do You Make A Double Gate Secure?
To make a double gate secure, follow these steps: 1. Install sturdy gate hardware, including robust hinges and a reliable latch. 2. Use high-quality locks or padlocks to secure the gates. 3. Add a drop rod or cane bolt at the bottom to prevent unauthorized access.
4. Consider adding a gate alarm or security camera system for added protection. 5. Regularly inspect and maintain the gate, fixing any damages or weak spots promptly.
What Does A Gate Drop Rod Go Into?
A gate drop rod goes into the ground to provide stability and support for the gate.
How Much Gap Between Gate And Post Chain Link?
The ideal gap between a gate and post in a chain link fence is about 2-2. 5 inches.
Conclusion
Installing a drop rod on a double gate is a straightforward process that can greatly improve the functionality and security of your gate. By following the step-by-step guide outlined in this blog post, you can successfully install a drop rod without any hassle.
Remember to measure accurately, choose the right materials, and secure the drop rod firmly to ensure a durable and reliable installation. Enhance your double gate’s stability and enjoy the convenience of a properly functioning drop rod today!