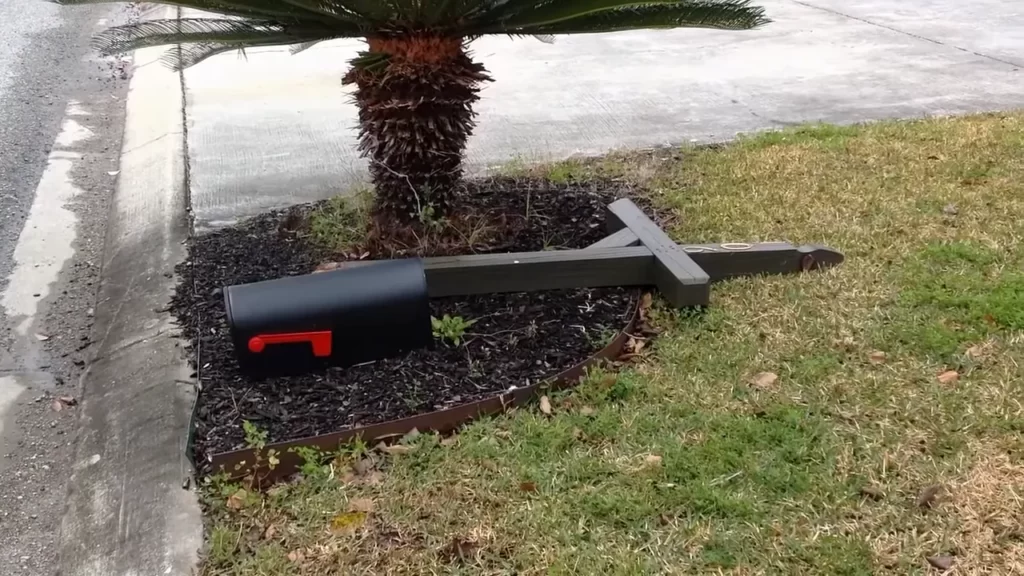
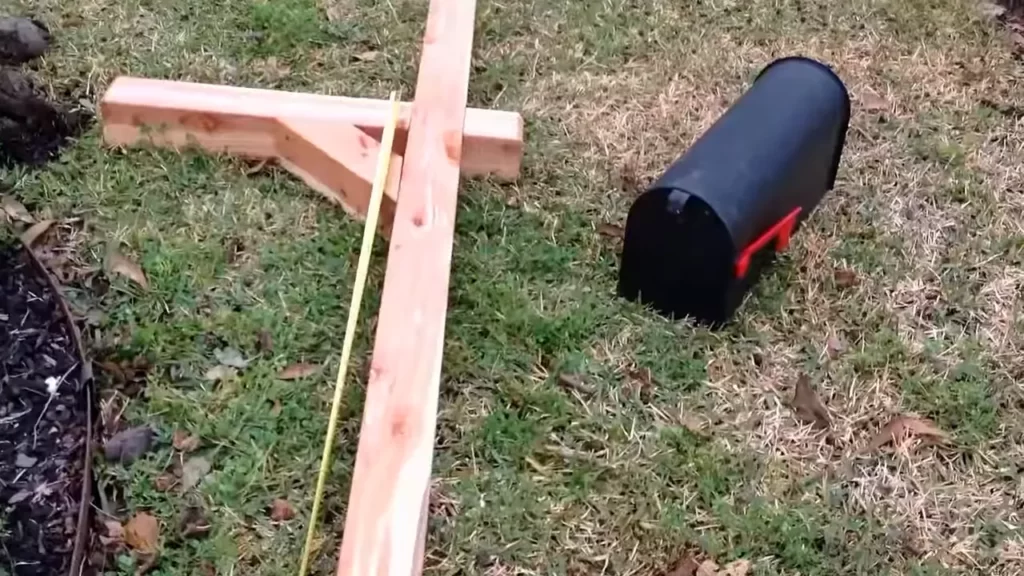
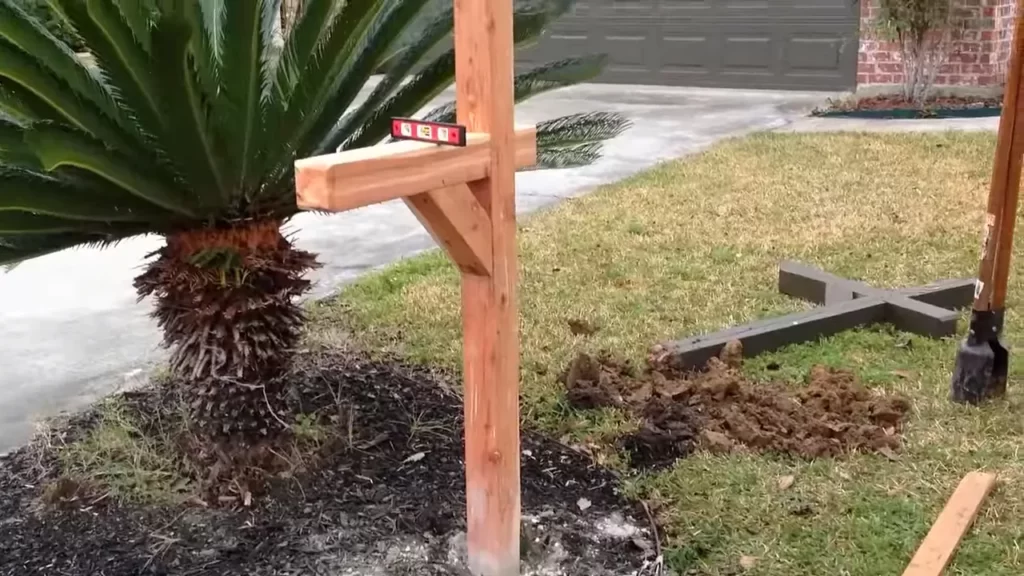
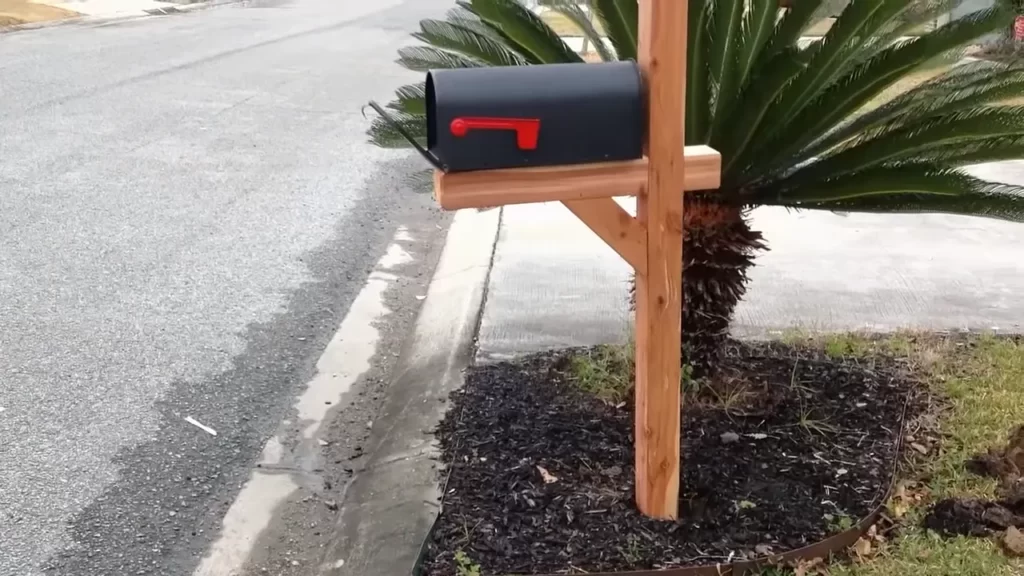
To install a mailbox in the ground, dig a hole, insert the mailbox post, and secure it in place with concrete. Installing a mailbox in the ground is a simple yet important task for homeowners.
A mailbox provides a safe and convenient place for mail delivery, ensuring that you never miss out on important correspondence. By following a few straightforward steps, you can install a mailbox in your yard without any hassle. We will guide you on how to properly install a mailbox in the ground.
From digging the hole to securing the post in place, we will cover all the necessary steps to ensure a sturdy and long-lasting installation. So let’s get started and have your mailbox ready to receive mail in no time.

Choosing The Right Location For Your Mailbox
When installing a mailbox in the ground, choosing the right location is crucial. There are several factors to consider to ensure visibility and accessibility.
Firstly, the mailbox should be placed in a location that is easily visible from the road. This allows mail carriers to identify and access the mailbox without any difficulty. To achieve this, consider placing it at a height and angle that makes it easily visible from a distance.
Secondly, accessibility is key. The location should provide easy access for both the mail carrier and the homeowner. Ensure that there are no obstacles, such as bushes or fences, that could hinder access to the mailbox. Additionally, make sure the mailbox is located at a convenient spot, such as near the driveway.
Overall, selecting the right location for your mailbox involves finding a balance between visibility and accessibility. By considering these factors, you can ensure that your mailbox is easily accessible for both mail carriers and yourself.
Preparing The Necessary Materials And Tools
Gathering the materials you’ll need:
- Post hole digger
- Shovel
- Tape measure
- Pencil or marker
- Level
- 7-inch diameter cardboard tube
- Quikrete or concrete mix
- Mixing container
- Water
- Mailbox post
- Mailbox
- Mailbox mounting bracket
- Screws
Gather all the necessary tools and materials before starting the installation process. You will need a post hole digger, shovel, tape measure, pencil or marker, level, a 7-inch diameter cardboard tube, Quikrete or concrete mix, a mixing container, water, a mailbox post, mailbox, mailbox mounting bracket, and screws.
Digging The Hole For Your Mailbox

Properly determining the dimensions of the hole you need to dig for your mailbox is crucial to ensure a secure and stable installation. To start, measure the height and width of your mailbox to determine the appropriate dimensions for the hole. It is recommended to add a few inches to each measurement to allow for stability. The depth of the hole should take into account local regulations and the type of mailbox you have. Generally, a depth of 18-24 inches is sufficient for stability.
When it comes to digging the hole, it’s important to use the proper techniques to avoid any damage to utility lines and to make the process easier. Before digging, contact your local utility company to identify the location of any underground utilities. Use a shovel or a post hole digger to carefully excavate the hole, making sure to remove any rocks or debris that may hinder proper installation.
By following these guidelines for determining the hole dimensions and using the proper techniques for digging, you can ensure a successful and secure installation of your mailbox in the ground.
Securing The Mailbox Post In The Ground
To install a mailbox in the ground, it is important to secure the mailbox post properly. This ensures stability and correct alignment. When inserting the post into the hole, make sure the hole is deep enough to accommodate the post and allow for proper support. Dig a hole that is at least 18 inches deep and approximately 6 inches wider than the post. Fill the bottom of the hole with a few inches of gravel to improve drainage.
Place the mailbox post into the hole and make sure it is level. Use a level to check the alignment and adjust as needed. Once the post is aligned correctly, fill the hole with concrete mix to secure the post. Make sure the concrete mix is mixed thoroughly and follow the manufacturer’s instructions for the correct water-to-mix ratio.
After filling the hole with concrete, use a scrap piece of wood to pack the concrete mix tightly around the post. This helps to further secure the post and ensure stability. Allow the concrete to fully cure according to the manufacturer’s instructions before attaching the mailbox. Once the concrete has cured, attach the mailbox securely to the post using the appropriate hardware.
Filling The Hole Around The Mailbox Post

html
Installing a mailbox in the ground requires proper technique to ensure stability and durability. One crucial step is filling the hole around the mailbox post. To do this, start by layering the hole with gravel. This helps with drainage and prevents water buildup, which can cause the post to rot. Gradually add the gravel while ensuring that it is evenly distributed around the post. After layering the hole with gravel, properly compact the soil around the post. This ensures that the post is securely anchored and minimizes shifting or leaning over time. Use a tamper or the back of a shovel to compact the soil firmly but gently, avoiding damage to the post. By following these steps, you can install a mailbox in the ground effectively and ensure it stands strong for years to come.
Mounting The Mailbox On The Post
Installing a mailbox in the ground requires careful steps to ensure stability and levelness. When mounting the mailbox on the post, it is important to attach it securely. This can be done by using bolts or screws that are appropriate for the mailbox and post materials. Ensure that the attachment is tight and secure to prevent any wobbling or movement. To check for stability and levelness, carefully inspect the mailbox and post once attached. Verify that it is standing straight and level by using a level tool. Adjust as necessary to achieve the desired stability. Once everything is properly attached and leveled, the mailbox is ready for use.
Testing The Mailbox Installation
Once you have successfully installed a mailbox in the ground, it is important to test its functionality and durability. The first aspect to test is the smooth opening and closing of the mailbox. Check that the hinges or other mechanisms operate smoothly without any binding or resistance. This ensures that the mailbox can be easily accessed by the mail carrier and that it will not get stuck when closing.
In addition to testing the mailbox’s functionality, it is crucial to assess the sturdiness of the installation. Applying pressure to the mailbox with your hands can help determine if it is securely positioned in the ground. Make sure that the mailbox does not move or wobble excessively.
By conducting these tests, you can ensure that your mailbox is properly installed and ready to serve its purpose of securely receiving your mail. Regular checks of the mailbox can also help identify any potential issues or maintenance needs in the future.

Adding Finishing Touches
After installing a mailbox in the ground, it is time to add the finishing touches and decorate the mailbox area. One way to do this is by adding address numbers, which not only make your mailbox easier to locate but also give it a personalized touch. There are various optional features you can consider when decorating the mailbox area, including:
- Painting the mailbox to match your house’s color scheme
- Adding a decorative flag or mailbox topper
- Planting colorful flowers or small shrubs around the area
- Using decorative stones or bricks to create an attractive border
- Installing a solar-powered light near the mailbox to enhance visibility at night
By incorporating these optional features, you can transform your mailbox area into a welcoming and aesthetically pleasing part of your home’s exterior.
Maintaining And Repairing Your Mailbox
Regular cleaning and maintenance tips:
To ensure that your mailbox stays in good condition and functions properly, regular cleaning and maintenance are essential. Start by removing any dirt, debris, or vegetation that may have accumulated around the base of the mailbox. This will help prevent damage and ensure easy access for mail carriers.
Inspect your mailbox periodically for any signs of wear or damage. Check that the mailbox door opens and closes properly and that the lock, if applicable, is in working order. If you notice any cracks, rust, or loose parts, it is important to address these issues promptly to prevent further damage.

Additionally, consider applying a protective coating to the mailbox to help prevent rust and prolong its lifespan. This can be done using specialized mailbox paint or a clear coat sealant.
By following these regular cleaning and maintenance tips, you can ensure that your mailbox remains in optimal condition and provides a convenient and reliable way to receive your mail.
Legal Considerations For Mailbox Installation
When installing a mailbox in the ground, it is important to consider the legal aspect of the process. This includes checking local regulations and requirements that may dictate the specifications for mailbox placement and installation. Each city or municipality may have their own guidelines regarding setback distances from the road, height restrictions, and visibility requirements. It is crucial to be aware of these regulations to ensure compliance and avoid any potential penalties or issues down the line.
In addition to checking local regulations, it is also advisable to determine if any permits or approvals are necessary for the installation of a mailbox. Some areas may require homeowners to obtain permits or seek approval from relevant authorities before installing a mailbox in the ground. This step is important to ensure that the chosen mailbox location and design meet the necessary criteria and won’t create any safety hazards or obstruction to traffic.
Frequently Asked Questions For How To Install A Mailbox In The Ground
Do I Need Concrete To Install Mailbox?
Yes, concrete is typically used to install a mailbox. It provides a strong and stable base that helps to secure the mailbox in place. Using concrete ensures that the mailbox remains upright and resistant to wind and other elements.
How Deep Do You Put A Mailbox Post In The Ground?
A mailbox post is usually set about 2 feet deep in the ground for stability and durability.
Can You Cement A Mailbox Post In The Ground?
Yes, you can cement a mailbox post in the ground to ensure stability and durability. This method is recommended to secure the post and prevent it from shifting or falling. It provides a strong foundation and helps the mailbox withstand weather conditions and regular use.
Conclusion
Installing a mailbox in the ground is a simple and essential task that ensures efficient mail delivery and adds a touch of curb appeal to your home. By following the step-by-step instructions provided in this blog post, you can easily complete the installation process without any hassle.
Remember to choose a suitable location, gather the necessary tools, and follow the proper guidelines to ensure a secure and long-lasting mailbox installation. Happy
