To install a metal fence post, dig a hole, insert the post, and secure it with concrete. Proper installation will ensure stability and durability of the fence.
When installing a metal fence post, it is crucial to have a sturdy foundation for long-lasting results. Whether you are looking to enhance the security of your property or define boundaries, a metal fence can be an excellent choice. Installing a fence post requires careful preparation and the right tools.
This guide will provide step-by-step instructions on how to install a metal fence post efficiently. With proper installation, you can enjoy the benefits of a secure and attractive fence for years to come. So, let’s dive into the process of installing a metal fence post.
Factors To Consider
Factors to Consider:
Soil Type and Condition: The soil type and condition play a crucial role in the installation of a metal fence post. It’s important to assess whether the soil is sandy, clayey, or loamy, as each type may require different installation techniques. Sandy soil tends to drain quickly and may require additional support to prevent the post from shifting. Clayey soil, on the other hand, retains moisture and may require proper drainage to avoid post decay. Evaluating the condition of the soil is also important, as compacted or rocky soil can make it difficult to dig a hole for the post.
Climate and Weather Conditions: The climate and weather conditions in your area can affect the longevity and stability of a metal fence post. In regions with extreme temperatures or frequent freeze-thaw cycles, galvanized or coated posts are recommended to prevent rust and corrosion. High winds may require additional reinforcement, such as concrete footings or braces, to ensure the post remains upright.
Fence Height and Material: The height and material of the fence will determine the size and strength of the metal fence post needed. Taller fences exert more pressure on the posts, requiring deeper and wider holes for stability. Additionally, heavier materials like wrought iron or steel fences may necessitate thicker and stronger posts for support. Consider the specific requirements of your fence design to choose the appropriate metal post.
Types Of Metal Fence Posts
Types of Metal Fence Posts
Steel Posts: Steel fence posts are known for their strength and durability. They provide excellent support and stability for fences, making them a popular choice for both residential and commercial properties. Steel posts are resistant to weather elements, such as rust and corrosion, ensuring a long lifespan. They are available in various sizes and can be easily installed into the ground with the help of concrete.
Aluminum Posts: Aluminum fence posts are lightweight yet sturdy. They are a great option for areas with high humidity or saltwater exposure as they are resistant to rust and corrosion. The lightweight nature of aluminum posts also makes them easy to handle during installation. They come in different designs and styles, offering versatility in terms of aesthetics.
Wrought Iron Posts: Wrought iron fence posts are known for their classic and elegant appearance. They are extremely durable and can withstand harsh weather conditions. Wrought iron posts require minimal maintenance and can last for decades. These posts can be customized to fit specific design preferences, adding a touch of sophistication to any property.
Pros And Cons
Strength and Durability
Metal fence posts are known for their strength and durability. They are resistant to rot, pests, and weather-related damage, making them a long-lasting option for any property. Unlike wooden posts that can warp or weaken over time, metal posts retain their structural integrity and provide a solid foundation for the fence. This means that metal fence posts are a reliable choice that requires minimal maintenance.
Maintenance and Cost
When it comes to maintenance and cost, metal fence posts have clear advantages. Unlike wooden posts that may need frequent inspections, sealing, and repainting, metal posts do not require such extensive maintenance. This can save both time and money in the long run. Additionally, metal fence posts are often more affordable than alternatives like stone or brick, making them a cost-effective option for homeowners on a budget.
Aesthetics and Customization Options
While some may argue that metal fence posts lack the aesthetic appeal compared to other materials, there are customization options available. Metal posts can be painted or coated in various colors to match the overall design of your property. Additionally, metal posts can be combined with different types of fencing materials, such as wood or vinyl, to create a unique and visually pleasing look. This flexibility allows homeowners to find a balance between durability and aesthetics when installing a metal fence post.
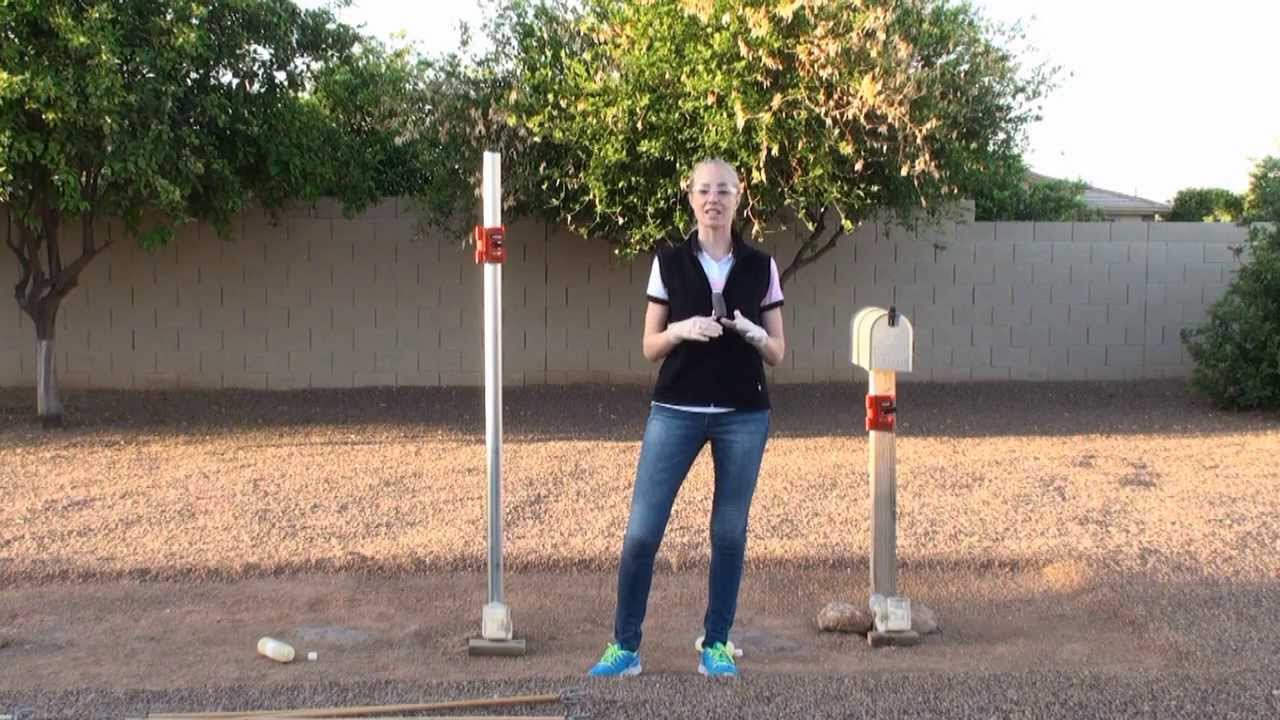
Credit: m.youtube.com
Marking The Fence Line
When installing a metal fence post, it is crucial to begin by marking the fence line accurately. This ensures that the fence is properly aligned and within the property boundaries. To determine the property boundaries, stakes and string can be utilized. By placing stakes at each corner of the desired fence line and stretching string tightly between them, a straight and level guideline is created. This allows for precise measurements and prevents any encroachments onto neighboring properties. Additionally, it is advisable to consult property surveys or land records for exact boundary information. Taking the time to mark the fence line accurately not only ensures a sturdy installation but also avoids any potential conflicts with neighbors or legal issues in the future.
Clearing Obstacles And Vegetation
To install a metal fence post, it is important to clear any obstacles and vegetation that may hinder the installation. This includes removing rocks, roots, and debris that may be in the way. Begin by inspecting the area and identifying any potential obstacles. Use a shovel or pickaxe to remove rocks and break up larger debris. Digging around the area will help expose any hidden roots, which can be cut with pruning shears to facilitate the installation process.
Another important step is trimming overhanging branches that may interfere with the metal fence post. Use a pruning saw or shears to carefully trim any branches that are in close proximity to the installation area. Ensuring a clear and obstacle-free space will make the installation process much easier and allow for a secure and stable metal fence post.
Digging The Post Holes
Digging the Post Holes
Digging the post holes is a crucial step in installing a metal fence post. The required depth and diameter of the holes are important factors to consider. The depth of the hole should be approximately one-third of the length of the metal post. For example, if you have a 6-foot post, the hole should be around 2 feet deep. The diameter of the hole should also be wide enough to accommodate the post and allow for stability. Generally, a hole with a diameter of 12 inches is sufficient. To dig the holes, you will need a few tools and equipment, such as a post hole digger or an auger. These tools make the digging process easier and more efficient. Additionally, here are a few tips to make the digging process even easier. First, mark the locations of the post holes before starting. This ensures accuracy and avoids any unnecessary digging. It is also helpful to soften the ground by watering it prior to digging. This makes it easier to break up the soil and removes any rocks or roots that may hinder the digging process. Finally, it is important to stay safe while digging. Wear appropriate protective gear, such as gloves and goggles, and be cautious of any underground utilities or pipes. By following these guidelines and tips, you can successfully dig the post holes for your metal fence posts.
Inserting The Posts Into The Holes
One crucial step in installing a metal fence post is inserting the posts into the holes. To ensure proper alignment and leveling, follow these steps:
- Start by digging holes for each post at the desired intervals. Make sure the holes are deep enough to accommodate at least a third of the post’s height.
- Place the first post into its hole, maintaining its vertical position. Use a level to ensure it is perfectly straight.
- Add concrete or gravel around the post to provide stability. For concrete, mix it according to the manufacturer’s instructions and pour it into the hole until it reaches ground level. For gravel, layer it around the post and tamp it down firmly.
- Repeat the process for the remaining posts, aligning them properly and using the level to ensure they are plumb.
- Allow the concrete to cure according to the manufacturer’s recommendations before proceeding with the fence installation.
By following these steps, you can insert metal fence posts effectively, ensuring proper alignment and stability for your fence.
Securing The Posts
When installing a metal fence post, it’s crucial to secure them properly to ensure the stability and longevity of the fence. One of the effective bracing techniques is using support bands or straps, which provide additional reinforcement to the posts.
Support bands or straps can be made of metal or synthetic materials and are wrapped tightly around the post and secured to the surrounding structure. These bands or straps help prevent the posts from shifting or leaning over time, especially in areas with high wind or soil erosion.
To install support bands or straps, start by placing the band around the post at the desired height. Then, tighten the band using appropriate tools, ensuring it is firmly in place. Finally, secure the other end of the band to a sturdy anchor point, such as a nearby fence panel or building.
Remember to regularly inspect the support bands or straps to ensure they remain intact and tight. If any damage or loosening is detected, promptly replace or reinforce them to maintain the stability of the metal fence posts.
Allowing For Gate Installation
Calculating the right placement and size of your metal fence post is crucial when considering gate installation. Properly measuring and positioning the post will ensure a secure foundation for your gate. Measure the width of your gate and add a few inches to determine the placement of the post. If you’re installing a double gate, it is essential to calculate the required width accurately.
When installing a gate, it’s vital to reinforce the metal fence post to handle the added weight and stress. One effective method to reinforce the post is by using concrete. Dig a hole deep enough to accommodate the post length and pour concrete around it. This will create a sturdy base that can support the weight of the gate. Another option is to use a steel gate brace, which provides additional stability and durability. Simply attach the gate brace to the metal fence post, ensuring it is level and secure.
Setting Time For Concrete
The curing process and timeframe for setting concrete to install a metal fence post can vary depending on several factors. One of the primary factors that affect drying time is the type of concrete used. Different concrete mixtures have different curing times, which can range from a few hours to several days.
Another factor to consider is the ambient temperature and humidity level. Higher temperatures and lower humidity can lead to quicker drying time, while lower temperatures and higher humidity can result in a longer drying time. Additionally, the thickness and size of the concrete also play a role in how long it takes to cure.
To ensure proper curing, it’s essential to follow the manufacturer’s instructions for the specific type of concrete being used. This may include keeping the concrete moist by regularly spraying it with water or covering it with a plastic sheet to prevent excessive evaporation. It’s important to give sufficient time for the concrete to fully cure before proceeding with installing the metal fence post.
Adding Post Caps And Finishing Touches
When it comes to enhancing the aesthetics and protection of your metal fence post, adding post caps and finishing touches is essential. Post caps not only provide a decorative element but also help protect the top of the post from weathering and extend its lifespan.
There are different types of post caps available in the market, allowing you to choose the one that suits your style and preferences. Some popular options include:
| Post Cap Type | Description |
|---|---|
| Ball Cap | Simple and classic design, mimics the shape of a ball. |
| Flat Cap | Clean and minimalist look, usually a flat surface. |
| Pyramid Cap | Sharp, pyramid-shaped cap, adds a contemporary touch. |
| Solar Cap | Includes a solar panel to provide illumination at night. |
These post caps not only add a finishing touch to your metal fence post but also protect it from water damage, insects, and other elements, ensuring its longevity. Choose the post cap that complements your overall fence design and enhances the overall aesthetics of your property.
Maintenance And Longevity
When it comes to installing a metal fence post, it is important to consider maintenance and longevity. Inspecting and repairing metal posts regularly can help prolong their lifespan. Take the time to check for any signs of damage or wear, such as rust or corrosion. If any issues are detected, it is crucial to address them promptly to prevent further damage. Preventing rust and corrosion is also key in maintaining the integrity of metal fence posts. Applying a protective coating or paint can help create a barrier between the metal and the elements. Regular cleaning and removing any debris or vegetation around the posts can also help prevent moisture buildup and potential damage. By following these steps, you can ensure that your metal fence posts remain sturdy and durable for years to come.
Frequently Asked Questions For How To Install A Metal Fence Post
Should Metal Fence Posts Be Set In Concrete?
Metal fence posts should be set in concrete for increased stability and durability. This ensures that the posts remain firmly in place, even in harsh weather conditions. Concrete helps prevent shifting or leaning of the posts, providing a strong foundation for the fence.
How Deep Should Metal Fence Post Be In The Ground?
Metal fence posts should be embedded in the ground at a depth of at least 2 feet to ensure stability and support. This will prevent the posts from shifting or leaning over time and maintain the integrity of the fence structure.
How Do You Install A Steel Fence Post In The Ground?
To install a steel fence post in the ground, follow these steps: 1. Dig a hole that’s approximately one-third the length of the post. 2. Place the post in the hole and ensure it’s level. 3. Fill the hole with concrete mix and allow it to set.
4. Check for proper alignment and make any necessary adjustments. 5. Finally, let the concrete cure completely before attaching the fencing materials.
How Do You Anchor A Metal Fence Post?
To anchor a metal fence post, follow these steps: 1. Dig a hole deep enough to accommodate the post. 2. Place the post in the hole, making sure it is straight. 3. Fill the hole with concrete, ensuring it covers the base of the post.
4. Use a level to check the post’s alignment. 5. Allow the concrete to cure before attaching the fence.
Conclusion
Installing a metal fence post can seem like a daunting task, but with the right tools and techniques, it becomes a simple and quick process. By following the step-by-step guide in this blog post, you can confidently install a metal fence post in your own backyard.
Remember to choose the right materials, prepare the ground properly, and secure the post firmly to ensure a sturdy and long-lasting fence. With this knowledge, you can now embark on your fencing project with ease. Happy installing!