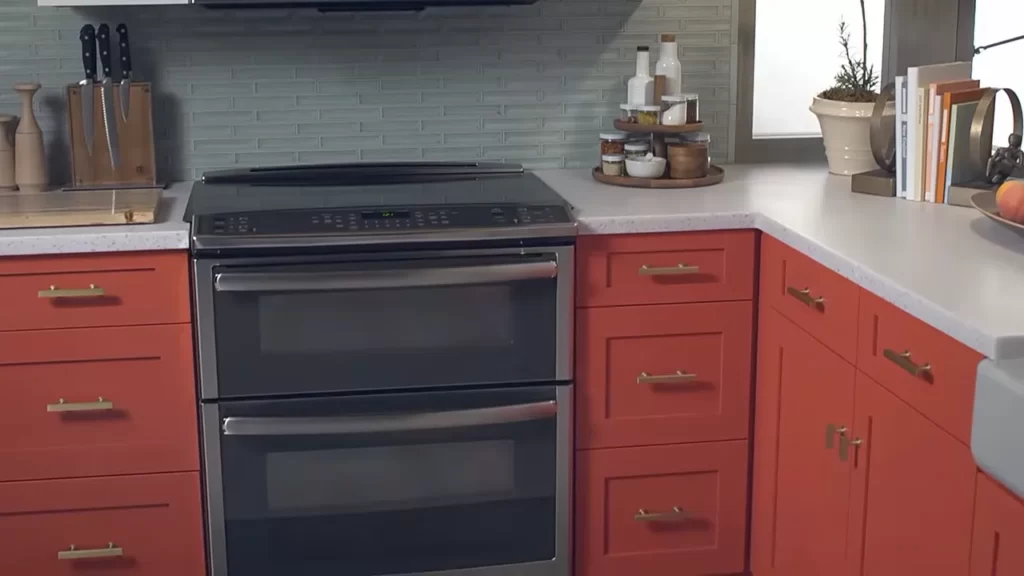
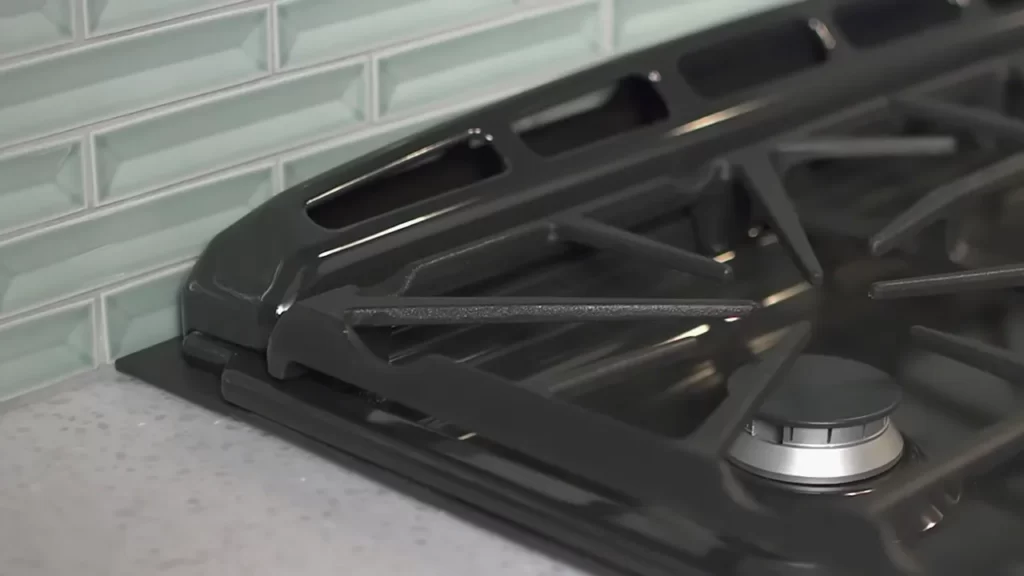
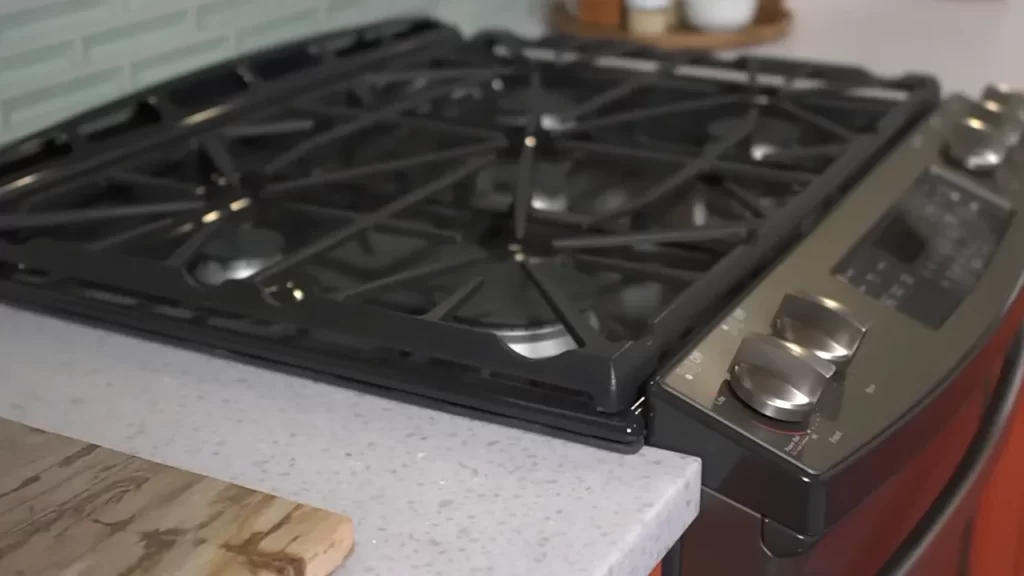
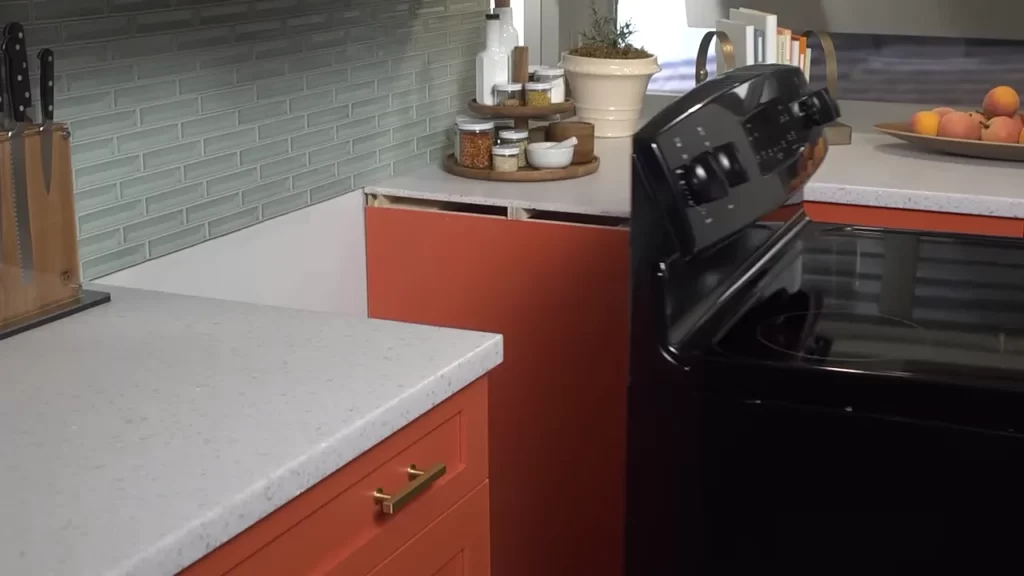
To install a slide-in range, remove the old range and plug in the new range, ensuring proper alignment and securing it in place. Installing a slide-in range is a straightforward process that can easily be completed by following a few simple steps.
Whether you are replacing an old range or installing a new one, this guide will provide you with the necessary information to get the job done. We will outline the steps required to properly install a slide-in range, including removing the old range, aligning and plugging in the new range, and securing it in place.
By following these instructions, you will have your slide-in range installed and ready to use in no time. So let’s get started!
Preparing For Installation
Before installing a slide in range, there are a few important steps to take.
Measuring The Space For The Slide In Range

First, accurately measure the space where the slide in range will be installed. This will ensure a proper fit and prevent any issues during the installation process. Measure both the height and width of the space, as well as the depth to ensure it can accommodate the range.
Determining The Appropriate Power Source
Next, determine the appropriate power source for the slide in range. This will depend on the specific model and its power requirements. Check the electrical wiring in your kitchen and ensure it matches the power requirements of the range. If necessary, consult a professional electrician to help with any necessary wiring adjustments.
Gathering Necessary Tools And Materials
Lastly, gather all the necessary tools and materials needed for the installation. This may include a screwdriver, level, measuring tape, adjustable wrench, and any other tools required by the manufacturer. It’s important to have everything on hand before starting the installation to avoid unnecessary delays or interruptions.
Removing The Old Range
If you are looking to install a slide-in range, it is important to first remove the old range. Begin by turning off the power supply. This will ensure your safety during the removal process. Next, disconnect the gas or electric connection. This will vary depending on the type of range you have. Be sure to consult the manufacturer’s instructions for specific guidance.
Once the power supply and gas or electric connection are turned off and disconnected, you can proceed with detaching the existing range from the wall. This may involve removing screws or brackets that secure the range in place. Carefully lift the range away from the wall, making sure to have assistance if needed due to its weight. Set the old range aside in a safe location.
Installing The Slide In Range
Connecting the power supply:
Before installing the slide in range, ensure that the power supply is turned off at the circuit breaker. Follow the manufacturer’s instructions for connecting the electrical wire to the range. Make sure to use a UL-listed power cord suitable for the voltage and amperage requirements of the range. It is recommended to use a 4-wire power cord for optimal safety.
Securing the slide in range in the designated space:

Ensure that the area where you plan to install the slide-in range is level and that there is enough space for the range to fit properly. Secure the range by adjusting the leveling legs to make it stable and prevent any movement during use. Use the anchoring brackets or anti-tip devices provided with the range to secure it to the wall or floor for added safety.
Testing the connection and functionality:
Once the range is securely installed, turn on the power supply and test the connection by setting the oven temperature and turning on the burners. Check for any unusual smells, sounds, or visual abnormalities. Run a test cycle to ensure that the oven reaches the desired temperature and that the burners ignite properly. If any issues arise, refer to the manufacturer’s troubleshooting guide or contact their customer support for assistance.
Leveling And Aligning The Range
Leveling and aligning your slide-in range is essential to ensure stability on the floor. To begin, adjust the level of the range to ensure even cooking and prevent any potential issues. Use a leveling tool to check if the range is perfectly level, both from front to back and side to side. If adjustments are needed, simply adjust the leveling legs accordingly.
Next, align the range with the surrounding cabinets and countertops for a seamless appearance. Aligning the range involves ensuring that it is flush with the adjacent cabinets and countertops. This not only enhances the aesthetics but also prevents any gaps or spaces that may collect debris.
| Step | Action |
|---|---|
| 1 | Measure the distance between the range and the cabinets/countertops on both sides. |
| 2 | If the distances are not equal, adjust the range to achieve symmetry. |
| 3 | Ensure the range is level and aligned properly before finalizing the installation. |
Securing The Range In Place

Securing the range in place is an important step in installing a slide-in range in your kitchen. One crucial component of this process is fastening the anti-tip bracket. The anti-tip bracket prevents the range from tipping forward, minimizing the risk of accidents.
To fasten the anti-tip bracket, locate the appropriate mounting holes on the back of the range and secure the bracket firmly onto them using the provided screws. Ensure the bracket is aligned properly and tightened securely.
In addition to the anti-tip bracket, bolting the range securely to the wall is highly recommended. Locate the wall studs behind the range and mark their positions. Use suitable hardware, such as L-brackets or angle brackets, to attach the range to the wall studs. Make sure the bolts are tightened firmly to provide a stable and secure connection.
Finally, verifying the stability and safety measures is necessary to ensure the range is securely installed. Shake the range gently to confirm it is properly secured. Additionally, check for any loose connections or parts. If any issues are found, readjust and tighten the fasteners as necessary.
| SECURING THE RANGE IN PLACE |
| FASTENING THE ANTI-TIP BRACKET |
| – Locate the mounting holes on the back of the range |
| – Secure the anti-tip bracket using provided screws |
| – Ensure proper alignment and secure tightening |
| BOLTING THE RANGE SECURELY TO THE WALL |
| – Locate and mark wall studs behind the range |
| – Use suitable hardware to attach range to wall studs |
| – Ensure tight and secure connection |
| VERIFYING STABILITY AND SAFETY MEASURES |
| – Gently shake the range to confirm stability |
| – Check for loose connections or parts |
| – Readjust and tighten fasteners if necessary |
Finalizing The Installation

After completing the physical installation of a slide-in range, it is crucial to perform a final check to ensure the safety and functionality of the appliance. First and foremost, it is important to inspect for any gas or electrical leaks. This can be done by carefully examining all the connections and fittings, ensuring they are secure and tight. In the case of a gas-powered slide-in range, a small smell of gas may be normal during initial use; however, if the smell persists, it is essential to promptly address the issue.
Once the gas and electrical connections have been verified as safe, the next step involves testing all the functionality and features of the slide-in range. This includes ensuring that the burners ignite and adjust properly, the oven heats up to the desired temperature, and all control knobs and buttons function as expected. Any required adjustments or repairs should be made promptly to ensure optimal performance.
Safety Tips For Slide In Range Installation
Installing a slide-in range can be a daunting task, but with proper safety precautions and following the manufacturer’s instructions, you can ensure a smooth and successful installation. First and foremost, prioritize your safety. Wear protective gear such as gloves and safety goggles to avoid injuries. Take precautions to prevent any accidents by turning off the power supply and gas line before starting the installation process.
It is crucial to carefully read and follow the manufacturer’s instructions provided with the slide-in range. These instructions will guide you through the installation steps, including electrical and gas connections. If you are unsure about any step, it is highly recommended to seek professional help to avoid any potential issues or hazards.
By following these safety tips and manufacturer’s instructions, you can confidently install a slide-in range without compromising your safety or appliance functionality.
Faqs

Can a slide-in range be installed on any type of countertop?Yes, slide-in ranges can be installed on most types of countertops, including granite, quartz, laminate, and solid surface. However, it is important to ensure that the countertop is level and can support the weight of the range. Some slide-in ranges require a certain depth of countertop to accommodate the range’s controls and backguard, so it’s important to check the manufacturer’s specifications before purchasing.
Are slide-in ranges difficult to install?The difficulty of installing a slide-in range can vary depending on your level of experience with electrical and gas connections. If you are comfortable working with these systems, installing a slide-in range can be a straightforward process. However, if you are unsure or have limited experience, it is recommended to hire a professional to ensure proper installation and safety.
What should I do if I encounter any issues during the installation process?If you encounter any issues during the installation process, it is recommended to refer to the manufacturer’s installation instructions or contact their customer support for guidance. They will be able to provide you with specific troubleshooting steps or recommend a professional service technician if necessary. It is important to address any issues promptly to avoid any potential safety hazards or damage to the range.
Frequently Asked Questions Of How To Install A Slide In Range
Does A Slide In Range Need Countertop Behind It?
Yes, a slide-in range typically requires countertop behind it for proper installation and support.
Does A Slide In Range Go All The Way To The Wall?
Yes, a slide-in range typically fits flush against the wall for a seamless look.
Do All Slide In Ranges Have To Be Hardwired?
No, not all slide-in ranges have to be hardwired. Some models can be powered by a standard electrical outlet. Check the specifications of the range you are interested in to determine the power requirements and whether it needs to be hardwired or not.
Conclusion
Installing a slide-in range may seem daunting, but with the right guidance, it can be an achievable task. By following the steps outlined in this blog post, you can confidently install your slide-in range with ease. Remember to measure, prepare the area, safely connect the wires and gas lines, and secure the range in place.
With these instructions in mind, you’ll be enjoying your new slide-in range in no time. Happy cooking!
