To install a spring on a garage door, first, ensure you have the necessary tools and that the door is closed. Then, locate the torsion spring above the door and carefully secure it using the appropriate winding bars.
Types Of Garage Door Springs
Garage doors are equipped with different types of springs to ensure smooth and efficient operation. The two main types of springs used in garage doors are extension springs and torsion springs.
Extension springs are typically found on the sides of the garage door and work by extending and contracting to counterbalance the weight of the door. They are made of tightly coiled steel and are attached to safety cables to prevent injury in case of spring failure.
Torsion springs are mounted horizontally above the garage door opening and are designed to twist and store energy. They provide a smoother and more controlled opening and closing motion. Torsion springs are available in different sizes and strengths depending on the weight of the garage door.
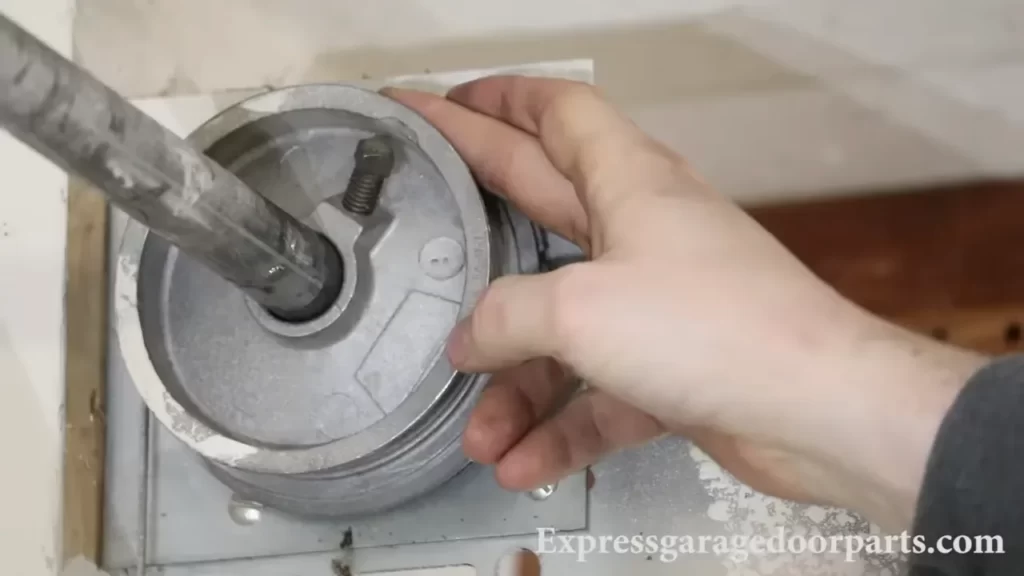
When installing a spring on a garage door, it is important to accurately measure the dimensions and weight of the door to ensure the proper spring is used. Professional installation is recommended to ensure safety and proper functioning of the garage door system.
Important Tools And Equipment
Installing a spring on a garage door requires the right tools and equipment to ensure a safe and efficient process. Here are some essential items you’ll need:
| Safety Glasses | Protect your eyes from any debris or flying objects while working on the garage door. |
| Gloves | Wearing gloves provides better grip and protection for your hands during the installation. |
| Winding Bars | These bars are used to apply torque to the spring during the winding process. |
| Adjustable Wrench | An adjustable wrench helps with tightening and loosening nuts and bolts. |
| C-Clamps | Use C-clamps to secure the garage door in place to prevent any unexpected movements. |
By having these tools and equipment ready, you can tackle the spring installation with confidence, knowing that you have everything necessary to complete the task safely and effectively.
Step 1: Measure And Determine The Correct Spring Size
When installing a spring on a garage door, it is important to measure and determine the correct spring size. This involves understanding the door weight and height, as well as identifying the type of existing spring.
Understanding the Door Weight and Height: To determine the correct spring size, you need to know the weight and height of the garage door. The weight can be calculated by using a scale or referring to the manufacturer’s specifications. The height of the door is important because it affects the amount of tension the spring needs to provide.
Identifying the Type of Existing Spring: Before installing a new spring, it is crucial to identify the type of existing spring. There are two common types: torsion springs and extension springs. Torsion springs are usually located above the door, while extension springs are placed on either side. Knowing the existing spring type ensures that the replacement spring is compatible and provides the necessary tension.
Step 2: Release Tension From The Existing Spring
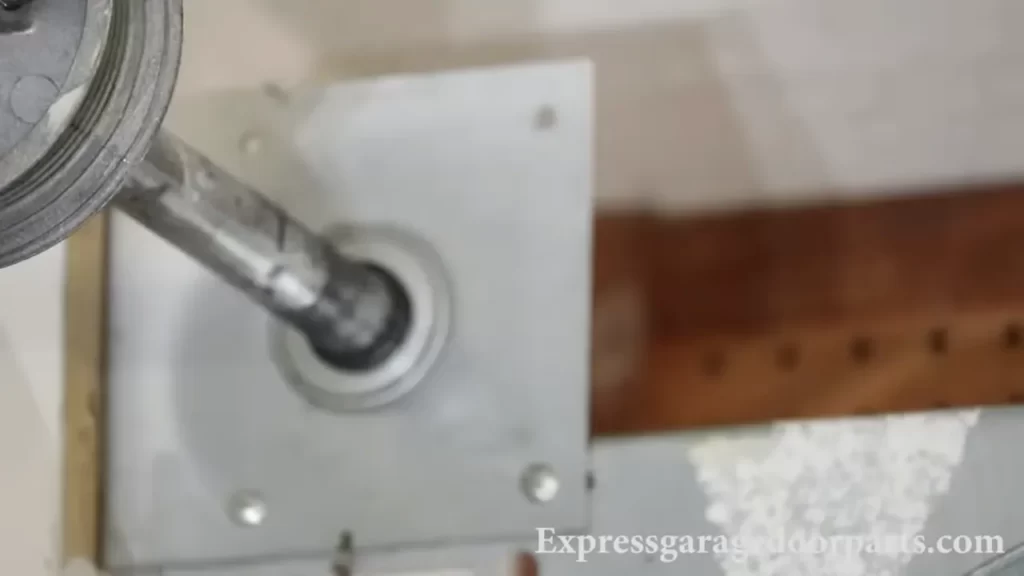
Before attempting to install a spring on a garage door, it is important to release tension from the existing spring. This is a crucial step to ensure safety during the installation process. To begin, you need to disconnect the opener from the door. This can be done by pulling the emergency release cord, which typically hangs down from the opener rail. Once the opener is disconnected, secure the door in place to prevent it from moving.
Next, release tension from the extension springs. This type of spring is typically found on the sides of the garage door. To release tension, use a pair of pliers to pull back on the safety cable attached to the spring. Slowly and carefully, remove the safety cable from the bracket.
For torsion springs, which are located above the garage door, it is important to exercise caution. Use a winding bar to loosen the set screws on the winding cone. Slowly unwind the spring while keeping a firm grip on the winding bar. Repeat the same process for the second spring, if applicable.
Step 3: Remove The Existing Spring
Disconnecting the cables and safety cables is the first step in removing the existing spring. Start by unwinding the cables from the drum, ensuring that the cables are completely loose. Next, locate the safety cables and remove them from the brackets. Make sure to secure the door with clamps or a locking device to prevent it from accidentally falling.
Next, you need to remove the bolts or nuts that are holding the spring in place. Use a wrench or socket set to loosen and remove these fasteners. Keep in mind that the spring is under tension, so it’s important to proceed with caution and wear protective gear to prevent any accidents.
Once the bolts or nuts are removed, carefully take out the spring from the brackets. You may need to use a winding bar or other tools to assist in this process. Take note of the orientation of the spring, as it will be important during the installation of the new spring.
Step 4: Install The New Spring
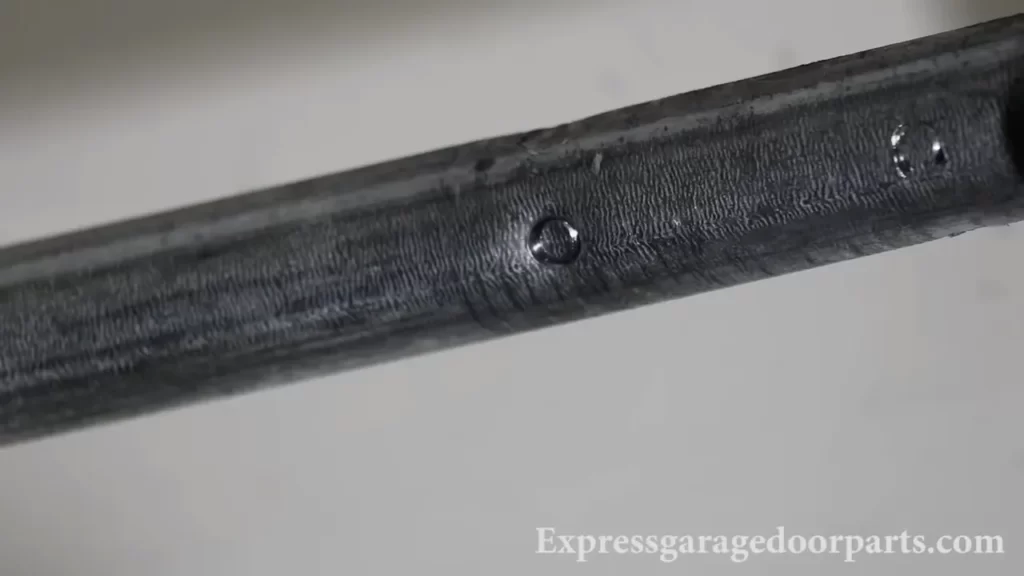
In this step, you will attach and position the new spring on your garage door. Start by installing the cables and safety cables. These cables will ensure the safe operation of the garage door. Attach the cables securely to the brackets on the garage door and carefully position them to avoid any tangling or obstruction.
After installing the cables, it’s time to fasten the spring to the brackets. Make sure the spring is positioned correctly and securely mounted. Use the appropriate tools to tighten the fasteners and ensure a strong and stable connection.
Remember, proper installation of the new spring is crucial for the smooth and safe functioning of your garage door. Take your time and follow the manufacturer’s instructions carefully to ensure everything is in place correctly.
| Step 4: Install the New Spring |
|---|
| Attaching and Positioning the New Spring |
| Installing the Cables and Safety Cables |
| Fastening the Spring to the Brackets |
Step 5: Wind The New Spring
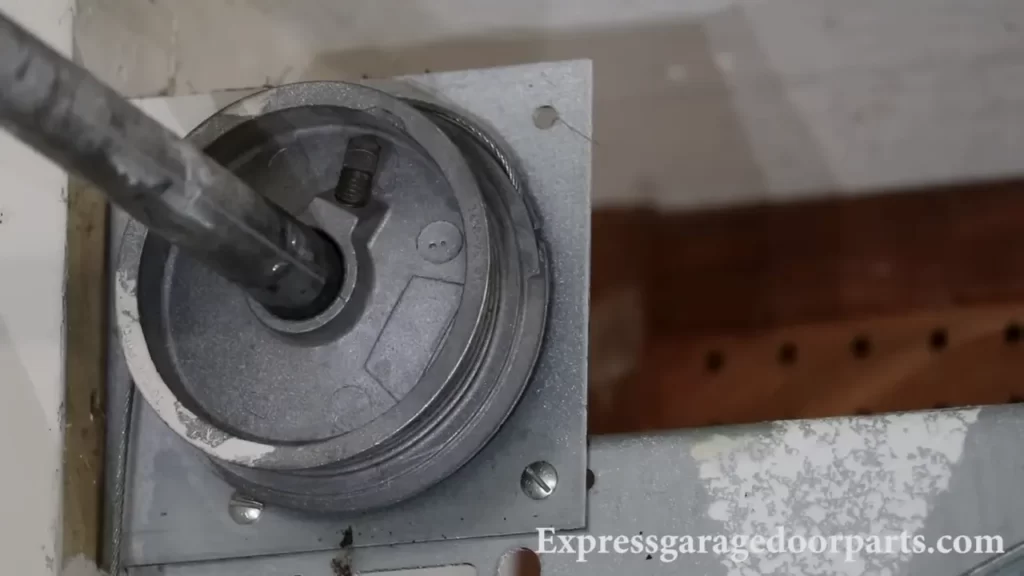
Once you have successfully attached the new spring to the stationary cone, it is time to wind the spring using winding bars. It is important to exercise caution during this step, as winding the torsion spring can be dangerous if not done properly.
Start by inserting the winding bars into the holes located on the cone. Make sure the bars are securely in place before applying any tension. Hold onto the bars firmly, keeping a steady grip throughout the process.
Gently wind the spring in a clockwise direction using the winding bars. Keep an eye on the markings or notches on the bars to ensure you are winding it the correct number of times. Refer to the manufacturer’s instructions for the specific number of turns required for your garage door.
Once you have completed winding the torsion spring, it is important to secure the winding cone. Use a pair of locking pliers or vice grips to hold the cone firmly in place as you remove the winding bars.
If you have extension springs, applying tension is a slightly different process. Start by attaching the extension springs to the track hangers. Use the appropriate tools as recommended by the manufacturer to gradually increase the tension on the springs.
Remember, garage door springs are under a significant amount of tension and mishandling them can result in serious injuries. If you are unsure or uncomfortable with any step of the installation process, it is always recommended to consult a professional.
Step 6: Check The Alignment And Balance
Adjusting the Spring Tension if Needed
After closing the garage door, it is essential to check the overall balance and alignment. Start by observing the door’s movement as it closes and opens. Ideally, the door should move smoothly with minimal effort. If you notice any imbalance or difficulty, it may indicate that the spring tension needs adjustment.
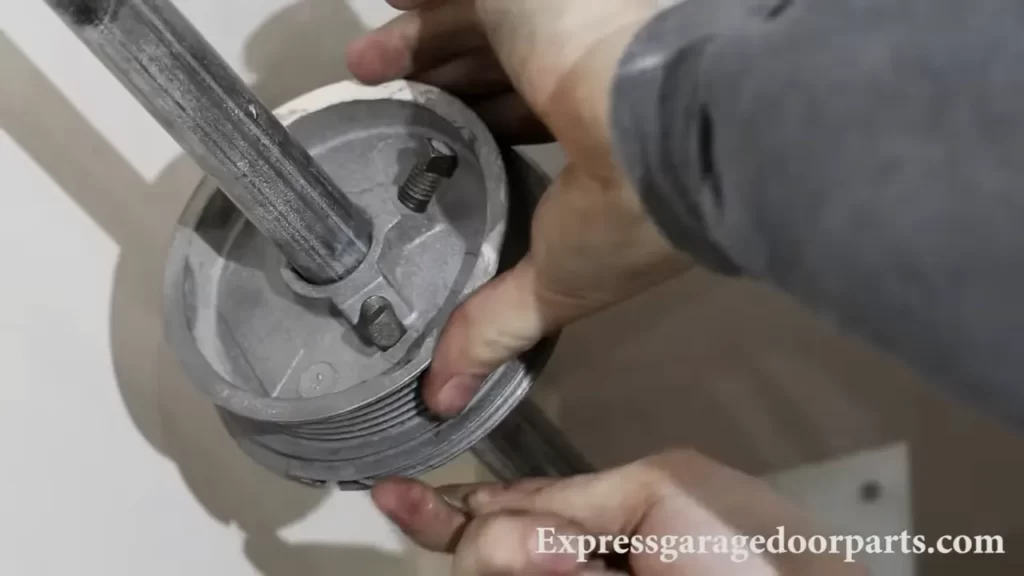
To adjust the spring tension, locate the winding cone at the end of the spring. Using a winding bar, insert it into one of the holes on the cone and carefully turn it in the direction needed to increase or decrease tension. Make small adjustments and test the door’s balance after each turn.
Continue adjusting the tension until the door opens and closes smoothly without any imbalance. Once you have achieved the desired balance, congratulate yourself on a successful spring installation! Remember to regularly inspect and maintain your garage door to ensure its optimal performance and longevity.
Step 7: Reconnect The Opener
After reconnecting the opener, it is important to test the operation of the garage door to ensure it is functioning properly. Start by adjusting the opener settings according to the manufacturer’s instructions. This may involve programming the travel limits, force settings, and other parameters specific to your opener model.
Next, press the remote control or wall button to test the door operation. Observe the door for smooth and balanced movement throughout its travel. Make sure it opens and closes without any jerking or hesitation.
If you notice any issues, such as excessive noise, uneven movement, or the door not closing or opening fully, you may need to further adjust the opener settings. Refer to the user manual or contact the manufacturer for troubleshooting guidance.
Safety Precautions And Tips
Safety Precautions and Tips
- Wear safety glasses and gloves to protect your eyes and hands from any potential hazards.
- Be mindful of the tension and springs involved.
- If uncertain or inexperienced, it is recommended to seek professional help for installation.
Installing a spring on a garage door requires proper safety precautions. It is essential to wear safety glasses and gloves throughout the installation process to protect yourself from any potential injuries. Moreover, you should always be cautious of the tension and springs involved in the installation, as mishandling them can lead to accidents. If you are unsure or lack experience in garage door maintenance, it’s best to seek professional assistance rather than attempting the installation yourself. Remember to prioritize safety at all times when working with garage doors.
Frequently Asked Questions Of How To Install A Spring On A Garage Door
Can You Install Your Own Garage Door Spring?
No, it is not recommended to install your own garage door spring. It requires specialized knowledge and can be dangerous if not done correctly. It is best to hire a professional who has the expertise to safely and effectively install the spring for you.
How Do You Adjust The Tension On A Garage Door Spring?
To adjust the tension on a garage door spring, follow these steps: 1. Identify the type of spring—torsion or extension. 2. Locate the adjustment mechanism—set screws or cables. 3. Use a wrench or pliers to turn the set screws or adjust the cables.
4. Test the door balance by lifting it manually. 5. Make additional adjustments as needed for the desired tension.
How Long Does It Take To Replace A Garage Door Spring?
Replacing a garage door spring typically takes around one to two hours. The exact time can vary depending on the complexity of the job and the experience of the technician handling the replacement.
Conclusion
Installing a spring on a garage door is a vital step to ensure smooth and efficient operation of the door. By following the instructions provided in this blog post, you can confidently tackle this task and avoid any potential risks or complications.
Remember to prioritize safety, use the appropriate tools and materials, and seek professional assistance if needed. With the right knowledge and precautions, you can successfully install a spring on your garage door and enjoy a well-functioning system for years to come.
