o install a bandsaw blade, first, make sure the saw is unplugged. Then, loosen the tension by adjusting the blade tension knob or lever, and remove the old blade.
Next, place the new blade on the wheel, ensuring the teeth face downward. Adjust the blade tension gradually, and track the blade using the tracking knob or bolt. Finally, plug in the saw, adjust the guides as necessary, and ensure the blade is properly aligned before using the bandsaw.

Installing a bandsaw blade may seem like a daunting task, but with the right guidance, it can be a simple and straightforward process. Whether you are a DIY enthusiast or a professional woodworker, knowing how to correctly install a bandsaw blade is essential for optimal performance and safety. This article will provide you with step-by-step instructions on how to install a bandsaw blade accurately. By following these guidelines, you will be able to replace the blade on your bandsaw quickly and efficiently, allowing you to tackle your woodworking projects with ease. So, let’s dive in and learn the proper method to install a bandsaw blade.
Preparing For The Installation
Preparing for the Installation
Gather the necessary tools and materials before starting the installation process. Ensure that the machine is turned off and unplugged to avoid any accidents. It is crucial to prepare the work area for the installation. Clear the space and remove any obstacles that may hinder the process.
Removing The Old Blade
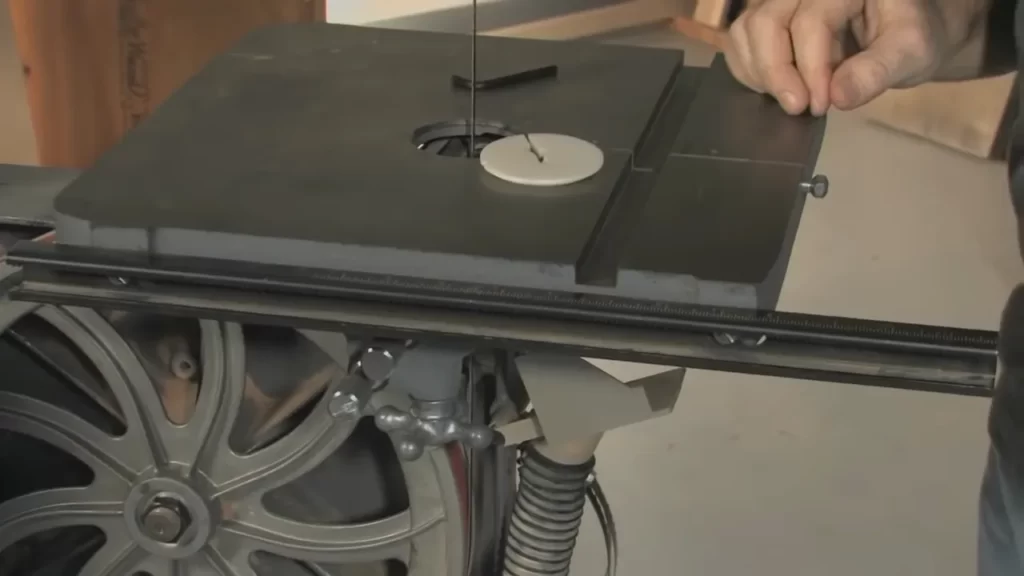
Removing the old blade is an essential step in the process of installing a new bandsaw blade. The first step is to loosen and remove the tension on the old blade. This can typically be done by loosening the tension knob or lever on the bandsaw. Once the tension is released, you can carefully remove the old blade from the bandsaw. It’s important to handle the blade with caution to avoid any injuries. After the old blade is removed, take the time to inspect and clean the bandsaw components. Look for any signs of wear or damage that may need to be addressed before installing the new blade. Clean any debris or dust that may have accumulated on the machine to ensure smooth operation. By following these steps, you can successfully remove the old blade and prepare the bandsaw for installing a new one.
Installing The New Blade

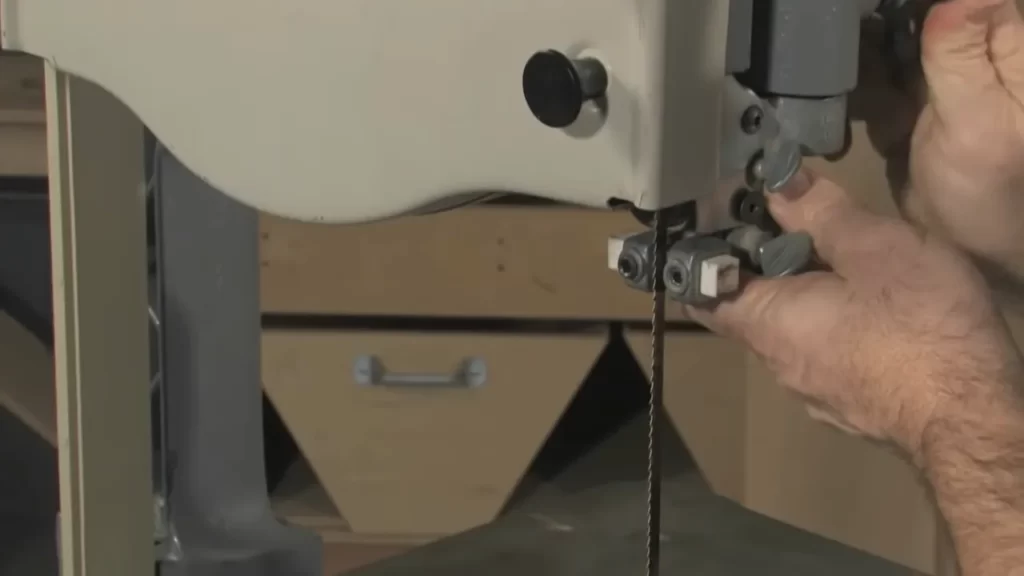
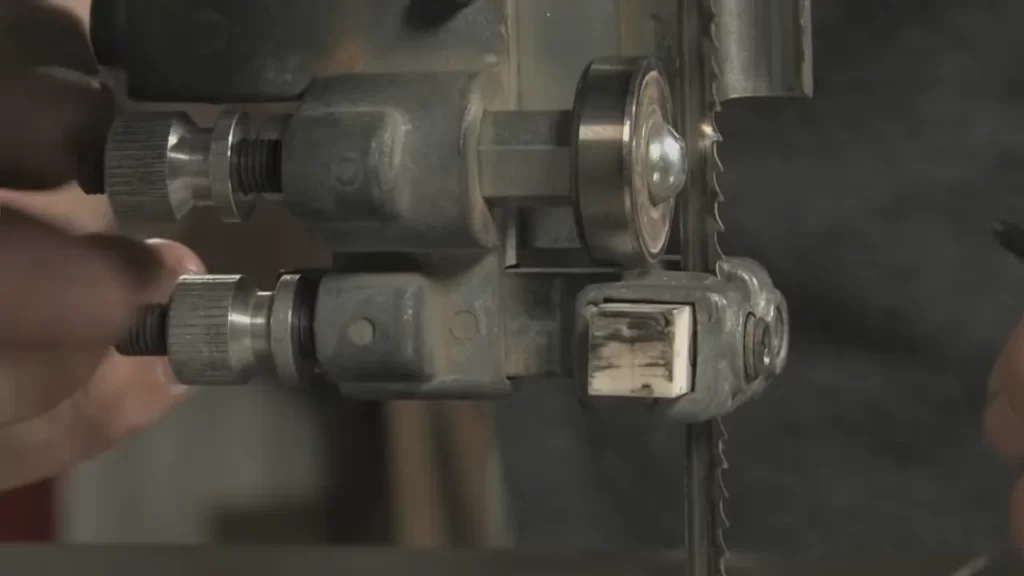
Installing the new blade on your bandsaw is a straightforward process. First, identify the correct blade for your bandsaw by consulting the manufacturer’s guidelines or consulting a professional. Once you have the right blade, ensure that it is properly tensioned before attaching it to the bandsaw wheels. Proper tensioning is crucial to ensure the blade stays in place during operation. To attach the blade, follow the instructions provided by the manufacturer, which may involve using clamps or tightening screws. Finally, adjust the guide bearings and blade guards to ensure smooth and safe operation. Proper adjustment of these components will help to prevent the blade from wandering or coming into contact with other parts of the bandsaw. Following these steps will help you install a new blade on your bandsaw efficiently.
Testing And Adjusting The Blade
To ensure proper installation of a bandsaw blade, it is crucial to test and adjust the blade for optimal performance. Verify proper blade tracking by visually inspecting whether the blade runs in the center of the wheels. Adjust the tension, if necessary, by using your bandsaw’s tensioning mechanism until the blade feels taut. Additionally, adjust the blade tracking to align it with the guides by using the adjustment knobs or screws provided. This will ensure that the blade stays on track during operation. Once adjustments are made, it is important to test the blade’s performance before starting any serious work. Make test cuts on scrap wood or other materials to evaluate the blade’s cutting accuracy and smoothness. If any further adjustments are needed, repeat the process until the blade functions optimally in your bandsaw setup. Remember, installing a bandsaw blade correctly is crucial for efficient and safe woodworking.
Ensuring Safety And Maintenance

Reviewing safety precautions for using a bandsaw is crucial to prevent accidents. Always wear protective gear, such as safety goggles and gloves, when operating the machine. Ensure that the workspace is well-lit and free from any obstructions. Keep your hands away from the blade while it is in motion, and never force the material through the bandsaw.
Regular inspection and maintenance of the blade are essential for its optimal performance. Check for any signs of wear or damage, including cracks or missing teeth. Replace the blade if necessary. Keep the blade clean and free from debris to prevent buildup and ensure smooth operation. Lubricate the blade regularly to reduce friction and prolong its lifespan.
Troubleshooting common issues is also part of maintaining the bandsaw. Check for proper tension of the blade and adjust it accordingly. Ensure that the blade is properly aligned with the guides and pulleys. If the bandsaw is not cutting accurately, consider adjusting the fence or replacing the blade.
Troubleshooting Tips
Blade alignment issues can lead to poor cutting performance and reduce the lifespan of your bandsaw blade. The following solutions can help you correct alignment problems:
1. Checking the Blade Tension: Ensure that the blade tension is properly adjusted according to the manufacturer’s recommendations. Incorrect tension can cause the blade to wander from the desired cutting line.

2. Proper Guide Setup: Make sure that the guides, including the blade guide bearings and thrust bearings, are correctly positioned and aligned with the blade. Misaligned guides can cause the blade to drift during cutting.
3. Blade Tracking Adjustment: Verify that the blade is properly aligned on the wheels by adjusting the tracking mechanism. If the blade is not aligned correctly, it can lead to cutting drift.
Blade slippage can also be a common issue with bandsaw blades. Here are some steps to address this problem:
1. Cleaning the Wheels: Ensure that the wheels are clean and free from debris or lubricant residues that can affect the blade’s traction on the wheels.
2. Tightening the Blade: Check if the blade is securely fastened to the wheels. Loose blades can slip during cutting, resulting in inaccurate and uneven cuts.
3. Inspecting the Tire Condition: Examine the condition of the tires on the wheels. Worn-out or damaged tires can reduce the friction between the blade and the wheels, leading to slippage.
Frequently Asked Questions For How To Install Bandsaw Blade
Which Way Do You Put A Bandsaw Blade?
To put a bandsaw blade, follow the manufacturer’s instructions by ensuring the teeth face down and away from you. Thread the blade around the wheels while keeping it centered, adjust the tension properly, and you’re ready to go. Ensure safety measures are observed.
How Do You Attach The Saw Blade?
To attach the saw blade, follow these steps: 1. Ensure the saw is turned off and unplugged for safety. 2. Locate the blade attachment mechanism on the saw. 3. Align the holes on the blade with the pins or mounting points on the saw.
4. Insert the blade into the attachment mechanism and secure it tightly. 5. Double-check to ensure the blade is properly attached before operating the saw.
Can You Flip A Bandsaw Blade Inside Out?
No, you cannot flip a bandsaw blade inside out.
Conclusion
Installing a bandsaw blade is a simple process that requires attention to detail. By following the steps outlined in this guide, you can ensure that your bandsaw operates smoothly and efficiently. Remember to choose the correct blade for your specific needs and always prioritize safety throughout the installation process.
With the right knowledge and tools, you’ll be able to enjoy the benefits of a properly installed bandsaw blade for years to come. Happy woodworking!
