To install bird spikes, clean the surface, apply adhesive, and attach the spikes firmly. Bird spikes installation is a simple process that involves cleaning the area, applying adhesive, and securely attaching the spikes to prevent birds from perching or roosting them.
Bird spikes are an effective solution for keeping birds away from your property and can be installed on ledges, gutters, windowsills, and other areas where birds tend to land. By following these steps, you can easily install bird spikes and protect your property from unwanted bird activity.
This article will guide you through the process of installing bird spikes in a simple and concise manner.

Choosing The Right Bird Spikes For Your Needs
Choosing the right bird spikes for your needs is essential to effectively deter birds from landing and roosting on your property. There are several factors to consider when selecting bird spikes:
- Material: Bird spikes are typically made of stainless steel or polycarbonate. Stainless steel spikes are durable and effective, while polycarbonate spikes are more flexible and suitable for curved surfaces.
- Spike length: The length of the bird spikes should match the width of the ledge or surface you need to protect. Longer spikes provide better coverage.
- Spacing: The spacing between the spikes should be narrow enough to prevent birds from landing between them. Generally, a spacing of 3-6 inches is suitable.
- Installation: Consider the ease of installation. Some bird spikes come with pre-drilled holes, while others may require additional tools or adhesives.
There are different types of bird spikes available in the market, such as narrow-based spikes for flat surfaces and wide-based spikes for curved surfaces or gutters. It’s important to choose the right type based on your specific requirements.
Choosing The Right Bird Spikes For Your Needs
Before installation, it is important to properly measure and prepare the area where the bird spikes will be installed. This involves measuring the length and width of the affected area to determine the quantity of bird spikes required. Clearing the area of any debris or obstructions is also necessary to ensure effective installation.
Step-by-step Guide On Installing Bird Spikes
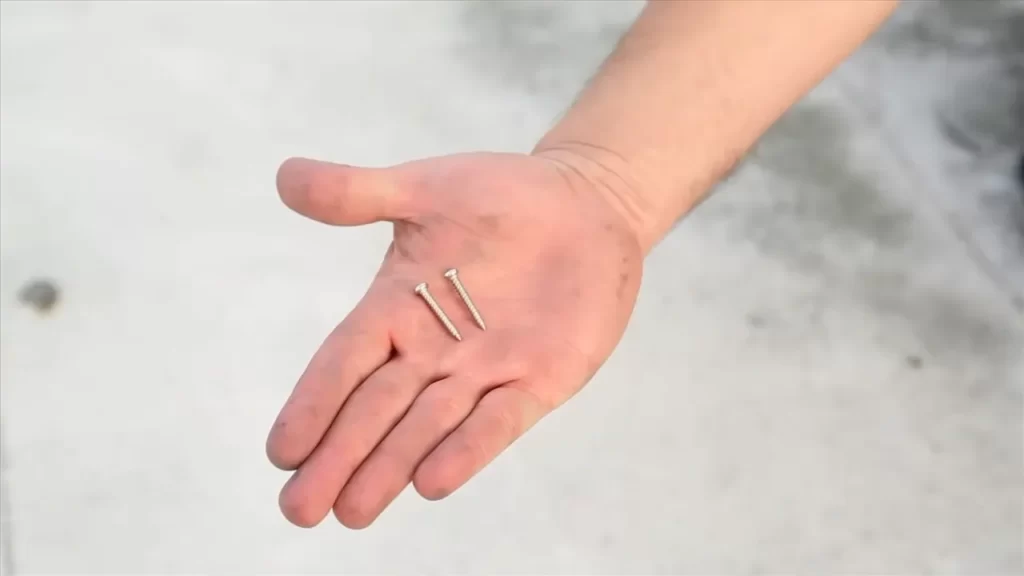
Gathering the necessary tools and equipment: Before starting the installation process, it’s important to gather all the tools and equipment needed. This might include bird spikes, adhesive, screws, a drill, a screwdriver, and a measuring tape. Having all these items on hand will make the installation process smoother and more efficient.
Marking the areas for installation: Once you have all the tools ready, the next step is to mark the areas where the bird spikes will be installed. Carefully observe the areas where birds frequently rest or nest, such as rooftops, ledges, or fences. Use a measuring tape to determine the correct placement of the spikes.

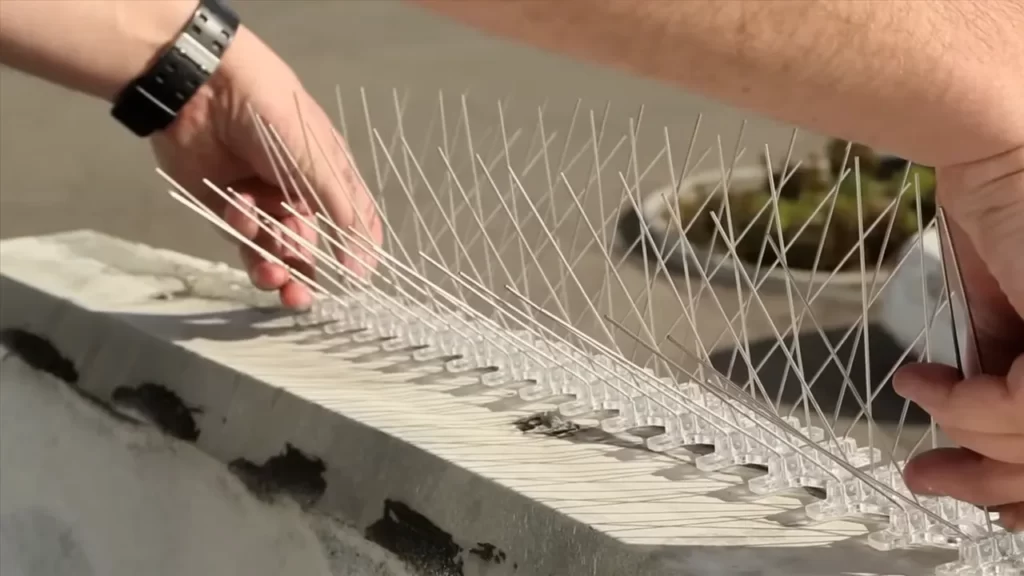
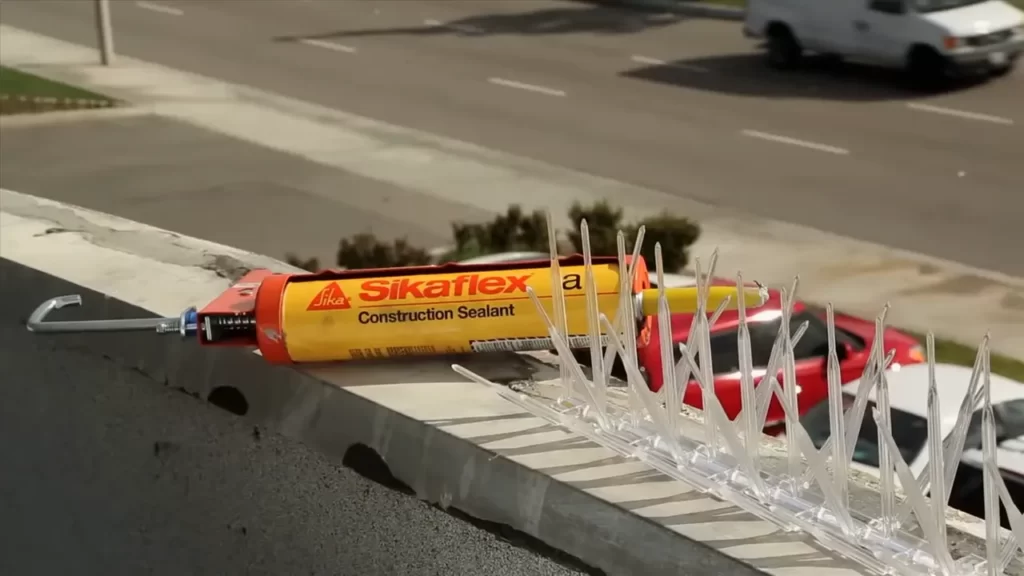
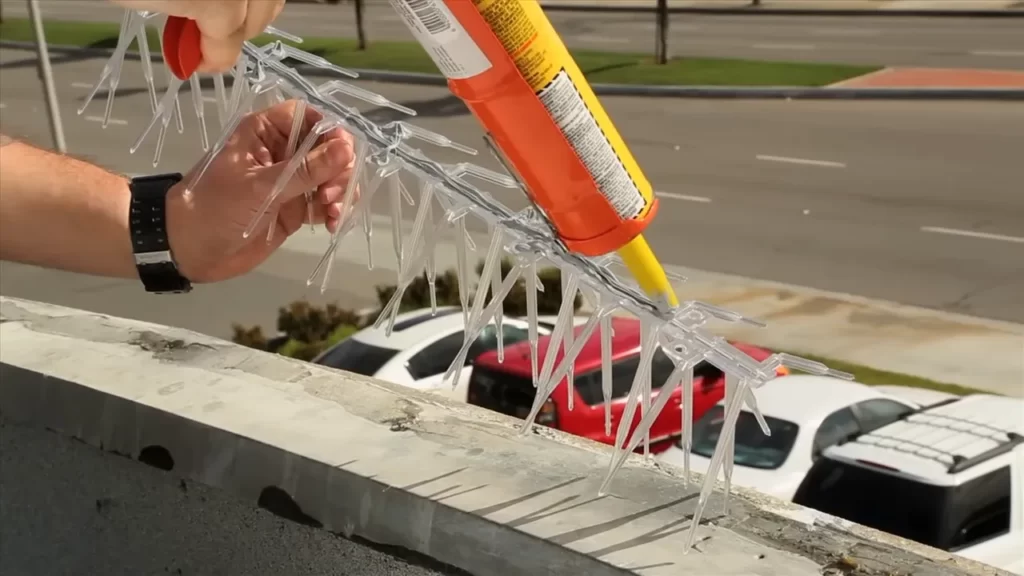
Applying adhesive or screwing the bird spikes into place: Depending on the type of bird spikes you have, you can either apply adhesive or screw them into place. Follow the manufacturer’s instructions for the specific adhesive or screws to be used. Make sure to securely attach the spikes to the surface to ensure they remain in place.
Ensuring proper alignment and spacing: Proper alignment and spacing of the bird spikes is crucial for their effectiveness. Ensure that the spikes are evenly spaced and aligned in a way that covers the entire targeted area. This will prevent birds from finding gaps to perch or roost upon.
Checking for any loose or damaged spikes: After the installation, take the time to inspect the installed bird spikes for any signs of damage or looseness. This is important because loose or damaged spikes may not effectively deter birds. If any spikes are found to be damaged or loose, replace or tighten them accordingly to maintain the effectiveness of the installation.
Tips For Installing Bird Spikes On Different Surfaces
Installing bird spikes is an effective and humane method to prevent birds from perching or nesting on various surfaces. Whether you need to install bird spikes on flat, curved, sloped, or irregular surfaces, there are a few tips to keep in mind to ensure proper installation.

For flat surfaces, start by cleaning the area to remove any dirt or debris. Then, using adhesive or screws, secure the bird spikes along the desired areas. Make sure to minimize any gaps between the spikes to prevent birds from finding alternative perching spots.
When installing bird spikes on curved or sloped surfaces, it may be necessary to bend the spikes to match the contour of the surface. This can be done by using pliers or heat. For irregular surfaces, it may require some customization by cutting the spikes or using additional adhesive to secure them.
Remember, bird spikes should be installed in areas where birds frequently perch or nest. Regular inspection and maintenance are also necessary to ensure the spikes remain effective in deterring birds.
Maintenance And Troubleshooting Tips
Regular cleaning and inspection of bird spikes is crucial for their effective performance. Over time, debris and bird droppings can accumulate on the spikes, diminishing their deterrent effect. It is recommended to clean the spikes using a mild detergent and water solution, scrubbing gently with a soft brush to remove any stubborn stains. Inspecting the spikes regularly ensures that they are securely attached to the desired surface. In case of any loose or unstable spikes, it is important to promptly address the issue by replacing them. Additionally, bird nesting can pose a challenge as birds may attempt to build their nests on the spikes. Taking preventive measures to discourage bird nesting, such as installing spike repellent gel, can help maintain the efficacy of the bird spikes. By following these maintenance and troubleshooting tips, you can ensure that your bird spikes remain in excellent condition and continue to serve their purpose.
Faqs About Bird Spike Installation
FAQs about Bird Spike Installation
How long do bird spikes last?

Bird spikes are a long-lasting solution for deterring birds from landing and roosting on surfaces. The lifespan of bird spikes depends on various factors, such as the quality of the spikes and the environmental conditions. High-quality bird spikes made of durable materials, such as stainless steel, can last for many years without any significant degradation.
Can bird spikes harm birds?
No, bird spikes are designed to be humane and do not cause harm to birds. The spikes are designed to create an uncomfortable surface, preventing birds from landing, without causing any injuries.
Are there any alternatives to bird spikes?
Yes, there are alternative bird deterrent options available. Some popular alternatives include bird netting, bird repellent gels, and ultrasonic devices. Bird netting creates a physical barrier, while bird repellent gels create a sticky surface that birds dislike. Ultrasonic devices emit high-frequency sounds that are unpleasant to birds, effectively deterring them from the area.
Frequently Asked Questions For How To Install Bird Spikes
What Is The Best Adhesive For Bird Spikes?
The best adhesive for bird spikes is a weather-resistant silicone adhesive. It provides a strong and long-lasting bond on various surfaces and withstands outdoor conditions. Its flexibility allows for easy application and ensures the spikes stay securely in place.
How Do You Put Bird Spikes On A Balcony?
To install bird spikes on a balcony, follow these steps: 1. Clean the area. 2. Measure and mark where the spikes will go. 3. Apply glue or use screws to secure the spikes in place. 4. Ensure proper alignment and coverage.
5. Monitor and maintain as needed.
How Do You Fix Bird Spikes On The Wall?
To fix bird spikes on a wall, follow these steps: 1. Clean the wall surface thoroughly. 2. Measure and mark the area where the spikes will be installed. 3. Apply a strong adhesive to the back of the spikes. 4.
Press firmly against the wall and hold for a few seconds. 5. Allow the adhesive to dry completely before testing the effectiveness of the spikes.
Conclusion
Bird spikes are an effective solution to prevent birds from roosting or perching on various surfaces. By following the simple steps mentioned in this guide, you can easily install bird spikes and protect your property from bird-related damage and nuisances.
Remember to choose the right type of spikes and install them correctly for optimal results. With bird spikes in place, you can enjoy a bird-free environment while preserving the aesthetic appeal of your surroundings. Take action today and say goodbye to the bird menace!
