To install a bottom seal, position the seal along the bottom of the door and secure it with screws or adhesive. The seal creates a tight barrier, preventing air and water from entering or escaping through the door’s bottom gap.
(120 words) A properly installed bottom seal can make a significant difference in the energy efficiency and comfort of your home. It serves as a barrier against drafts, preventing air leakage and reducing energy loss. Additionally, it helps keep out unwanted elements such as dust, pests, and water from entering through gaps beneath the door.
Whether you are dealing with an old worn-out seal or looking to upgrade your door’s weatherproofing, installing a bottom seal is a relatively simple task that can yield notable benefits. In this guide, we will outline the step-by-step process of installing a bottom seal, ensuring a snug fit and effective sealing for your door.
What Is A Bottom Seal?
What is a Bottom Seal?
A bottom seal is a crucial component of a garage door system that is installed at the bottom of the garage door to provide a tight seal between the door and the floor. Its main purpose is to prevent the entry of dirt, dust, insects, and other debris into the garage, while also helping to regulate temperature and maintain energy efficiency.
Definition and purpose of a bottom seal
| Definition | Purpose |
|---|---|
| A flexible strip made of various types of materials such as rubber, vinyl, or PVC. | To create a barrier that prevents air, water, and pests from entering the garage. |
Importance of a properly installed bottom seal
- Enhances the overall efficiency of the garage door system by reducing energy loss through gaps.
- Offers protection against water damage by preventing rainwater and melting snow from seeping into the garage.
- Helps maintain a cleaner and more comfortable garage environment by blocking out dust and pests.
- Reduces outside noise infiltration, providing a quieter and more peaceful indoor space.
- Improves the lifespan of the garage door and its components by minimizing wear and tear caused by external elements.
Tools And Materials Needed
Step-by-step Guide To Install Bottom Seal
Step-by-Step Guide to Install Bottom Seal
Preparing the garage door for installation:
- Remove the existing bottom seal (if applicable)
- Clean and inspect the garage door bottom
Choosing the right bottom seal for your garage door:
- Measure and cut the bottom seal
Attaching the bottom seal to the garage door:
- Adjust the bottom seal for a proper fit
Testing the bottom seal for functionality
Credit: www.youtube.com
Preparing The Garage Door For Installation
To install a bottom seal for your garage door, you need to first prepare the area around the door. Clear any objects or debris that may obstruct the installation process. It’s important to ensure that the garage door is in the closed position before starting the installation. This will provide a proper alignment for the bottom seal. If your garage door is equipped with an opener, disconnect it before proceeding.
Next, measure the length of the bottom seal required for your garage door. Trim the seal to fit if necessary. Place the seal along the bottom edge of the door and position it evenly. Secure the seal using the appropriate adhesive or fasteners recommended by the manufacturer.
Finally, test the garage door to ensure proper functioning and a tight seal. Open and close the door several times to confirm that it moves smoothly without any interference from the bottom seal. Make any necessary adjustments to ensure a snug fit.
Removing The Existing Bottom Seal (if Applicable)
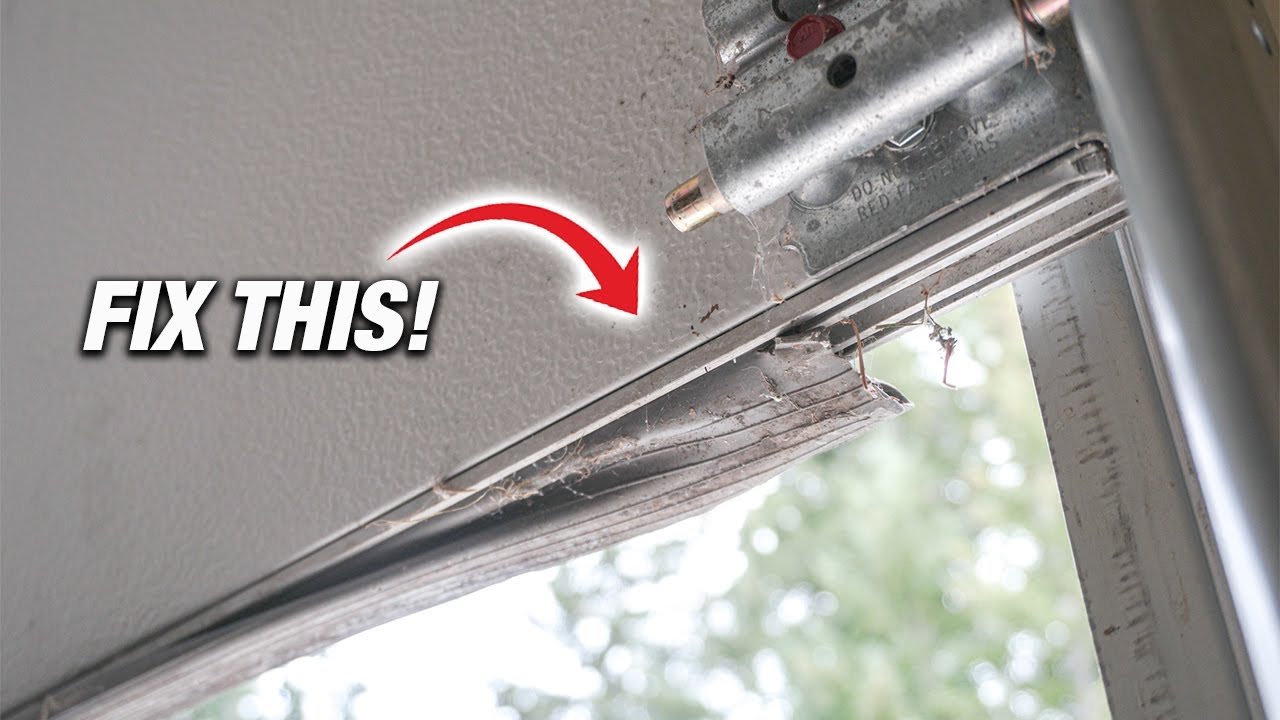
When it comes to installing a bottom seal, the first step is to remove the existing seal, if applicable. Before proceeding, it is important to identify the type of existing seal to ensure the correct removal method is used. Once the seal type is determined, you can use the appropriate tools and techniques to remove the old seal.
If the existing seal is a vinyl or rubber strip, it can typically be removed by simply pulling it out of the track. However, if the seal is a retainer with an insert or a bulb seal, you may need to use a utility knife or a seal removal tool to carefully cut or pry it out.
During the removal process, it is important to be cautious and avoid damaging the door or its surrounding areas. Take your time and work carefully to ensure a clean removal of the old seal.
Cleaning And Inspecting The Garage Door Bottom
Cleaning and inspecting the garage door bottom is an important part of maintaining its functionality. Removing dirt, debris, and old adhesive ensures that the bottom seal can function optimally. Regular cleaning with a mild detergent or vinegar solution can help eliminate accumulated dirt and grime. It is essential to inspect the garage door bottom for any signs of damage or wear. Inspecting the garage door bottom for any damage or wear helps identify issues such as cracks, tears, or gaps. These issues can affect the door’s insulation and lead to energy loss or water penetration. Taking the time to clean and inspect the bottom seal can prolong its lifespan and prevent potential problems. Regular maintenance is key to ensuring a well-functioning garage door that provides adequate protection and insulation.
Choosing The Right Bottom Seal For Your Garage Door
When installing a bottom seal for your garage door, it is crucial to choose the right one that suits your specific needs. There are different types of bottom seals available, and understanding their differences can help you make an informed decision.
One factor to consider when choosing a bottom seal is the climate in your area. If you live in an area with extreme weather conditions, such as heavy rain or snow, it is important to select a bottom seal that provides excellent weather resistance. Look for seals that are made from durable materials such as rubber or vinyl, as they are designed to withstand harsh weather conditions.
Another factor to consider is the usage of your garage door. If you frequently open and close your garage door, a bottom seal with good durability and flexibility is essential. Seals that are resistant to wear and tear will ensure a longer lifespan and prevent any potential gaps that may compromise the insulation and security of your garage.
| Type of Bottom Seal | Key Features |
|---|---|
| Rubber Bottom Seal | – Excellent weather resistance – Durable and flexible – Easy to install |
| Vinyl Bottom Seal | – Weatherproof – Resistant to wear and tear – Provides good insulation |
| Brush Bottom Seal | – Helps to keep out pests and debris – Provides flexibility – Easy to maintain |
By considering these factors and understanding the different types of bottom seals available, you can choose the right one that will effectively seal your garage door, provide insulation, and enhance the security and energy efficiency of your home.
Measuring And Cutting The Bottom Seal
Installing a bottom seal is an essential step to ensure the efficiency and durability of your garage door. Before installing, it is crucial to accurately measure the width of the garage door bottom. To measure the width, use a measuring tape to determine the distance from one end of the bottom to the other. Take note of the measurement and proceed to cut the bottom seal to the correct length.
Attaching The Bottom Seal To The Garage Door
To install the bottom seal on your garage door, you need to make sure it is securely attached. The first step is selecting the appropriate adhesive or fasteners. Choose an adhesive or fastener that is specifically designed for outdoor use and can withstand the elements. Once you have the right adhesive or fasteners, apply the adhesive or install the fasteners according to the manufacturer’s instructions. Make sure to place them evenly along the bottom edge of the garage door for proper support. Lastly, attach the bottom seal securely to the garage door by pressing it firmly against the adhesive or fasteners. Ensure that the seal is evenly aligned and there are no gaps. This will help prevent drafts, dirt, and pests from entering your garage. Maintaining a properly installed bottom seal will help improve energy efficiency and protect your garage from external elements.
Adjusting The Bottom Seal For A Proper Fit
Installing a bottom seal on your garage door is essential for proper insulation and protection. To ensure a proper fit, it is crucial to adjust the seal accurately.
Start by aligning the seal with the bottom of the garage door. Check if it extends evenly along the width of the door. If not, you need to make some adjustments for a tight seal.
Use a utility knife to trim any excess length of the seal if necessary. This will prevent any interference with the door’s operation.
Next, check for any gaps or misalignments between the seal and the garage door. These gaps can allow air, water, or pests to enter your garage. Adjust the seal by moving it up or down as required to eliminate any gaps.
Lastly, ensure that the seal is not obstructing the movement of the garage door. Test the door’s operation a few times to make sure it can open and close smoothly.
By following these steps, you can install and adjust the bottom seal correctly, providing your garage with an effective barrier against the elements.
Testing The Bottom Seal For Functionality
Testing the Bottom Seal for Functionality:
One of the crucial steps in the process of installing a bottom seal for your garage door is to ensure its proper functionality. To achieve this, it is important to test the seal after installation.
Testing the bottom seal involves opening and closing the garage door multiple times to verify that it operates smoothly and without any obstructions. This will help identify any potential issues, such as sticking or misaligned seals, that may hinder its performance.
Furthermore, it is essential to check whether the bottom seal prevents drafts and pests from entering the garage. During the test, pay attention to any gaps or air leaks that may allow cold air, rain, or unwanted critters to enter the space.
If any deficiencies are detected during the testing process, it is necessary to address them promptly to ensure the effectiveness of the bottom seal. Regular maintenance and periodic inspections will help maintain the functionality of the seal over time.
Frequently Asked Questions For How To Install Bottom Seal
How Do You Fix Weather Stripping On The Bottom Of A Door?
To fix weather stripping on the bottom of a door, follow these steps: 1. Clean the area to remove any dirt or debris. 2. Measure the length needed and cut the new weather stripping accordingly. 3. Remove the old weather stripping and clean the surface.
4. Apply adhesive to the backing of the new weather stripping. 5. Press the weather stripping onto the bottom of the door, making sure it’s secure and sealed.
Do You Put Door Sweep On Inside Or Outside?
Door sweeps are typically installed on the inside of the door.
Can You Install Door Sweep Without Removing Door?
Yes, you can install a door sweep without removing the door. It can be easily installed at the bottom of the door to keep out drafts and insects. This helps in improving energy efficiency and maintaining a comfortable indoor environment.
Conclusion
To sum up, installing a bottom seal is an essential step in maintaining the performance and efficiency of your doors or garage. By following the step-by-step guide provided in this blog post, you can ensure a proper installation process. Remember to choose a high-quality bottom seal that suits your specific needs and regularly check for any signs of wear and tear.
With this knowledge, you can enjoy a well-insulated and secure door that enhances the comfort of your space for years to come.