To install a Chamberlain chain drive garage door opener, follow the manufacturer’s instructions carefully. It is important to adhere to all safety guidelines.
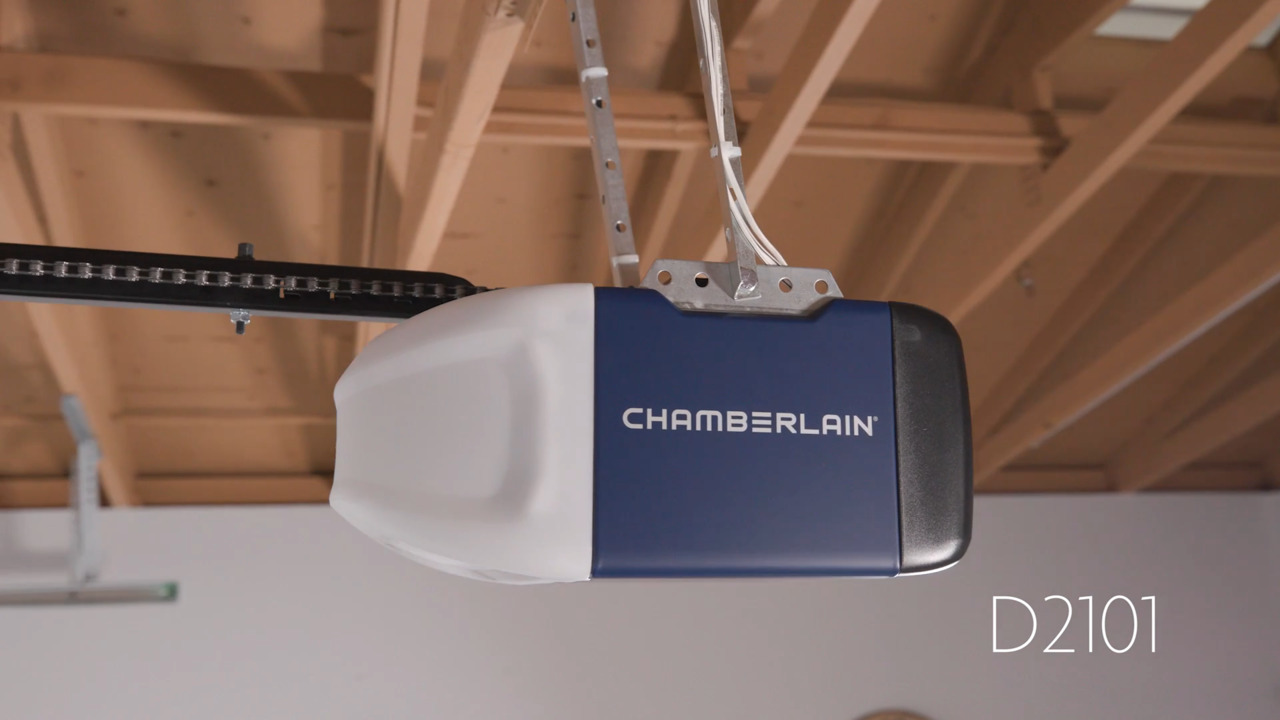
A Chamberlain chain drive garage door opener is a reliable and efficient choice for homeowners looking to enhance the convenience and security of their garage. This type of opener uses a sturdy metal chain to operate the garage door smoothly and quietly.
Installing a Chamberlain chain drive garage door opener is a straightforward process that can be completed by most DIY enthusiasts. By following the manufacturer’s instructions and taking necessary safety precautions, you can quickly and easily install a Chamberlain chain drive garage door opener in your garage. We will outline the step-by-step process for installing a Chamberlain chain drive garage door opener, ensuring that your garage door operates flawlessly for years to come.
Pre-installation Checklist
Pre-Installation Checklist:
Evaluate the condition of your garage door to ensure that it is in good working order before installing the Chamberlain Chain Drive Garage Door Opener. Look for any signs of damage or wear and tear. If necessary, make any repairs or replacements before proceeding with the installation.
Check the compatibility of the Chamberlain Chain Drive Garage Door Opener with your specific garage door. Consult the instruction manual or the Chamberlain website to verify that the opener is compatible with the size, weight, and type of your garage door.
Gather all the necessary tools and equipment needed for the installation. This may include a ladder, power drill, measuring tape, wrenches, and other common hand tools. Having everything ready before starting the installation process will help to streamline the process and ensure a smoother experience.
Removing The Old Garage Door Opener
Removing the Old Garage Door Opener
To begin the process of installing the Chamberlain Chain Drive Garage Door Opener, you first need to remove the existing garage door opener. This involves a few important steps to ensure a safe and successful installation.
- Disconnect Power and Unplug the Old Opener: Before starting any work, make sure to disconnect the power supply to the garage door opener. This can typically be done by unplugging it from the electrical outlet or turning off the circuit breaker that powers the opener.
- Remove Mounting Brackets and Hardware: Next, you’ll need to remove the mounting brackets and hardware that secure the old garage door opener to the ceiling or wall. Use a screwdriver or power drill to unscrew any screws or bolts holding the brackets in place.
- Detach the Control Panel and Wiring: Once the mounting brackets are removed, detach the control panel and any wiring connected to the old opener. Take caution and carefully disconnect any electrical connections, following the manufacturer’s instructions.
- Take Down the Garage Door Opener: With the mounting brackets and control panel removed, you can now carefully take down the old garage door opener from its installed position. Make sure to have someone assist you, as the opener can be heavy and cumbersome.
By following these steps and taking necessary precautions, you can successfully remove the old garage door opener and prepare for the installation of the Chamberlain Chain Drive Garage Door Opener.
Assembling The Chamberlain Chain Drive Garage Door Opener
Installing a Chamberlain Chain Drive Garage Door Opener is a straightforward process that can be completed in a few simple steps. Begin by unboxing the opener components and checking that all the necessary parts are included. Once confirmed, move on to attaching the rail and trolley assembly, ensuring they are properly aligned and secured. Next, install the motor unit, making sure it is securely attached to the ceiling. Take note of any instructions regarding electrical connections or programming requirements during the motor unit installation. Once everything is securely in place, test the garage door opener to ensure it is functioning correctly. Regular maintenance and occasional lubrication will help keep the opener operating smoothly for years to come. With these simple steps, you’ll be able to enjoy the convenience and security of a Chamberlain Chain Drive Garage Door Opener.
Mounting The Chamberlain Chain Drive Garage Door Opener
Before installing the Chamberlain Chain Drive Garage Door Opener, you need to properly position the mounting bracket. Start by finding the ideal location for the bracket and mark the spot on the ceiling or wall. Make sure it is at the right height and angle for your garage door opener to function effectively.
Once you have determined the position, secure the opener to the ceiling or wall using the appropriate screws or bolts. Ensure that it is tightly fastened to prevent any movement during operation.
After mounting the opener, you may need to adjust the height and angle to ensure proper functionality. Refer to the manufacturer’s instructions on how to make these adjustments. It is important to take the time to properly align the opener with the garage door to avoid any issues.
Following these steps will help you successfully install the Chamberlain Chain Drive Garage Door Opener. Remember to carefully follow the manufacturer’s instructions and take all necessary safety precautions during the installation process.
Installing Safety Sensors And Wall Control Panel
Positioning and Wiring the Safety Sensors:
- Start by positioning the safety sensors on each side of the garage door, ensuring that they are facing each other and are no more than six inches above the garage floor.
- Once in the correct position, mark the locations for mounting.
- Secure the sensors using the provided brackets and screws.
- Next, follow the wiring instructions provided by Chamberlain to connect the sensors to the motor unit.
- Ensure the wires are properly routed and secured to avoid any interference.
Mounting the Wall Control Panel:
- Choose a convenient location inside the garage for the wall control panel.
- Generally, it is recommended to install it near the garage entrance or a light switch.
- Mark the locations for the mounting screws and attach the control panel using the provided screws.
- If necessary, connect the wires according to the instructions provided by Chamberlain.
Credit: www.homedepot.com
Connecting And Adjusting The Chain Drive
When installing a Chamberlain chain drive garage door opener, it is essential to connect and adjust the chain properly for smooth and efficient operation.
To connect the chain to the opener, first, locate the chain attachment point on the trolley. Insert one end of the chain into the attachment point, making sure it is secure. Then, align the other end of the chain with the sprocket on the motor unit and attach it securely.
Once the chain is connected, it is important to adjust the chain tension. This can be done by either adjusting the chain tension nut or adjusting the position of the chain on the trolley. Ensure that the chain is not too loose or too tight, as this can affect the door’s movement.
Regularly check the chain tension and make adjustments as needed to maintain optimal performance. A well-connected and properly adjusted chain drive will ensure smooth and reliable operation of your Chamberlain garage door opener.
Powering Up And Testing The Garage Door Opener
Once the Chamberlain Chain Drive Garage Door Opener is properly installed, the next step is to connect the power supply. This ensures the opener is ready to function smoothly.
To connect the power supply, locate the power cord and plug it into a nearby electrical outlet. Make sure the outlet is compatible with the voltage requirements mentioned in the user manual.
Once the power is connected, it’s time to test the opener’s functions. Press the wall button or use the remote control to activate the opener. Observe if the opener responds by smoothly and silently opening or closing the garage door.
If the opener doesn’t respond or makes unfamiliar sounds, troubleshooting may be required. Check the power connections and ensure the opener is properly aligned with the door. Adjusting the travel and force settings may also be necessary to optimize the opener’s performance.
With the power connected and the opener functioning properly, your Chamberlain Chain Drive Garage Door Opener is now ready to provide convenience and security to your garage.
Additional Tips And Troubleshooting
When installing the Chamberlain Chain Drive Garage Door Opener, it is important to take a few additional steps to ensure optimal performance. Lubricating both the garage door and opener components is crucial for smooth operation. Use a high-quality garage door lubricant and apply it to the hinges, rollers, springs, and tracks. This will help reduce friction and prevent excessive wear and tear. Troubleshooting common installation issues can save you time and frustration. Check the power source and ensure it is properly connected. Inspect the wiring for any damage or loose connections. Adjust the opener’s force and travel settings to avoid any unnecessary strain on the garage door. Take note of any unusual sounds or operations and consult the user manual or Chamberlain’s online resources for further troubleshooting instructions. By following these additional tips and troubleshooting advice, you can ensure a successful installation and long-lasting performance of your Chamberlain Chain Drive Garage Door Opener.
Frequently Asked Questions For How To Install Chamberlain Chain Drive Garage Door Opener
How Do I Connect My Chamberlain Garage Door Opener To My Garage Door?
To connect your Chamberlain garage door opener to your garage door, follow these steps: 1. Make sure the power to the opener is disconnected. 2. Align the opener’s motor carriage with the door’s trolley. 3. Connect the opener and trolley using the provided hardware.
4. Attach the door bracket to the door, aligning it with the opener’s arm. 5. Reconnect the power and test the opener to ensure proper functioning. Remember to always refer to the manufacturer’s instructions for your specific model.
How Do You Reattach A Garage Door To A Chain Opener?
To reattach a garage door to a chain opener, follow these steps: 1. Disconnect the power to the opener. 2. Locate the chain hanging from the opener rail. 3. Align the garage door arm with the opener’s trolley. 4. Securely attach the arm to the trolley.
5. Restore power to the opener.
Can I Replace A Garage Door Opener Unit Without Changing The Rails?
Yes, you can replace a garage door opener unit without changing the rails.
Conclusion
To sum up, installing a Chamberlain Chain Drive Garage Door Opener is a manageable DIY task that can greatly enhance the convenience and security of your home. By following the step-by-step instructions provided in this guide, you can successfully complete the installation process.
Remember to ensure the power is off before beginning, use the proper tools, and test the opener thoroughly once installed. Enjoy the benefits of a smooth and efficient garage door opener!