To install drip irrigation to a sprinkler system, first, ensure that the sprinkler system is turned off. Then, connect the drip irrigation tubing to the existing sprinkler system using a fitting or adapter.
In this way, water will be gradually and efficiently delivered to the plants through the drip emitters, reducing water waste and promoting healthier vegetation. Installing drip irrigation to a sprinkler system can greatly enhance the efficiency and effectiveness of watering plants.
By incorporating drip irrigation, you can ensure that water is delivered directly to the plants’ root zones, minimizing evaporation and runoff. This method allows for targeted watering, providing plants with the exact amount of moisture they need. We will outline the steps to install drip irrigation to your existing sprinkler system, enabling you to save water, reduce your water bills, and nurture your plants’ growth. Follow the guidelines below to successfully integrate drip irrigation into your sprinkler system.

Evaluate Your Water Source
Evaluating your water source is crucial before installing a drip irrigation system to a sprinkler system. Determine the water availability and pressure by considering the flow rate and pressure of your water source. This will help you determine the number of drip emitters, spacing, and pressure regulators needed for your irrigation system.
Assessing the water quality is equally important as it affects the efficiency and longevity of your drip system. Test your water for impurities and determine whether you need filtration equipment like sediment filters or screen filters. Installing the necessary filters will prevent clogging of your drip emitters and ensure smooth operation of the system.
Design Your System Layout
To design your drip irrigation system layout, you need to determine the desired coverage area, assess the water requirements of your plants, and plan the layout based on plant spacing and landscape features. The coverage area refers to the portion of your garden or landscape that you want to water using the drip irrigation system.
Start by assessing the water requirements of your plants. Different plants have varying water needs, so it’s important to consider their specific requirements. Once you have determined the water needs, you can plan the layout based on plant spacing and landscape features.
Consider the spacing between plants and arrange the drip irrigation system accordingly. If your plants are closely spaced, you may need more drippers or emitters to ensure adequate water distribution. Similarly, if you have landscape features such as trees or shrubs, plan the layout to accommodate their specific needs.
Take into account any slopes or uneven terrain in your garden and adjust the layout accordingly. This will ensure that water is evenly distributed to all plants and areas.
Gather Your Materials
Gather Your Materials
When it comes to installing a drip irrigation system to your existing sprinkler system, it’s important to first gather all the materials you’ll need. Choose appropriate drip irrigation components like emitters, tubing, connectors, and filters based on the specific needs of your garden.
Calculate the necessary tubing length and fittings to ensure efficient water distribution. Take measurements of your garden beds and the distance between your sprinkler system and desired drip irrigation areas.
Purchase the necessary tools and equipment such as a tubing cutter, hole punch, and emitters. These will help you properly install the drip irrigation system and achieve optimal water efficiency.
By carefully planning and gathering all the required materials and tools, you’ll be well-prepared to install a drip irrigation system to your sprinkler system effectively and efficiently.
Prepare Your Water Source
To install a drip irrigation system to your existing sprinkler system, the first step is to prepare your water source. Start by installing a backflow prevention device to ensure that contaminated water does not flow back into your drinking water supply. This is an important safety measure to protect your health and the quality of your water. Next, connect a pressure regulator and filter assembly to your water source. This will help control the water pressure and remove any debris that may clog your drip irrigation system. By taking these initial steps, you will ensure that your drip irrigation system is properly connected to your existing sprinkler system and will operate efficiently.
Lay Out Your Tubing

html
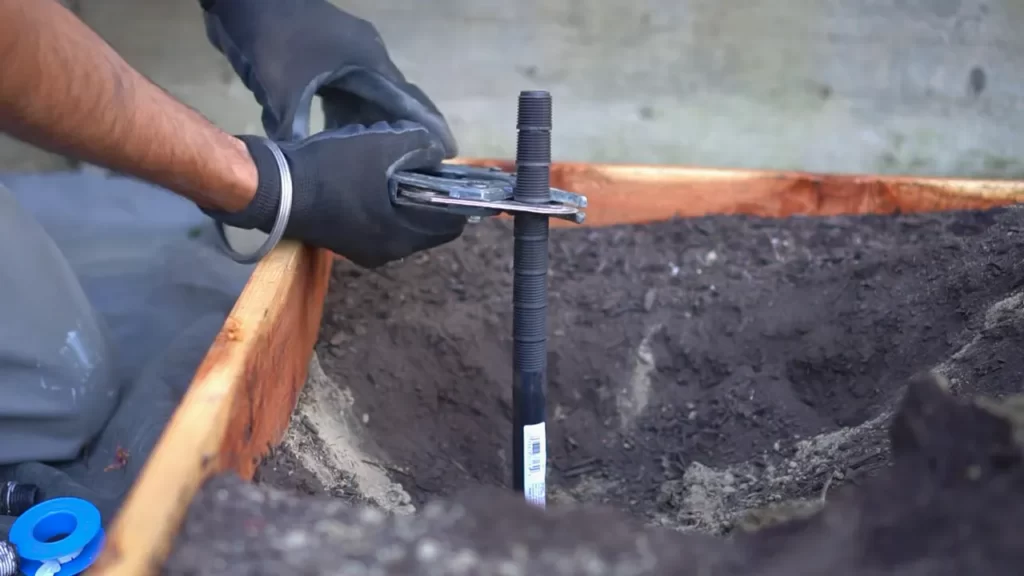
Determining the mainline’s position and layout is the first step in installing drip irrigation to your sprinkler system. Be sure to pick a suitable location that will provide comprehensive coverage for your plants. Once the mainline’s position is determined, it’s time to install the fittings and clamps to secure the tubing. You can use barbed fittings to connect the tubing to the mainline, making sure they fit tightly to prevent any leaks. Add clamps at the connection points to ensure a secure and long-lasting installation.
Install Emitters And Drip Lines
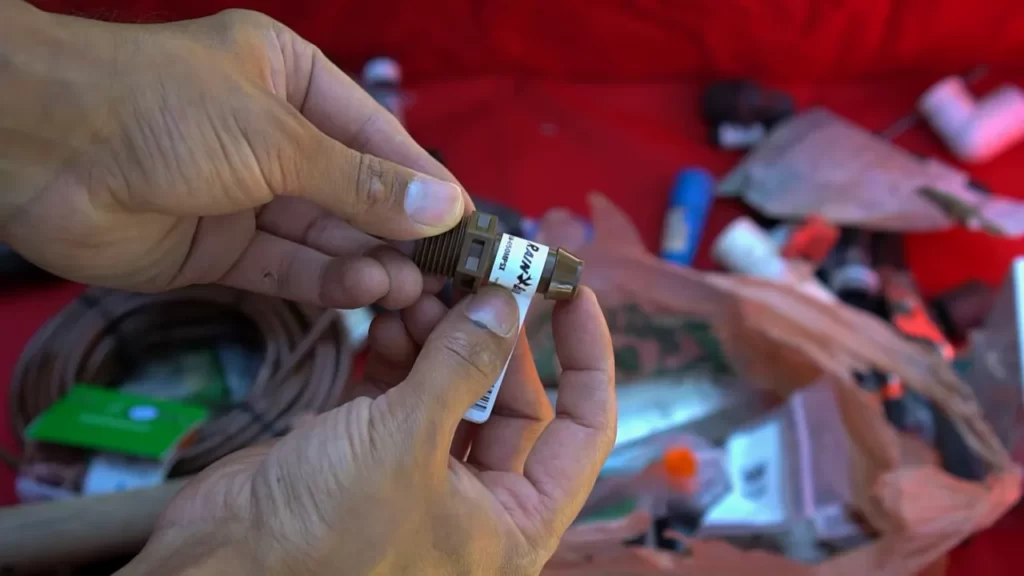
When installing a drip irrigation system, it is important to select appropriate emitters for your plants. Emitters control the flow of water through the system and ensure that each plant receives the right amount of water. There are different types of emitters available, including drip emitters, micro-sprayers, and soaker hoses. Drip emitters deliver water directly to the plant’s root zone, while micro-sprayers cover a larger area. Soaker hoses release water along the entire length of the hose.
Once you have chosen the appropriate emitters, it’s time to install them along the drip lines. Place the emitters at the base of each plant, ensuring that they are positioned correctly and securely. This will help prevent any water loss or leakage. It’s also important to periodically check the emitters to ensure that they are working properly and not clogged.
Set Up Zone Specific Irrigation
Set Up Zone Specific Irrigation
Divide your drip system into zones for more efficient watering. This allows you to target different plants or areas with the appropriate amount of water.
Install zone valves and control wires to regulate the flow of water to each zone. These valves ensure that water is directed only where it’s needed, reducing waste and improving overall water conservation.
Zone 1: This zone can include plants that require more frequent watering, such as vegetables or flowers. Zone 1 may need more watering and a shorter duration.
Zone 2: Zone 2 can include plants that require moderate watering, such as shrubs or perennials. Adjust the duration and frequency of watering based on the needs of the specific plants in this zone.
Zone 3: Zone 3 can include plants that require less frequent watering, such as trees or established plants. Adjust the duration and frequency accordingly.
Dividing your drip system into zones not only ensures efficient watering but also helps you tailor the irrigation to meet the specific needs of different plants, promoting healthier growth and better water management.
Connect To Sprinkler System
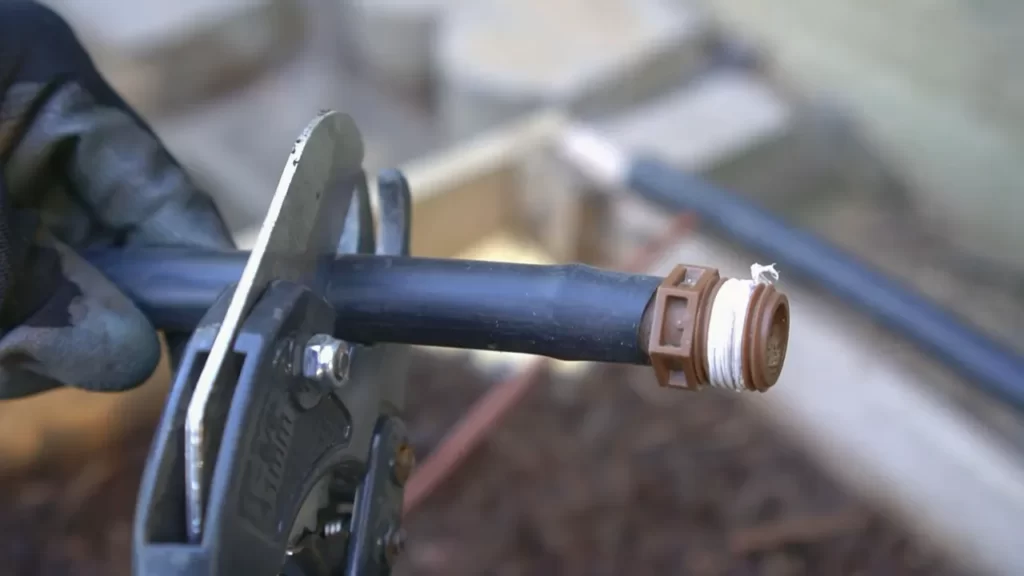
Connecting a drip irrigation system to an existing sprinkler system is a convenient and efficient way to water your plants. To begin, you’ll need to locate the mainline of the sprinkler system. This is usually located near the sprinkler control valve or the main water supply line. Once you’ve found the mainline, you can connect the drip system’s mainline to it. This can usually be done by cutting into the existing pipe and attaching a tee fitting. Make sure to use proper connectors and fittings that are compatible with the size and type of pipes you’re working with. Once the connection is made, you can begin installing the drip irrigation components, such as the drip emitters and tubing, to deliver water directly to your plants’ roots. Make sure to follow the manufacturer’s instructions when installing the drip system to ensure proper functionality and efficiency.
Test The System For Leaks
In order to ensure the successful installation of a drip irrigation system to a sprinkler system, it is crucial to test the system for leaks. The first step is to turn on the water supply and allow it to flow through the system. While the water is running, carefully inspect all the connections and joints for any signs of leakage. Pay close attention to areas where pipes are connected, as well as any fittings or valves. If any leaks are detected, make sure to tighten the connections or replace any faulty components before proceeding.
Adjust And Fine-tune
Adjusting and fine-tuning your drip irrigation system is crucial to ensure efficient water distribution and optimal performance. One aspect to consider is the emitter flow rates. If needed, you can make adjustments to increase or decrease the flow of water through the emitters. This allows you to customize the irrigation output for different areas of your garden or landscape.
Another important step is to evaluate the coverage of your sprinkler system. Take a close look at how well the water is being distributed across your plants. If you notice any dry spots or areas that are receiving too much water, you may need to make necessary changes. This could involve repositioning or adding additional emitters to ensure even coverage.
By taking the time to adjust and fine-tune your drip irrigation system, you can minimize water waste and ensure that your plants receive the perfect amount of hydration. Keeping a close eye on emitter flow rates and evaluating coverage will help you optimize the performance of your sprinkler system, resulting in healthier plants and a more efficient irrigation process.
Regular Maintenance And Troubleshooting
Drip irrigation systems are an efficient way to provide a steady water supply to your sprinkler system, but regular maintenance is crucial to keep them functioning optimally. One essential task is to clean and flush the system periodically. By removing any dirt, debris, or mineral buildup, you can prevent clogs and ensure a consistent water flow. Troubleshooting is another aspect of regular maintenance. If you notice problems like clogs or low water flow, it’s important to identify and resolve the issues promptly. This may involve checking the filters for blockages, inspecting the emitters for damage, or adjusting the water pressure if necessary. By taking these maintenance and troubleshooting steps regularly, you can extend the life of your drip irrigation system and maintain its efficiency.
Frequently Asked Questions For How To Install Drip Irrigation To Sprinkler System
Can I Install Drip Irrigation To Existing Sprinkler System?
Yes, you can install drip irrigation to an existing sprinkler system. It’s a simple process that involves connecting the drip irrigation tubing to the existing system and placing the drip emitters where needed. This allows for more efficient watering and eliminates water waste.
Can You Combine Drip Irrigation With Sprinklers?
Yes, you can combine drip irrigation with sprinklers to efficiently water your plants. This combination allows targeted water delivery with drip irrigation and broad coverage with sprinklers, ensuring optimal watering for different plant needs.
How Do You Hook Up A Drip Valve To A Sprinkler System?
To hook up a drip valve to a sprinkler system, follow these steps: 1. Locate the main water supply line. 2. Cut the line and install a T-connector. 3. Connect a PVC pipe to the T-connector and attach a drip valve.
4. Attach the drip tubing to the valve. 5. Test the system for leaks and adjust the flow rate if necessary.
Conclusion
Installing drip irrigation to your sprinkler system can revolutionize the way you water your plants. By delivering water directly to the roots, this method conserves water and prevents overwatering. With a few simple steps, you can set up your drip irrigation system and enjoy the benefits of efficient and targeted watering.
Say goodbye to water waste and hello to healthier gardens!