o install a floor transition strip, measure and cut it to the desired length using a saw, then attach it to the floor using adhesive or screws. Introducing a floor transition strip can help create a smooth and visually appealing transition between different types of flooring, such as hardwood and carpet or tile.
Whether you are renovating your home or undertaking a flooring project, installing a floor transition strip is a simple and effective way to achieve a polished look. We will guide you through the step-by-step process of installing a floor transition strip, providing you with the knowledge and confidence to complete the task successfully.

So, let’s get started and learn how to easily install a floor transition strip for a seamless transition between different floor surfaces.
Essential Items
| Essential items: | |
| Floor transition strip | |
| Measuring tape | |
| Pencil | |
| Handsaw or miter saw | |
| Drill | |
| Screws or nails | |
| Screwdriver or hammer | |
| Level | |
| Safety goggles | |
| Gloves |
Installing a floor transition strip requires a few essential items including a measuring tape, pencil, handsaw or miter saw, drill, screws or nails, screwdriver or hammer, *level*, *safety goggles*, and *gloves*. Begin by measuring the area where the transition strip will be installed. Mark the measurements with a pencil. Next, using a handsaw or miter saw, cut the transition strip to the correct size. Drill holes into the strip for screws or nails to secure it in place. Use a screwdriver or hammer to attach the strip firmly. *Level* the strip to ensure it is straight and even. Finally, remember to wear *safety goggles* and *gloves* throughout the installation process for protection.

Optional Items
For easy installation of a floor transition strip, there are a few optional items you may need. One is adhesive, which will help secure the strip in place. Another item is caulk, which can be used to fill in any gaps or seams for a seamless finish. Additionally, a paint brush will come in handy for applying the adhesive or caulk. Sandpaper is also recommended to ensure a smooth surface prior to installation. Finally, if you wish to match the color of the strip to your floor, paint can be used to achieve a cohesive look. Remember to follow the manufacturer’s instructions for each item to ensure proper installation of your floor transition strip.
Clean The Floor
When it comes to installing a floor transition strip, the first step is to thoroughly clean the floor. Start by removing any existing flooring or carpeting. This will ensure a smooth and even surface for the transition strip to be installed on. Sweep or vacuum the floor surface to remove any dirt or debris that may be present. It’s important to have a clean surface to work with, as any leftover debris can affect the adhesion of the strip and prevent it from laying flat.
Measure The Gap
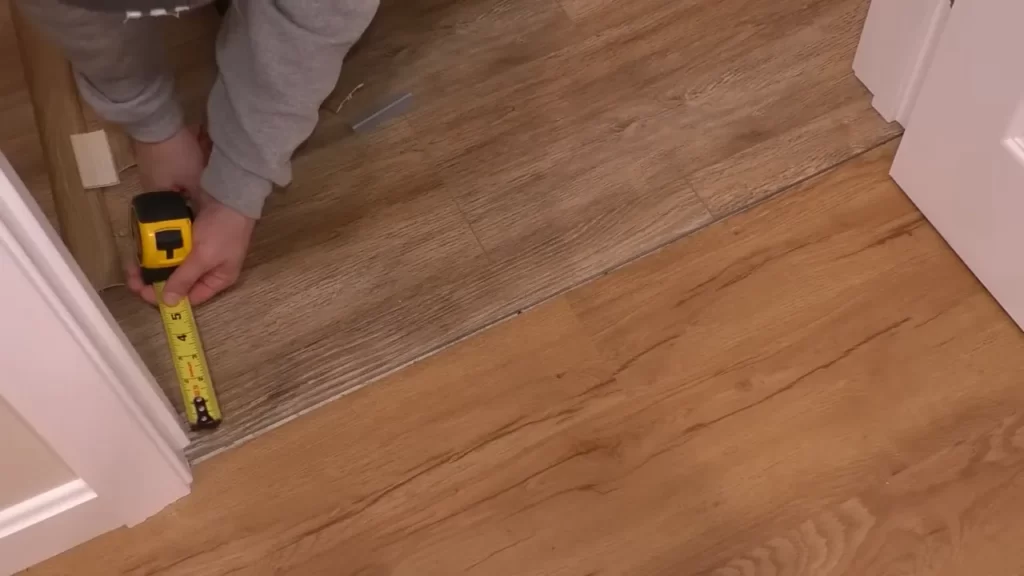
To install a floor transition strip, the first step is to measure the gap between the two flooring materials. Use a measuring tape to get an accurate measurement of the gap. Once you have the measurement, mark it on the floor using a pencil or marker.
Choose The Right Material And Type
Choose the right material and type:
When installing a floor transition strip, it’s important to consider the type of flooring and the amount of traffic in the area. By selecting the appropriate material, you can ensure a seamless transition and durability. Three common options are wood, metal, and vinyl.
Wood: If you want a natural and classic look, wood transition strips are a great choice. They are available in various wood species, finishes, and designs to complement your flooring.

Metal: Metal transition strips offer a sleek and modern appearance. They are highly durable and suitable for high-traffic areas. You can find metal strips in different finishes, including brushed nickel, stainless steel, and bronze.
Vinyl: Vinyl transition strips are affordable and versatile. They can be easily matched with vinyl flooring and come in a range of styles, including snap-in, self-adhesive, and glue-down options.
By selecting the right material and type of transition strip, you can enhance the overall look and functionality of your flooring transition.
Measure And Mark The Strip
A floor transition strip is an essential element for creating a seamless and stylish transition between two different types of flooring. To install it correctly, you need to measure and mark the strip accurately. First, measure the length needed for the transition strip using a measuring tape. Once you have the measurement, mark it on the strip using a pencil.
Cut The Strip
When installing a floor transition strip, it is important to know how to cut the strip to ensure a clean and straight edge. Use a handsaw or miter saw to make the cut along the marked line. Before cutting, ensure that the strip is securely held in place. Take your time and use smooth, controlled motions to make the cut, keeping the saw straight and aligned with the marked line. This will help prevent any jagged or uneven edges. Once the cut is complete, carefully inspect the strip to ensure the cut is clean and straight. If needed, sand or file any rough or uneven areas for a smoother finish. Remember, a properly cut strip will ensure a seamless and professional-looking installation of your floor transition.
Position The Strip

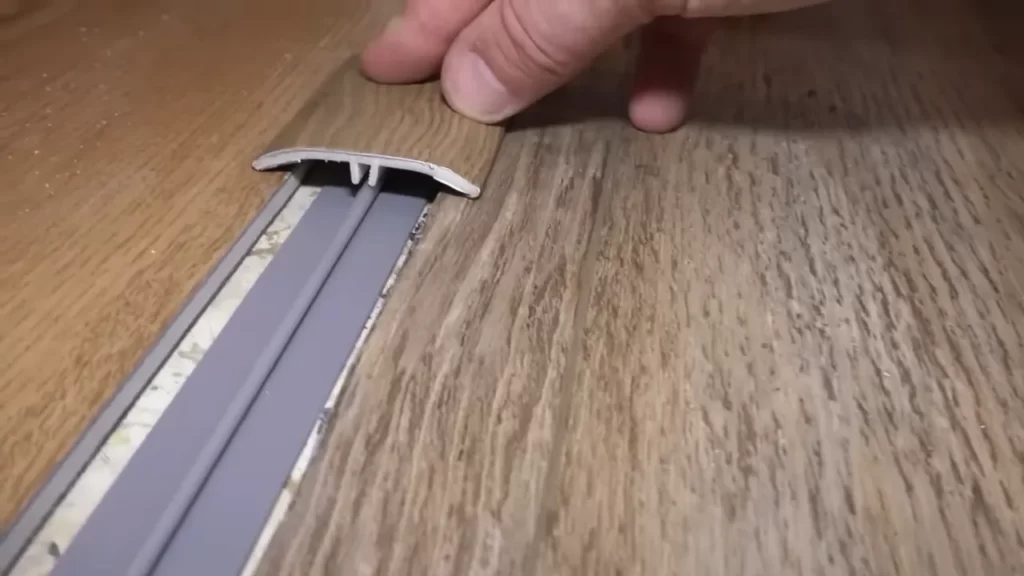
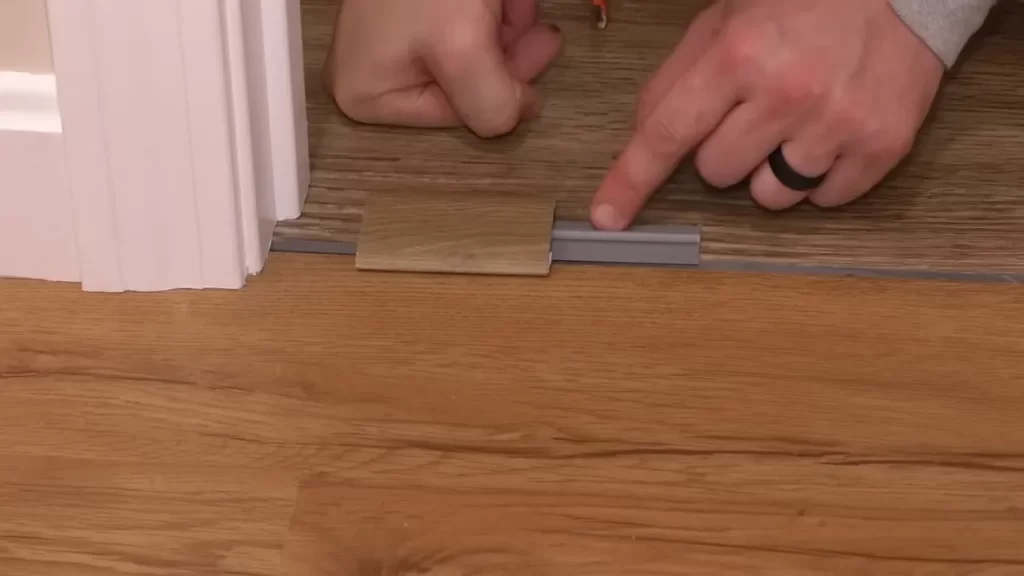
Place the transition strip over the gap between the two flooring materials. Ensure the strip is centered and aligned with the marked measurement. This will ensure a seamless and professional installation of the floor transition strip. By positioning the strip correctly, you can create a smooth transition between different flooring surfaces, enhancing the overall appearance of your space.
Secure The Strip
| Steps to Secure the Strip |
|---|
| 1. Use a drill to create pilot holes along the strip. 2. Attach the strip to the floor using screws or nails. 3. Ensure the strip is firmly secured. |
Fill Gaps (Optional)
In order to install a floor transition strip, you may want to fill any gaps between the strip and the floor. This step is optional but can help achieve a seamless and professional-looking finish. To fill the gaps, you can use adhesive or caulk. Apply the adhesive or caulk carefully, ensuring that it fills any spaces between the strip and the floor. Once applied, you can use a paintbrush or putty knife to smooth out the filler, ensuring a smooth and level surface. By following this step, you can enhance the appearance and functionality of your floor transition strip.
Sand And Paint (Optional)
To install a floor transition strip, start by sanding down any rough edges of the strip for a smooth finish. This step is optional but can improve the overall appearance of the transition. After sanding, you can then choose to apply paint or stain to match the surrounding flooring. This will help blend the transition strip seamlessly into the floor. Remember to allow the paint or stain to dry completely before proceeding. Once the paint is dry, you can then start the installation process of the floor transition strip. Following these steps will ensure a professional and cohesive look for your flooring project.
Clean Up
To properly install a floor transition strip, it is important to begin by cleaning up the area. Remove any excess adhesive, caulk, or paint that may be present on the surface. Ensure that the floor surrounding the strip is clean and free from any debris or dust. Dispose of any waste materials properly to maintain a tidy work environment. By adhering to these steps, you will ensure a smooth and successful installation of the floor transition strip in your space.
Check Stability And Alignment

To install a floor transition strip, it is important to check the stability and alignment of the strip. Test the stability of the transition strip by walking or applying pressure on it. Ensure that the strip is aligned properly with the flooring materials. If there are any misalignments, make any necessary adjustments to ensure a seamless transition. Additionally, it is important to consider the type of flooring materials used and choose a transition strip that is suitable for both surfaces. By following these steps, you can install a floor transition strip effectively and ensure a smooth and professional-looking transition between different flooring materials.
Inspect For Any Issues
Inspecting the area for any potential issues is crucial before installing a floor transition strip. Look closely for any gaps, loose screws, or other problems that may affect the installation process. It’s important to address these issues promptly to ensure a secure and seamless transition strip installation. By identifying and resolving any potential issues beforehand, you can prevent further complications and ensure a smooth transition between flooring materials. Taking the time to thoroughly inspect the area will save you time and effort in the long run. Remember to check for any gaps or inconsistencies that may affect the alignment and stability of the transition strip. By proactively addressing these issues, you can achieve a professional-looking and functional floor transition.
Frequently Asked Questions On How To Install Floor Transition Strip
How Do You Apply Floor Transition Strips?
To apply floor transition strips, follow these steps: 1. Measure the width of the doorway or transition area. 2. Select the appropriate transition strip based on the flooring types being joined. 3. Cut the strip to fit using a saw or utility knife.
4. Apply adhesive to the subfloor and press the strip into place. 5. Secure the strip further with screws or nails if needed.
Do You Glue Down Transition Strips?
No, transition strips should not be glued down. They are designed to float freely between the two flooring materials to accommodate for expansion and contraction. Gluing them down can hinder this movement and cause damage to the floors.
Does Transition Strip Go Under Baseboard?
No, a transition strip does not go under the baseboard. It is installed between two types of flooring to create a smooth transition.
Conclusion
In a nutshell, installing a floor transition strip is the key to achieving a seamless and professional-looking flooring finish. By following the step-by-step guide outlined in this blog post, you can confidently tackle this DIY project. Remember to choose the appropriate strip type, measure accurately, and use the right tools.
With a little effort and attention to detail, you’ll be able to enhance the aesthetics and functionality of your floors. So, get started and enjoy the visually appealing and smooth transition between your flooring surfaces.
