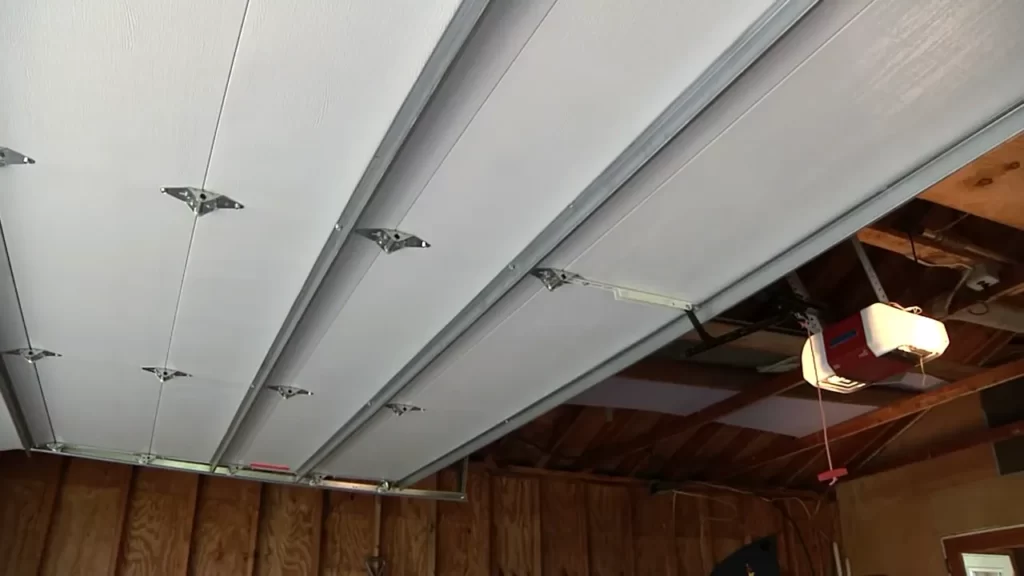
To install garage door rails, begin by positioning the vertical track on the wall and securing it with suitable fasteners. Attach the horizontal track to the ceiling, making sure it aligns with the vertical track.
Installing garage door rails involves carefully positioning the vertical track on the wall and securing it with appropriate fasteners. Next, attach the horizontal track to the ceiling, ensuring proper alignment with the vertical track.
Gathering The Necessary Tools And Materials
When installing garage door rails, it is important to have the essential tools for the job. These tools will help ensure a smooth and efficient installation process:
- Power drill
- Measuring tape
- Level
- Socket wrench
- Screwdriver (Phillips and flathead)
- Adjustable wrench
- Hacksaw
In addition to the tools, you will also need the required materials and components:
- Garage door rail kit
- Mounting brackets
- Bolts and screws
- Nuts and washers
- Locking pliers
- Lubrication for the rails
Having all the necessary tools and materials ready beforehand will save you time and ensure a seamless installation process for your garage door rails.
Preparing The Garage Door Opening
To install garage door rails, the first step is to prepare the garage door opening. This process involves clearing the workspace and removing the existing door, if applicable.
Measuring And Marking The Required Positions
Installing garage door rails involves measuring and marking the required positions accurately. One important step in this process is determining the ideal height for the rails. To do this, you can refer to the manufacturer’s instructions or follow some general guidelines. Measure the height from the floor to the top of the door opening and mark this point as the desired height for the rails. Marking the positions for the brackets and rail supports is another crucial step. Use a pencil or marker to mark the positions according to the manufacturer’s specifications. Make sure to double-check the measurements and ensure they are accurate before proceeding with the installation. By paying attention to these measurements and markings, you can ensure a successful installation of your garage door rails.
Attaching The Rails To The Garage Door Opening
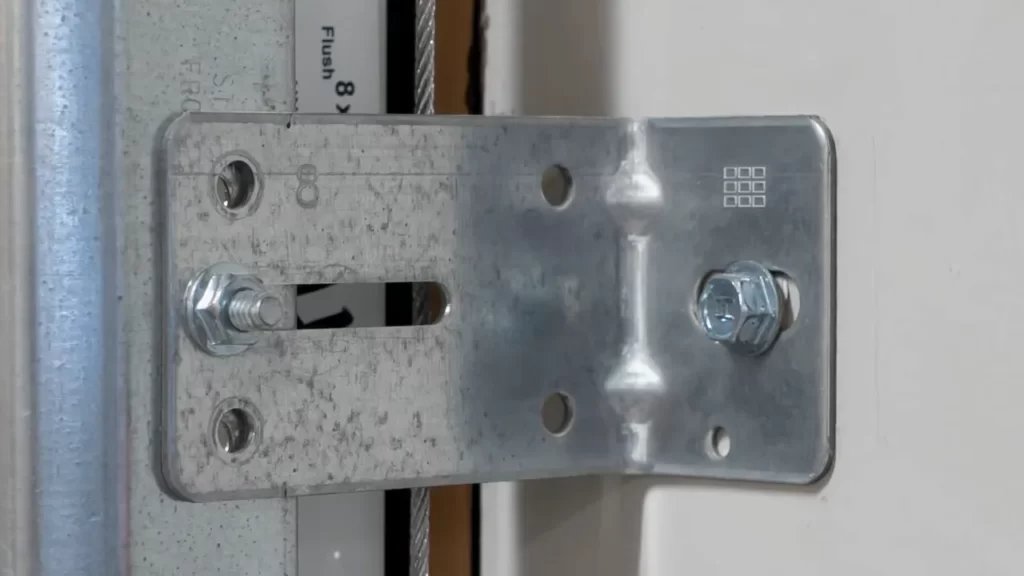
Attaching the rails to the garage door opening is a crucial step in the installation process. Begin by securing the vertical track to the bracket. Make sure the track is perfectly vertical and aligned with the opening. Use screws to firmly attach the track to the bracket.
Next, focus on aligning and attaching the horizontal track to the vertical track. Make sure the two tracks are level and aligned properly. Use bolts and nuts to secure the tracks together. Double-check the alignment to ensure smooth and proper movement of the garage door.
Proper installation of the garage door rails is essential for the smooth functioning and longevity of your garage door. Take your time to ensure accurate alignment and secure attachment of the tracks to avoid any future issues. Follow the manufacturer’s instructions carefully for the specific type of garage door rails you are installing.
Installing The Brackets And Supports
In order to install garage door rails, the first step is to install the brackets and supports. Begin by mounting the brackets at the marked positions on the garage wall. Use a level to ensure they are perfectly aligned.
Once the brackets are securely in place, it’s time to attach the rail supports to the brackets. These supports will hold the rails in position. Make sure to use the appropriate screws or bolts provided with your rail kit. Attach the supports firmly to the brackets, ensuring they are straight and level.
With the brackets and supports in place, you are now ready to proceed with the installation of the garage door rails. Follow the manufacturer’s instructions carefully to ensure a proper and secure installation.
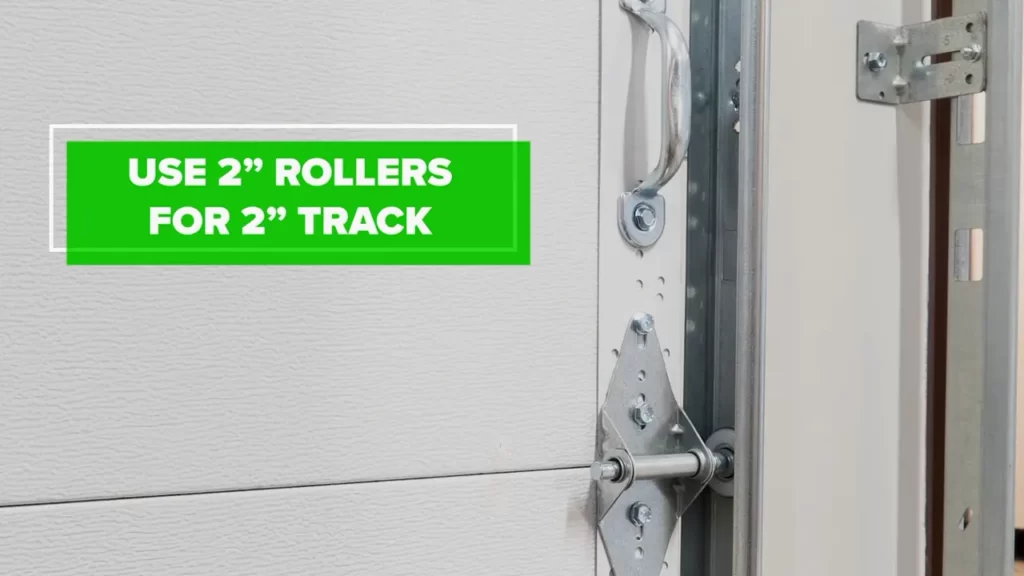
Installing And Adjusting The Garage Door Rollers
Installing and adjusting the garage door rollers is an important step in the process of installing garage door rails. When it comes to placing the rollers into the track, make sure to align them properly and insert them securely. It is crucial to adjust the roller height for smooth operation of the garage door. This can be done by using the adjustment screws on the side of the roller brackets. Simply turn the screws clockwise or counterclockwise to raise or lower the rollers. It is recommended to adjust the height gradually and test the door’s operation after each adjustment. This will ensure that the door moves smoothly and doesn’t get stuck. Proper installation and adjustment of the garage door rollers will contribute to the overall functionality and longevity of the garage door system.
Securing And Testing The Garage Door Rails
Tightening all bolts and screws is an essential step in the installation process of garage door rails. It ensures that the rails are securely fastened and will not become loose over time. Use a wrench or a screwdriver to tighten each bolt and screw, making sure they are snug and secure.
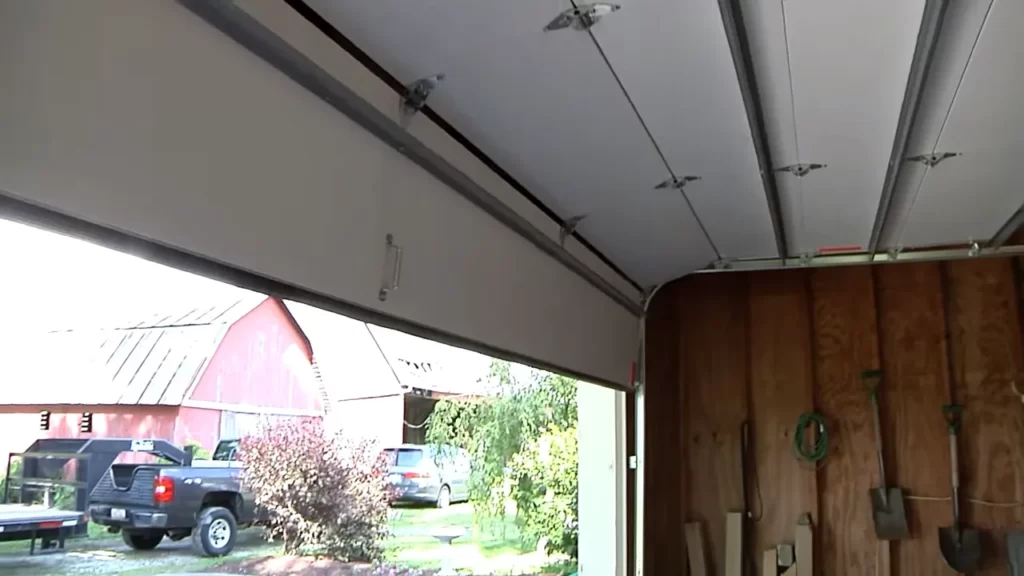
Once the rails are secured, it is important to test the proper functioning of the garage door. Close and open the door multiple times to check if it operates smoothly along the rails. Listen for any unusual noises or vibrations that might indicate an issue. Observe the door’s movement to ensure it moves in a straight and level manner without any deviations.
If you notice any problems during the testing phase, take the necessary steps to address them before proceeding. Adjust any misaligned rails, lubricate the moving parts, or consult a professional if needed. Regularly inspect the garage door rails and perform preventative maintenance to keep them in optimal condition and ensure the longevity of your garage door system.
Important Considerations And Safety Tips
Important Considerations and Safety Tips:
When installing garage door rails, it is crucial to ensure that the rails are level and aligned properly. This step ensures the smooth operation of the garage door and prevents any damage or malfunctioning. To achieve this, use a level to ensure that the rails are perfectly horizontal.
Another important aspect of maintaining the functionality of garage door rails is regular lubrication. The tracks and rollers should be lubricated regularly to prevent rust and ensure smooth movement. Use an appropriate lubricant such as silicone spray or white lithium grease for this purpose.
| Important Considerations and Safety Tips: |
|---|
| Ensure rails are level and aligned properly |
| Lubricate tracks and rollers regularly |
Troubleshooting Common Issues
Track misalignment is a common issue that can affect the performance of your garage door. To identify and address this problem, you can start by visually inspecting the tracks for any visible signs of misalignment. This may include gaps between the rollers and the track or an uneven spacing of the track along the door. If the tracks are misaligned, you can carefully align them by loosening the screws that hold them in place and then adjusting them back to their proper position. Once the tracks are aligned, you can tighten the screws to secure them in place.
Noisy or stuck rollers are another common problem that can occur with garage door rails. To fix this issue, you can start by inspecting the rollers for any signs of wear or damage. If the rollers are worn out or damaged, they will need to be replaced. Additionally, you can lubricate the rollers with a silicone-based lubricant to reduce friction and noise. Simply apply a small amount of lubricant to each roller and allow it to penetrate the moving parts. Regular maintenance and lubrication can help prevent roller issues and extend the lifespan of your garage door rails.
Frequently Asked Questions Of How To Install Garage Door Rails
How Do You Attach A Garage Door To Tracks?
To attach a garage door to tracks, first, position the vertical tracks on both sides of the opening and secure them with screws. Then, mount the horizontal tracks to the ceiling. Next, place the rollers on the door and insert them into the tracks.
Lastly, adjust and tighten the tracks to ensure smooth operation.
How Do You Install A Horizontal Garage Door Track?
To install a horizontal garage door track, follow these steps: 1. Measure and mark the desired location for the track on the wall. 2. Attach the vertical track brackets and secure them tightly. 3. Slide the horizontal track onto the brackets, ensuring it is level and aligned.
4. Secure the track using screws or bolts. 5. Test the door’s movement to ensure smooth operation.
Are Garage Door Tracks Supposed To Be Level?
Yes, garage door tracks should be level for proper functioning. When the tracks are level, the door will open and close smoothly without any issues. Uneven tracks can cause the door to get stuck or become misaligned, leading to potential damage.
Regular maintenance and checking the level of the tracks is important to ensure the smooth operation of the garage door.
Conclusion
Installing garage door rails may seem like a daunting task, but with the right steps and tools, it can be achieved successfully. By carefully following these instructions, you can ensure that your garage door is properly installed, improving its functionality and security.
Remember to measure accurately, secure the rails tightly, and perform regular maintenance to extend the lifespan of your garage door. With these tips in mind, you can confidently tackle this DIY project and enjoy the benefits of a smooth-operating garage door.