To install garden edging, start by removing any existing grass or plants along the desired border. Then, position the edging and secure it with stakes or connectors, ensuring that it sits level and straight.
Fill in the gaps with soil, tamp it down, and water thoroughly.
Choosing The Right Garden Edging Material
Choosing the right garden edging material is an important step in creating a well-designed and polished outdoor space. There are several factors to consider when selecting garden edging material. One of the main considerations is the overall look and aesthetic you want to achieve. Different materials offer different styles and finishes, so it’s important to choose one that complements your existing landscape design.
Another factor to consider is the durability and longevity of the material. Some garden edging materials, such as metal or plastic, may last longer than others like wood or stone. Maintenance is also something to keep in mind. Some materials may require regular upkeep, such as painting or sealing, while others may be more low-maintenance.
| Garden Edging Material | Pros | Cons |
|---|---|---|
| Metal | Durable, long-lasting, versatile | Expensive, may rust or corrode |
| Plastic | Affordable, easy to install, flexible | Less durable, may fade or crack over time |
| Wood | Natural look, customizable, easy to work with | Requires regular maintenance, can rot or warp |
| Stone | Durable, stylish, adds an upscale look | Heavy, more expensive, difficult to install |
Overall, the choice of garden edging material depends on your personal preference, budget, and the specific needs of your outdoor space. It’s important to weigh the pros and cons of each material to make an informed decision. By choosing the right garden edging material, you can enhance the beauty and functionality of your garden.
Preparing The Area For Installation
Before installing garden edging, it is important to prepare the area properly. This involves clearing the space where the edging will be installed and measuring and marking the boundaries. Start by removing any existing vegetation or debris from the area to create a clean and level surface. This will ensure that the edging is installed evenly and securely.
Next, take precise measurements of the desired edging area and mark it using flags or stakes. This will serve as a guideline for the installation process. It is important to ensure that the edging is installed within these boundaries to prevent any issues later on.
By following these steps, you can prepare the area effectively for garden edging installation.
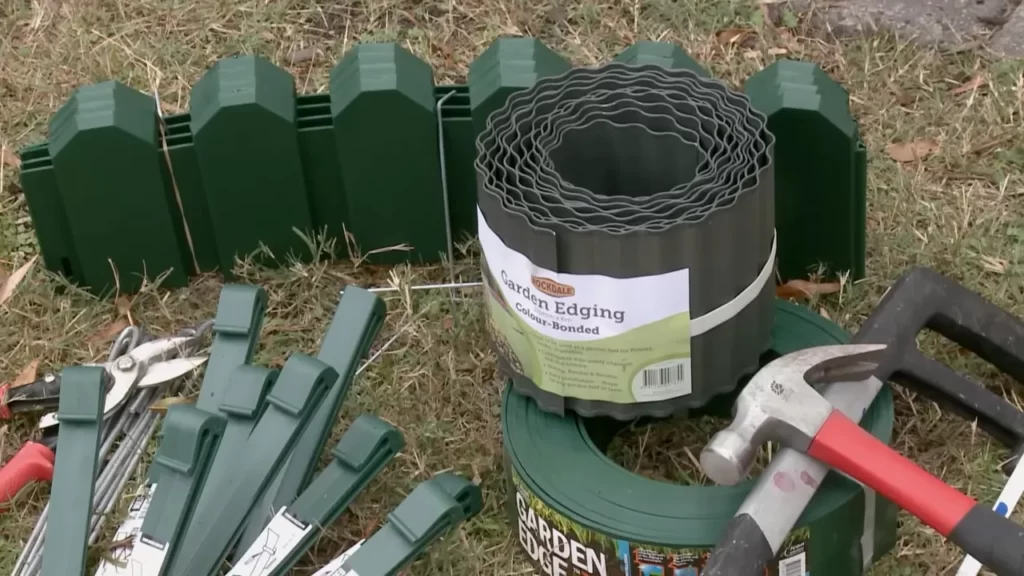
Tools And Materials Needed
html
Essential tools required for installing garden edging:
- Spade or garden trowel for digging the trench
- String or rope for marking the desired edging location
- Stakes to hold the string or rope in place
- Rubber mallet for securing the edging into the ground
- Level for ensuring the edging is straight
- Measuring tape for accurate placement
- Gloves to protect your hands
- Safety glasses to protect your eyes
Additional materials for a successful installation:

| Material | Quantity |
|---|---|
| Edging material (e.g., metal, plastic, stone) | Enough to cover the desired length of the garden bed |
| Gravel or sand | As needed for stabilizing the edging |
| Weed barrier fabric | Enough to cover the garden bed area |
Installing Plastic Edging
Installing plastic garden edging can be a simple and effective way to enhance the look of your outdoor space. To achieve a durable and visually appealing finish, consider following these steps:
Step 1: Prepare the area
Clear the space where you want to install the garden edging, removing any plants, roots, or debris. Mark the perimeter with stakes and string to ensure a straight line.
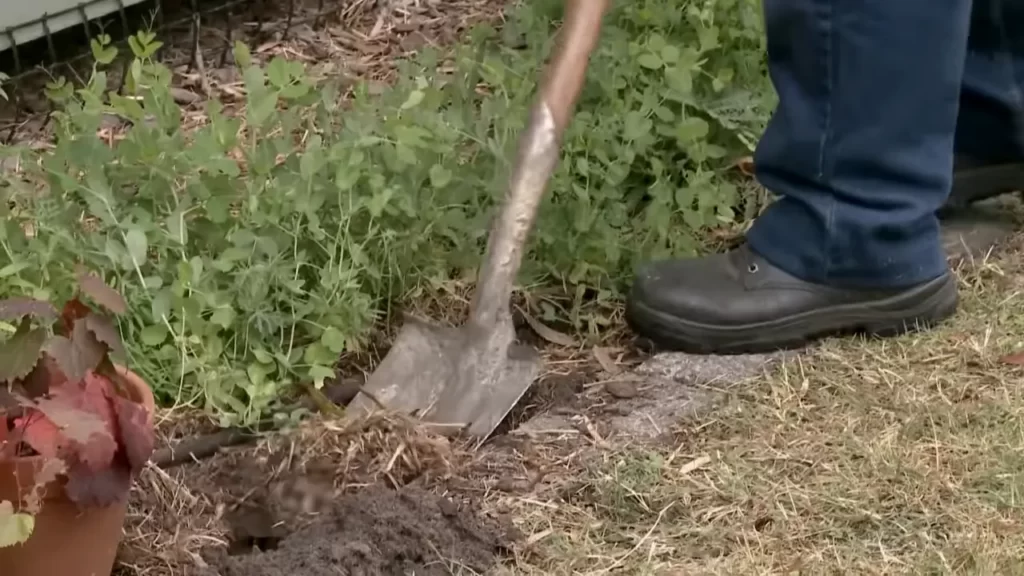
Step 2: Dig a trench
Use a shovel or edging tool to dig a trench along the marked line. The depth should be equal to the height of the plastic edging.
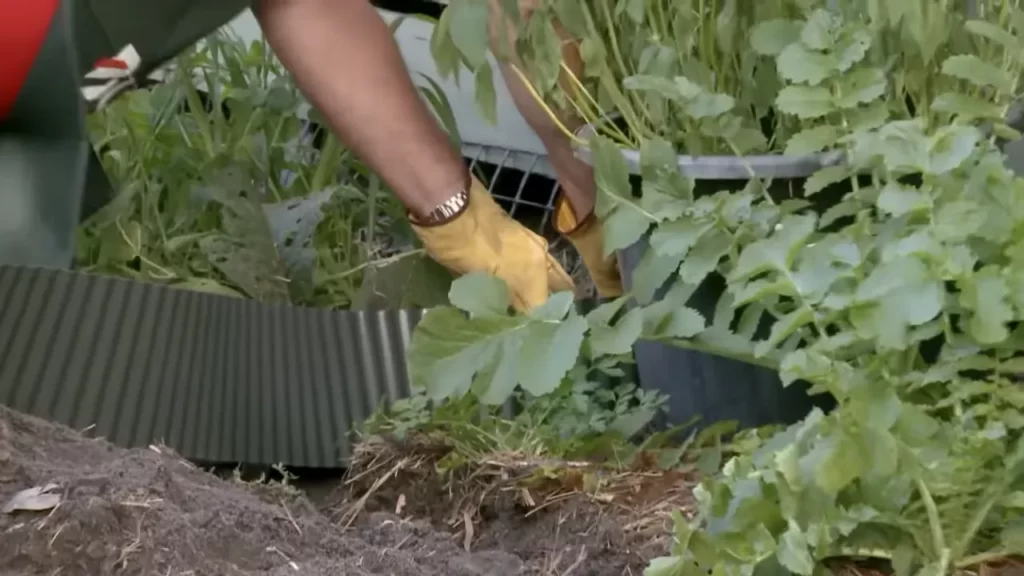
Step 3: Install the edging
Place the plastic edging in the trench, ensuring that it sits securely and is level with the ground. Use stakes or pegs to anchor it in place, placing them at regular intervals.
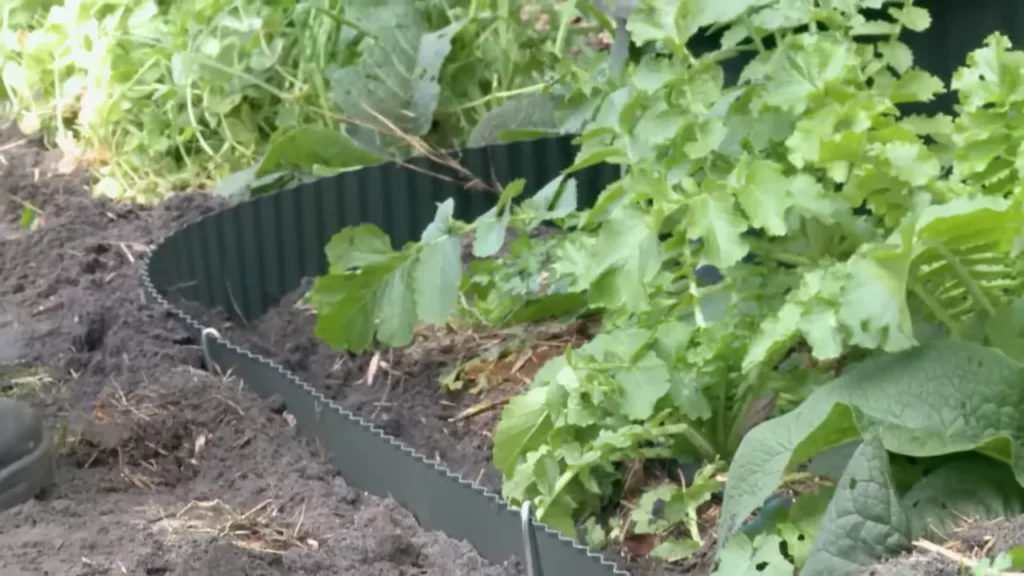
Step 4: Backfill and secure
Backfill the trench with soil, gently packing it in to provide stability for the edging. Use a rubber mallet to secure the edging firmly into the ground.
Step 5: Finishing touches
Trim any excess edging using a utility knife. Add mulch, rocks, or other landscaping materials around the edging to create a polished and finished look.
With these simple steps, you can easily install plastic garden edging and transform your outdoor space. Take the time to properly prepare the area and secure the edging, and you’ll enjoy a durable and visually appealing finish that enhances the beauty of your garden.
Installing Metal Edging
Installing Metal Edging: Metal garden edging is a popular choice for homeowners due to its durability and aesthetic appeal. Follow this step-by-step guide to easily install metal garden edging in your outdoor space. 1. Prepare the Area: – Clear the area from any debris or plants where the edging will be installed. – Measure and mark the desired length of the edging, ensuring it is straight and level. 2. Dig a Trench: – Use a shovel or edger to dig a trench along the marked line. – The depth of the trench should be slightly deeper than the height of the metal edging. 3. Install the Edging: – Place the metal edging in the trench, ensuring it fits snugly. – Use a rubber mallet to secure the edging in the ground. – Connect multiple pieces of edging by overlapping them and using metal connectors. Advantages of Metal Edging: – Long-lasting and durable, providing a reliable barrier for your garden. – Adds a clean and polished look to your outdoor space. – Resistant to weather elements and won’t rot or warp like other materials. Challenges of Metal Edging: – Requires careful handling to avoid injury from sharp edges. – Can be more expensive compared to other edging materials. With these simple steps and understanding the advantages and challenges, installing metal garden edging will enhance the beauty and functionality of your garden.
Installing Stone Edging
Stone garden edging can add charm and structure to your outdoor space. Follow these steps to install stone edging:
- Prepare the area: Start by marking the location of the edging using stakes and string. Dig a trench along the marked line, ensuring it is deep and wide enough to accommodate the stones.
- Select the stones: There are different types of stones available for garden edging, each with its unique characteristics. Common options include limestone, slate, and sandstone. Consider the color, texture, and size of the stones that best suit your landscape.
- Lay the stones: Begin by placing the largest stones along the trench, making sure they are level and aligned. Fill in the gaps with smaller stones, using a rubber mallet to ensure they are securely in place. Continue this process until the entire trench is filled.
- Backfill and compact: Backfill the trench with soil, ensuring it is firmly packed around the stones. Use a tamper or a hand compactor to compact the soil for stability.
- Finishing touches: To create a more polished look, consider filling the gaps between the stones with decorative gravel or mulch. This will not only enhance the overall appearance but also help prevent weed growth.
By following these step-by-step instructions, you can easily install stone garden edging and enhance the beauty of your outdoor space.
Maintaining Garden Edging
Regular maintenance is key to ensuring long-lasting garden edging. By following these practices, you can keep your edging looking neat and in good condition:
- Inspect the edging regularly to detect any signs of damage or shifting.
- Trim any grass or weeds that may be growing along the edging to maintain a clean appearance.
- If you notice any loose or damaged edging, reposition or repair it promptly to prevent further deterioration.
- Use a garden hose or pressure washer to remove dirt and debris from the edging.
- Reapply mulch or gravel along the edging periodically to keep it visually appealing.
- When mowing the lawn, take care to avoid hitting the edging with the mower blade, as this can cause damage.
If you encounter any issues with your garden edging, consider these troubleshooting tips:
| Problem | Solution |
|---|---|
| Edging is shifting or coming loose | Secure the edging by adding stakes or using heavy-duty landscape adhesive. |
| Weeds or grass growing through the edging | Remove the plants and apply a weed barrier fabric underneath the edging. |
| Uneven or sunken edging | Adjust the soil or level the ground before installing or reinstalling the edging. |
| Discoloration or fading of the edging | Consider applying a protective sealant or paint to restore the appearance. |
Creative Ideas For Garden Edging
Looking to enhance your outdoor space with some garden edging? Combine different types of edging materials for a personalized touch that adds charm and character to your garden.
1. Stone and Wood: Combine the natural beauty of stone and wood for a rustic and organic look. Use stone bricks as a sturdy foundation and insert wooden boards vertically for a contrasting element.
2. Recycled Tires and Pallets: Give your garden a sustainable twist by using recycled tires and pallets as edging materials. Paint the tires in bright colors and stack them horizontally, or use vertical wooden pallets for an industrial vibe.
3. Glass Bottles and Seashells: Create a whimsical and coastal-inspired garden by incorporating glass bottles and seashells. Bury the bottles neck-down partially in the ground and intersperse seashells between them for a beachy feel.
4. Concrete and Greenery: Achieve a modern and minimalist look by combining concrete and greenery. Use poured concrete to create sleek edging and plant vibrant flowers or lush grass along the border.
5. Metal and Succulents: Embrace an industrial-chic aesthetic with metal and succulents. Use metal strips or sheets for edging and plant various succulents in the adjacent soil for a low-maintenance yet stylish border.
By thinking outside the box and combining different edging materials, you can create a truly unique and innovative garden that reflects your personal style.
Frequently Asked Questions For How To Install Garden Edging
What Is The Best Way To Install Lawn Edging?
For the best way to install lawn edging, follow these steps: 1. Prepare the edging area by removing any grass or debris. 2. Lay the edging along the desired shape and secure it with stakes. 3. Use a rubber mallet to tap the edging into place.
4. Backfill the area with soil. 5. Finally, water the area to settle the soil.
How Do You Install Garden Edging Strips?
To install garden edging strips, follow these steps: 1. Prepare the area by removing any existing grass or debris. 2. Lay the edging strips along the desired border, ensuring they fit tightly together. 3. Use metal stakes or pegs to secure the strips into the ground.
4. Use a rubber mallet to ensure the strips are firmly in place. 5. Backfill the area behind the edging with soil or mulch to provide stability.
How Do You Anchor Garden Edging?
To anchor garden edging, follow these steps: 1. Dig a shallow trench along the edging line. 2. Insert the edging into the trench, making sure it is level. 3. Backfill the trench with soil and compact it firmly. 4. Use metal stakes or plastic stakes to secure the edging in place.
5. Hammer the stakes into the ground at regular intervals.
Conclusion
Installing garden edging can greatly enhance the overall appearance and functionality of your outdoor space. By following the step-by-step instructions outlined in this guide, you’ll be able to achieve a professional and polished look for your garden beds. Remember to choose the right materials and take the time to properly prepare the area before installation.
With proper care and maintenance, your garden edging will provide long-lasting beauty and structure to your landscape. Happy gardening!