To install a Genie Garage Door Opener Remote, follow these steps: program the remote to the opener, mount the remote, and test the remote for functionality. If you want to automate the opening and closing of your garage door, a Genie Garage Door Opener Remote can be a convenient and practical solution.
Installing a Genie Garage Door Opener Remote involves a few straightforward steps. By programming the remote to the opener, mounting the remote, and testing it for functionality, you can easily control your garage door with just the push of a button.
In this guide, we will walk you through the process of installing a Genie Garage Door Opener Remote so that you can enjoy the added convenience and security it provides.
Benefits Of Using Genie Garage Door Opener Remote
Using a Genie garage door opener remote offers enhanced convenience and accessibility. With just a push of a button, you can easily open and close your garage door without the need to manually lift it or use physical keys. This saves you time and effort, especially during bad weather conditions or when you have your hands full with groceries or other items.
Additionally, a Genie garage door opener remote provides improved security and safety. The remote control allows you to operate the garage door from the comfort of your vehicle, keeping you safe from potential threats or disturbances outside. It also eliminates the need to leave your car unattended while manually opening or closing the garage door.
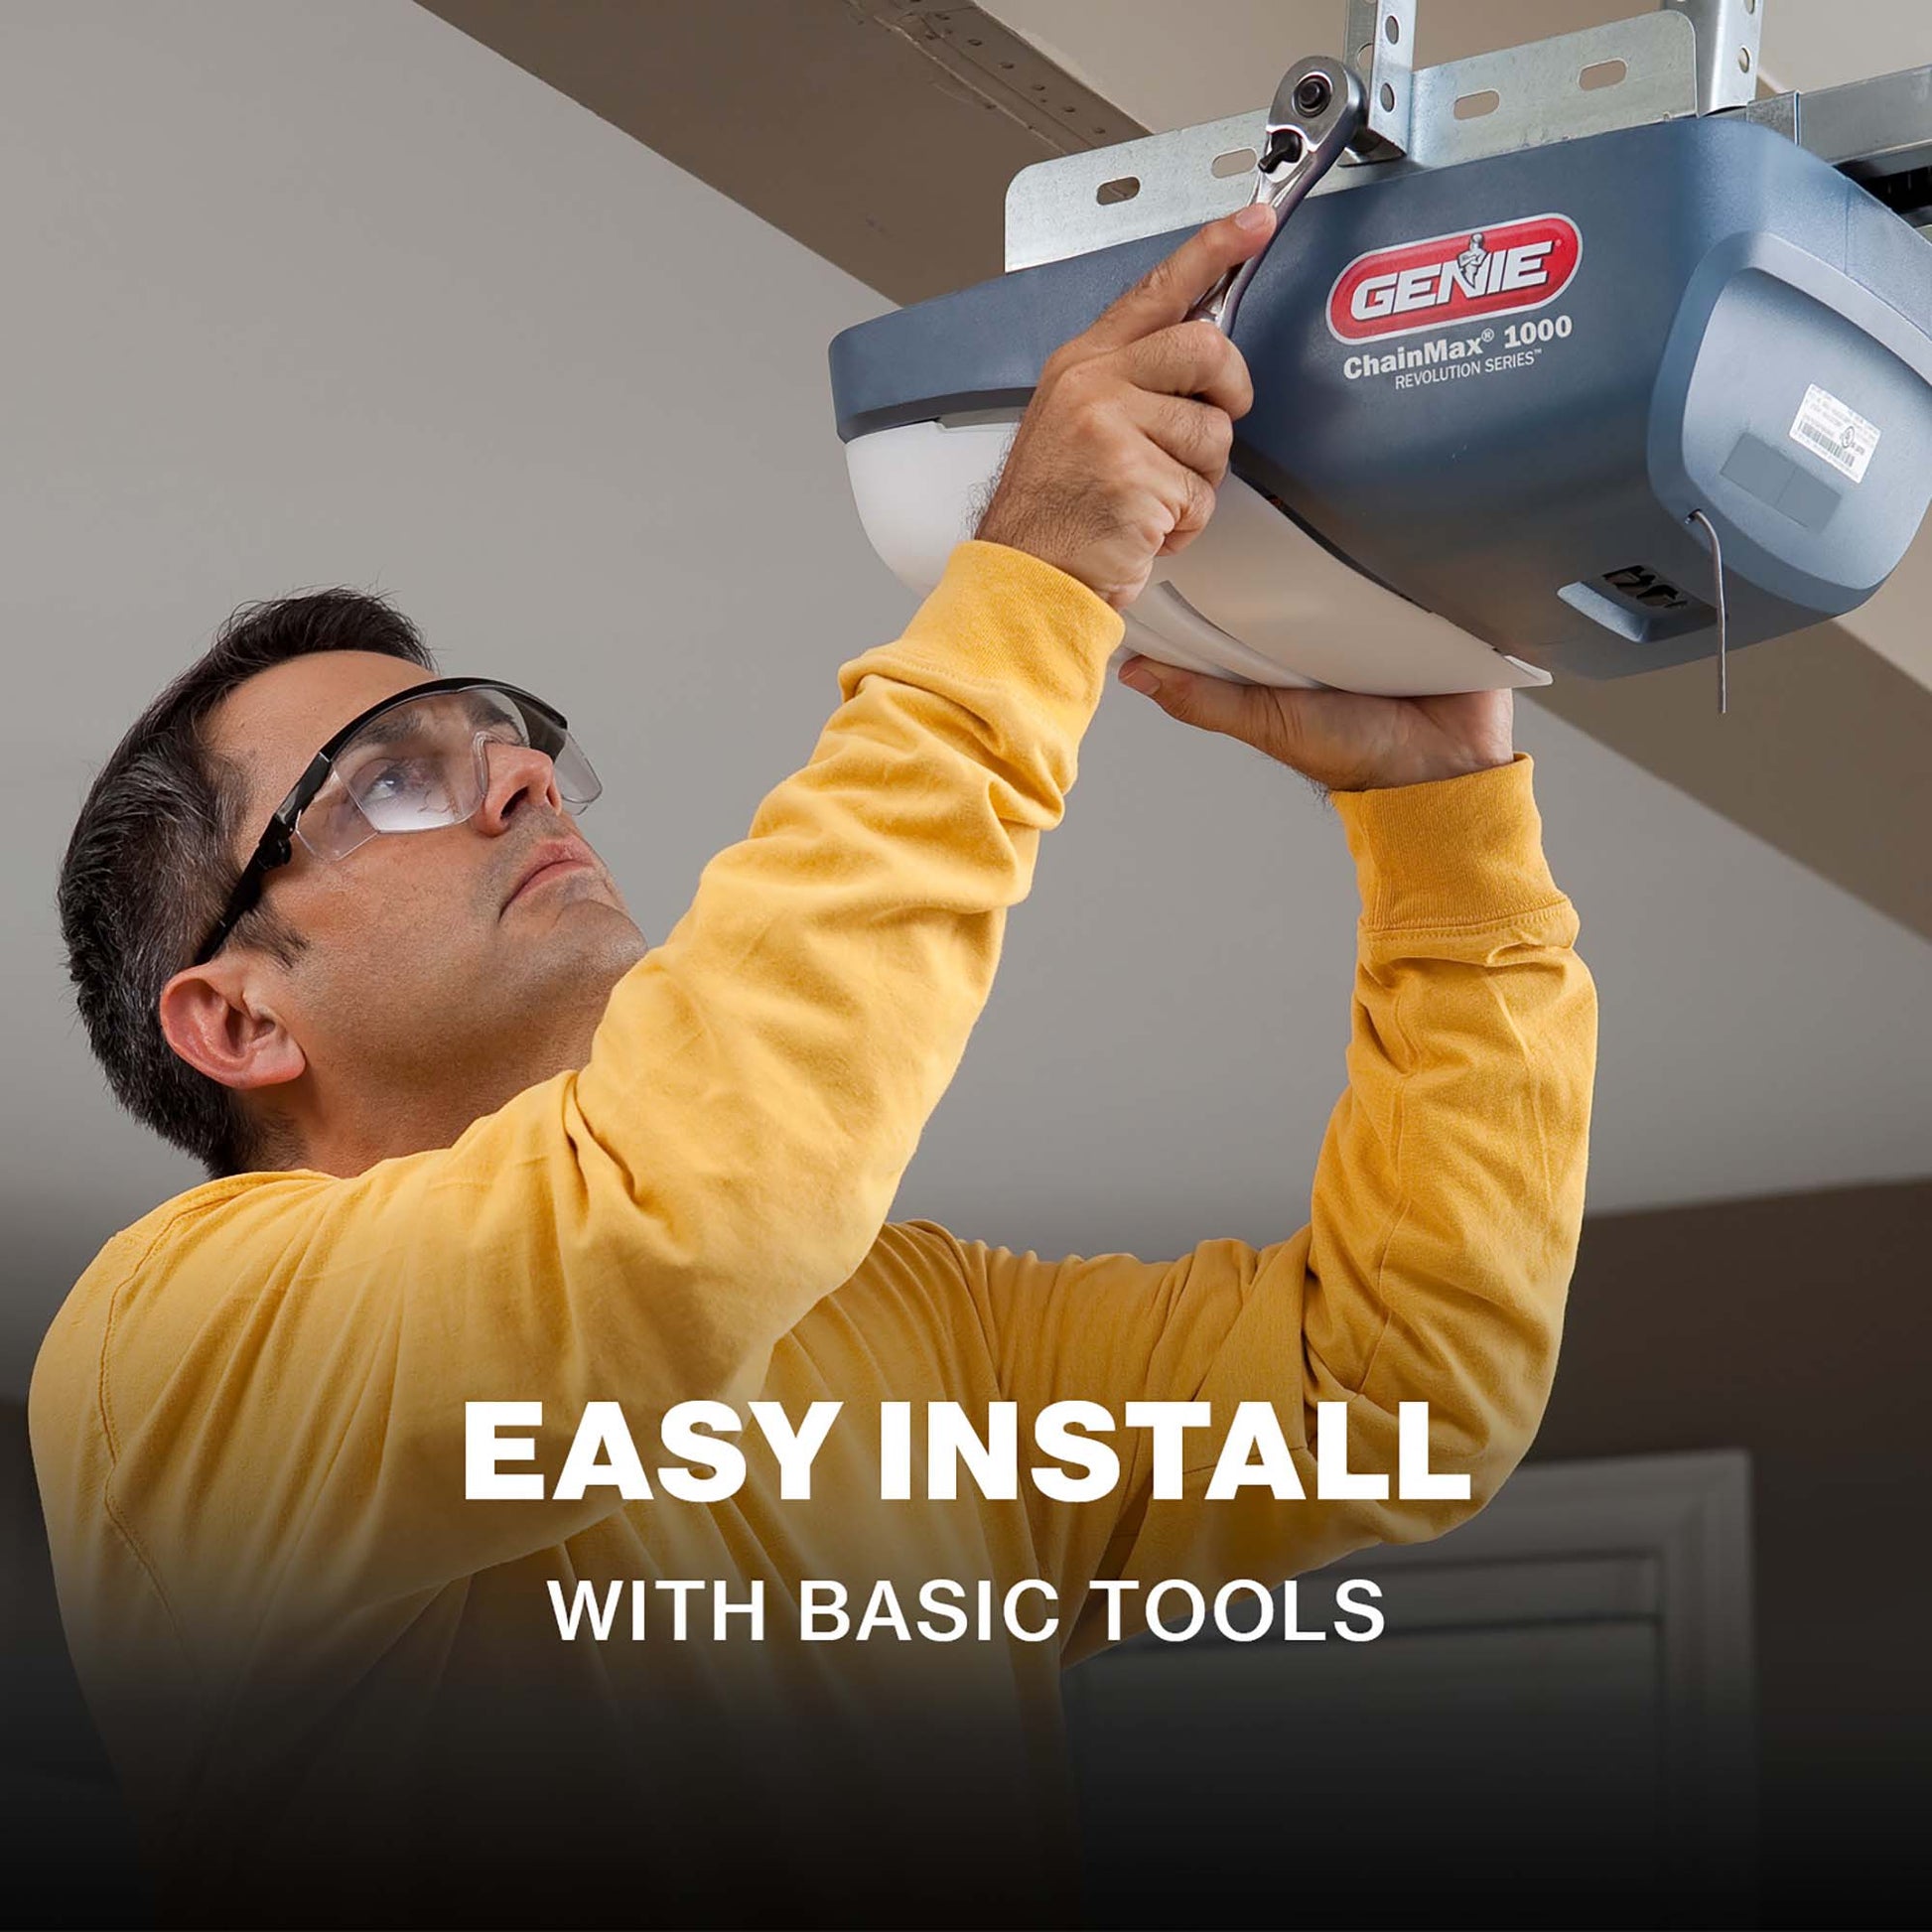
Credit: store.geniecompany.com
Required Tools And Materials
Installing a Genie Garage Door Opener Remote is a simple and straightforward process that requires a few tools and materials. The following items are necessary for a successful installation:
| Screwdriver | A screwdriver is needed to remove the cover of the remote and access the battery compartment. |
| Batteries | The Genie Garage Door Opener Remote operates on batteries. Make sure to have the correct type and quantity of batteries on hand. |
| Step ladder | A step ladder allows you to reach the garage door opener unit to perform the installation and programming. |
| User manual | Refer to the user manual provided with the Genie Garage Door Opener Remote for specific installation instructions and programming guidelines. |
| Safety glasses | Wearing safety glasses is important to protect your eyes from any potential hazards during the installation process. |
With these tools and materials at hand, you can proceed with the installation of your Genie Garage Door Opener Remote.
Step-by-step Guide For Installing Genie Garage Door Opener Remote
Installing a Genie garage door opener remote is a simple process that can be done step-by-step. Begin by locating the “Learn” button on the garage door opener. Press and hold this button until the indicator light starts blinking. Next, choose a button on the remote to program. Hold this button on the remote while standing within range of the garage door opener. Wait for the blinking light on the garage door opener to turn solid. Once this happens, you can test the remote to ensure successful programming. By following these steps, you’ll be able to install your Genie garage door opener remote with ease.
Troubleshooting Common Issues With Genie Garage Door Opener Remote Installation
“`HTMLTo troubleshoot common issues with Genie Garage Door Opener Remote installation, follow these steps:
Remote not working after programming: If your Genie Garage Door Opener Remote is not working after programming, make sure you have followed the programming instructions correctly. It is crucial to enter the correct PIN or access code. Additionally, check that the batteries in the remote are correctly inserted and not depleted. Clean the battery contacts if necessary. If the remote still doesn’t work, try reprogramming it following the instructions provided by Genie.
Indicator light on the garage door opener not blinking: If the indicator light on the garage door opener unit is not blinking after programming the remote, there may be an issue with the programming. Ensure that the remote is within range of the opener unit and that there are no obstacles blocking the signal. Try reprogramming the remote and check the indicator light again.
Remote range issues: If you are experiencing range issues with your Genie Garage Door Opener Remote, consider replacing the batteries with new ones. Weak batteries can impair signal strength and reduce the range. Additionally, check for any interference from other electronic devices or metal objects. Repositioning your remote or installing a range extender may also improve performance.
“`Tips For Proper Usage And Maintenance Of Genie Garage Door Opener Remote
Tips for Proper Usage and Maintenance of Genie Garage Door Opener Remote
Replace the batteries regularly: One important aspect of maintaining the Genie Garage Door Opener Remote is to replace the batteries regularly. This ensures that the remote is always powered and ready for use when needed.
Keep the remote clean and free from debris: Regularly clean the remote using a soft, dry cloth to remove any dust or dirt buildup. Avoid using harsh chemicals that can damage the remote. Keeping the remote clean helps to ensure that the buttons remain responsive and that the signals are transmitted effectively.
Perform routine maintenance checks: Periodically inspect the remote for any damage or wear and tear. Check the buttons for any signs of sticking or malfunctioning. If any issues are identified, promptly address them to prevent further damage. Performing regular maintenance checks helps to extend the lifespan of the remote and ensures it functions optimally.
Frequently Asked Questions Of How To Install Genie Garage Door Opener Remote
How Do I Add A Remote To My Genie Garage Door Opener?
To add a remote to your Genie garage door opener, follow these steps: 1. Locate the “Learn” button on your opener motor. 2. Press and release the “Learn” button once. 3. Within 30 seconds, press and hold the button on your remote.
4. Release the remote button when the opener’s light flashes or you hear a click. 5. Your remote should now be paired with the opener.
How Do I Add A Remote To My Garage Door?
To add a remote to your garage door, follow these steps: 1. Locate the “learn” or “program” button on your garage door opener. 2. Press and release the button. 3. Within 30 seconds, press and hold the button on the remote you want to add.
4. Release the button once the opener’s lights flash or you hear a beep. 5. Test the remote to ensure it’s working properly.
How Do I Connect My Genie Universal Garage Door Opener?
To connect your Genie universal garage door opener, follow these steps: 1. Locate the learn button on your Genie opener and press it. 2. Within 30 seconds, press and release the button on your new remote. 3. Wait for the opener’s lights to flash or hear a beep.
4. Test the remote by pressing the button to ensure it’s connected. 5. Repeat the process for additional remotes if needed.
Conclusion
By following the steps outlined you can easily install your Genie garage door opener remote. With clear instructions and simple troubleshooting tips, you’ll be enjoying the convenience of remote control access to your garage in no time. Remember to always consult the manufacturer’s manual for specific guidelines and safety precautions.
Happy installing!