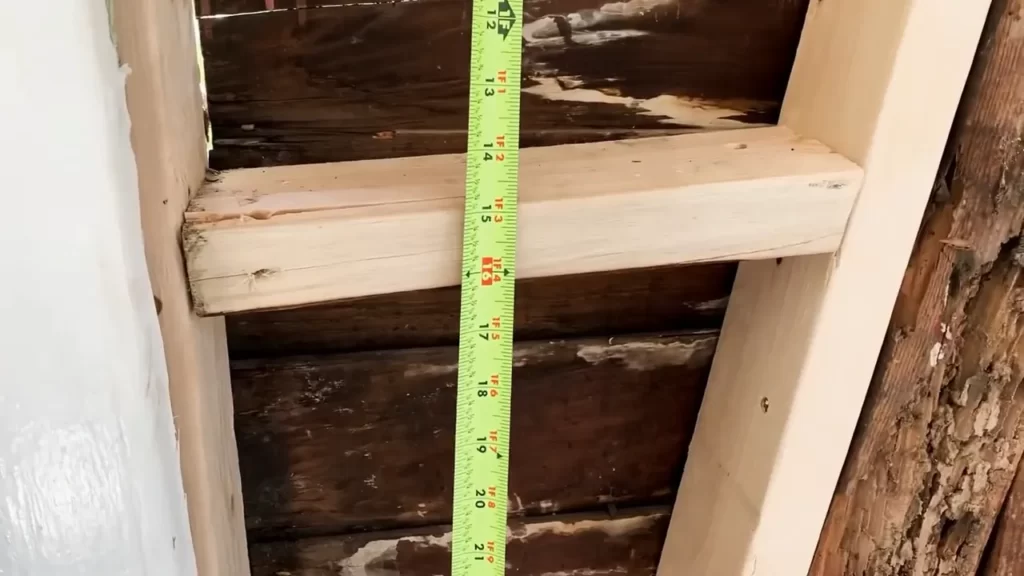
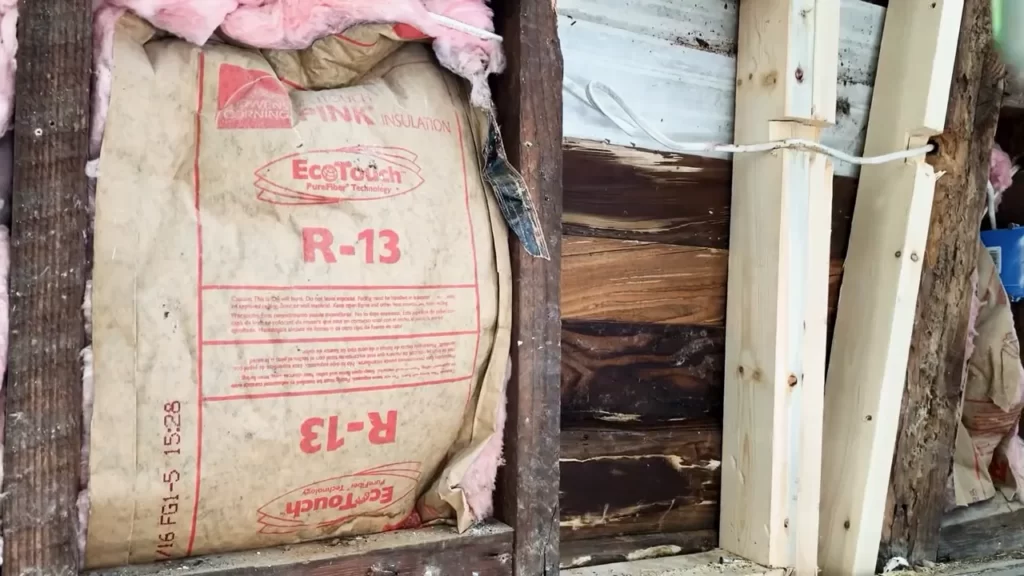
To install R13 insulation, cut the insulation to fit the required size and shape, and carefully place it in the desired area. Then, secure the insulation in place by stapling or taping it to the walls or ceiling.
Insulating your home is an essential step in maintaining a comfortable and energy-efficient living environment. One effective insulating material is R13 insulation. It provides resistance to heat flow, keeping your home warm in the winter and cool in the summer.
Installing R13 insulation is a straightforward process that can be completed with a few simple steps. We will guide you through the installation process, ensuring that you have all the necessary information to complete the task successfully. By following these instructions, you can improve the energy efficiency of your home and create a more comfortable indoor environment. Let’s get started!

Reasons To Install R13 Insulation
Insulating your home is crucial for various reasons. Firstly, it helps in maintaining a comfortable indoor temperature throughout the year. R13 insulation is a cost-effective solution that provides excellent thermal resistance, preventing heat loss during winters and heat gain during summers.
This type of insulation also aids in noise reduction, making your living environment more peaceful and quiet. Additionally, it improves energy efficiency by reducing the need for excessive heating and cooling, which can ultimately lead to lower utility bills.
Common areas in your home where R13 insulation can be installed include the attic, walls, floors, and crawlspaces. These are crucial areas where heat transfer frequently occurs, and insulating them with R13 insulation can significantly improve energy efficiency and overall comfort.
Investing in R13 insulation is a smart choice that brings numerous benefits, including enhanced comfort, reduced energy consumption, and lower utility costs. Start insulating your home with R13 insulation today and enjoy the year-round comfort it provides.
Assessing Your Insulation Needs
When it comes to insulating your home, it’s important to determine the areas that need insulation to optimize energy efficiency. Start by evaluating the current insulation status of your house and identifying any areas that may require improvement.
Determining the Areas for Insulation:
- Check for drafty areas around windows, doors, and electrical outlets.
- Inspect the attic for any signs of inadequate insulation.
- Examine the walls to identify any gaps or cracks that may need sealing.
Calculating the Amount of Insulation Needed:
- Consider the climate zone you reside in to determine the recommended R-value.
- Measure the area that needs insulation in square feet.
- Consult insulation professionals or use online calculators to estimate the amount of insulation required.
Understanding the R-value:
The R-value measures the ability of insulation to resist heat flow. Higher R-values indicate better insulation performance. Ensure you choose insulation with an appropriate R-value that meets the needs of your specific climate and area of installation.
Tools And Materials Needed

Tools and Materials Needed
Essential Tools for Installation:
- Ruler or measuring tape
- Pencil or marker
- Utility knife
- Straight edge
- Staple gun
- Work gloves
Choosing the Right Type of R13 Insulation:
Before you begin the installation process, it is important to choose the right type of R13 insulation for your needs. Consider factors such as the climate in your area and the desired level of insulation. R13 insulation is available in different materials, including fiberglass and mineral wool. Each material has its own strengths and weaknesses, so make sure to research and select the one that best suits your requirements.
Additional Materials and Safety Equipment:
- Insulation batts or rolls
- Insulation facing material
- Duct tape
- Air sealing materials
- Safety goggles
- Dust mask
- Knee pads
- Protective clothing
When installing R13 insulation, it is important to have all the necessary tools and materials on hand. This will ensure a smooth and efficient installation process. By choosing the right type of insulation and having the essential tools and materials ready, you can effectively install R13 insulation and improve the energy efficiency of your home.
Preparing For Installation

When installing R13 insulation, it is crucial to properly prepare for the installation process. This begins by clearing the work area to ensure there is enough space to work comfortably. Remove any obstacles or debris that could hinder the installation process. Additionally, be sure to check the work area for any potential issues or damages that could affect the insulation installation. Take the time to thoroughly inspect the area for any signs of moisture, mold, or pests. Addressing these issues prior to installation will prevent any further complications.
Next, it is important to prepare the insulation materials. Gather all the necessary materials and tools needed for the installation. This typically includes the R13 insulation rolls, utility knife, staple gun, and safety goggles. Make sure the insulation rolls are stored in a dry and clean area prior to installation to maintain their effectiveness. Properly preparing the insulation materials will ensure a smoother and more efficient installation process.
Step-by-step Installation Guide
Step-by-Step Installation Guide
Installing R13 Insulation in Walls
When installing R13 insulation in walls, the first step is measuring and cutting the insulation to fit the wall cavities. It is important to secure the insulation in place using staples or insulation supports, making sure there are no gaps or compressed areas. Next, insulate around windows and doors by using weatherstripping or expanding foam to seal any gaps. In attics, proper ventilation is crucial. Properly ventilate the space by installing soffit vents and ridge vents to allow air circulation and prevent moisture buildup. To attach insulation to the attic floor, use insulation supports or staple it to the joists. Don’t forget to insulate the attic access door by applying weatherstripping or foam tape around the edges. Lastly, when installing R13 insulation in basements or crawlspaces, address moisture concerns by installing a vapor barrier. Apply the insulation to walls or floors using adhesive or fasteners.

Tips And Best Practices
Installing R13 insulation is an important step in improving energy efficiency and comfort in your home. To ensure proper air sealing, it is crucial to follow a few tips and best practices.
First and foremost, pay attention to avoiding common installation mistakes. This includes properly fitting and cutting the insulation to fill gaps and cover all areas evenly. Ensure that the insulation is installed tightly, without any loose or sagging areas. Additionally, using a vapor barrier can help prevent moisture buildup.
Safety should be a top priority during the installation process. Use protective gear such as gloves, goggles, and a dust mask to prevent any potential health hazards. Furthermore, make sure to follow all safety guidelines provided by the manufacturer.
| Tips and Best Practices | Ensuring Proper Air Sealing | Avoiding Common Installation Mistakes | Maintaining Safety during the Installation Process |
|---|---|---|---|
| Fit and cut the insulation properly | Use a vapor barrier to prevent moisture buildup | Ensure tight installation without any loose or sagging areas | Wear protective gear such as gloves, goggles, and a dust mask |
By following these tips and best practices, you can effectively install R13 insulation and optimize the energy efficiency of your home.
Benefits Of Professional Installation

Installing R13 insulation can be a great way to increase the energy efficiency of your home. While some individuals may choose to tackle the installation process themselves, there are several benefits to hiring a professional. One of the main benefits is the assurance of a job well done. Professionals have the knowledge and experience to ensure that the insulation is properly installed, maximizing its effectiveness. Additionally, hiring a professional can save you time and effort. Rather than spending hours researching and attempting a DIY installation, you can rely on an expert to handle the job quickly and efficiently. In terms of cost, it is important to consider the long-term savings that professional installation can provide. A properly installed insulation can lead to lower energy bills and a more comfortable living space. When considering professional installation, be sure to research and find a qualified insulation contractor. Look for someone with experience and positive customer reviews. It is also advisable to evaluate the cost versus convenience factor. While professional installation may come at a higher upfront cost, the benefits and long-term savings can outweigh the initial expense.
Frequently Asked Questions For How To Install R13 Insulation
How Do You Staple R13 Insulation?
To staple R13 insulation, follow these steps: 1. Ensure the insulation is properly sized and fitted. 2. Use a staple gun with 1-inch staples to secure the insulation. 3. Start at one corner and work your way across, stapling about every 6 inches.
4. Avoid compressing the insulation to maintain its effectiveness. 5. Double-check that the insulation is securely and evenly stapled before proceeding.
Which Side Of Insulation Faces Out?
The shiny side of insulation usually faces out.
What Is The Correct Way To Install Insulation?
To correctly install insulation, follow these steps: 1. Begin by wearing protective gear and preparing the area. 2. Measure and cut insulation to fit snugly in the desired space. 3. Install the insulation, starting from the bottom and working upward.
4. Use adhesive or staples to secure the insulation in place. 5. Seal any gaps or joints to ensure maximum efficiency.
Conclusion
To recap, installing R13 insulation can greatly improve the energy efficiency of your home. By following the proper steps outlined in this blog post, you can ensure a successful installation. Remember to measure accurately, wear protective gear, and seal any gaps for maximum insulation performance.
With the right tools and knowledge, you can effectively regulate temperature and reduce energy costs. Start improving your home’s insulation today!
