To install shoe moulding, measure and cut the pieces to fit the lengths of the walls, then attach them using a brad nailer and adhesive. Shoe moulding is a decorative molding that is installed along the base of walls to cover the gaps between the wall and the floor.
It not only adds a finishing touch to a room’s aesthetic but also helps protect the walls and floors from damage. Installing shoe moulding is a relatively simple DIY project that can be completed with a few basic tools and materials.
This guide will provide step-by-step instructions on how to install shoe moulding in your home.

Choosing The Right Materials
When installing shoe moulding, it is important to choose the right materials. Selecting the appropriate shoe moulding type is the first step. Different types include wood, vinyl, and composite. Consider the style and durability of each option to find the best fit for your project.
Once you have chosen the shoe moulding type, determining the necessary quantity is essential. Measure the length of the walls to calculate how much moulding you will need. It is advisable to purchase a little extra to account for any mistakes or miscalculations.
Gathering the essential tools and equipment is the next step. You will need a measuring tape, miter saw, coping saw, hammer, nails, and adhesive. Ensure that you have all the necessary items before starting the installation process.
Preparing The Area
In order to successfully install shoe moulding, it is important to properly prepare the area. This involves clearing the space and ensuring a clean surface. If there are existing baseboards, they should be carefully removed to allow for a seamless installation. This can be done by prying them off using a pry bar or gently tapping them with a hammer to loosen them from the wall. Once the baseboards are removed, it is essential to clean the surface. This can be done by wiping it down with a damp cloth or using a mild cleaning solution to remove any dirt or debris. By taking these steps to prepare the area, you can ensure a smooth and successful installation of shoe moulding.
Measuring And Cutting

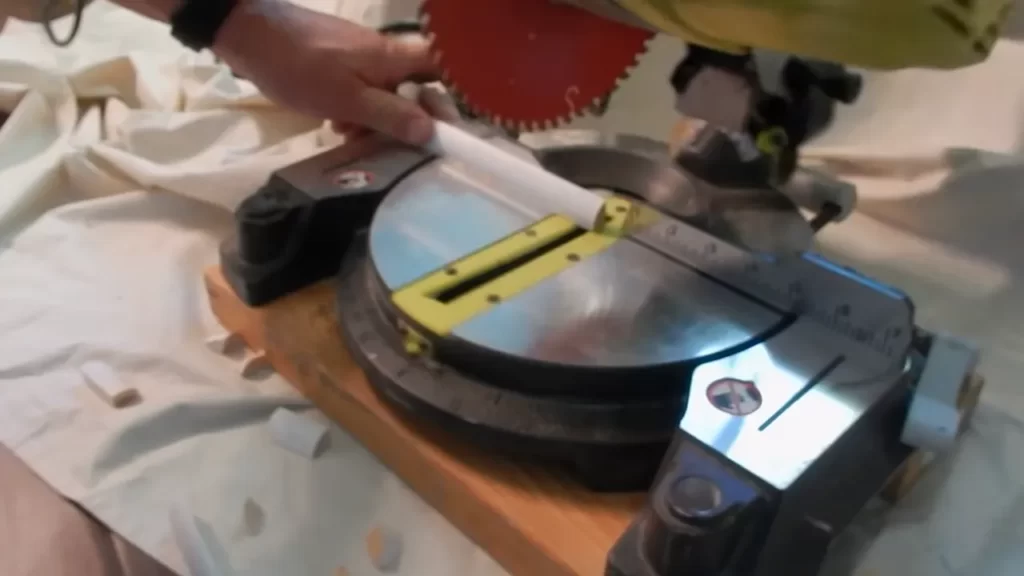
Installing shoe moulding is a crucial step that adds a finishing touch to any room. To ensure a perfect fit, it is important to start by taking accurate measurements. Measure the length of each wall, subtracting the width of any doors or openings. Calculating the required lengths will help you determine how much shoe moulding you need. Remember to add a 10% allowance for waste. Once you have the moulding, it’s time to start cutting the shoe moulding. Use a miter saw to make precise 45-degree cuts at each corner. Ensure the top and bottom of the moulding fit snugly against the baseboard and the floor. Finally, attach the moulding to the wall using finishing nails or construction adhesive.
Installing The Shoe Moulding
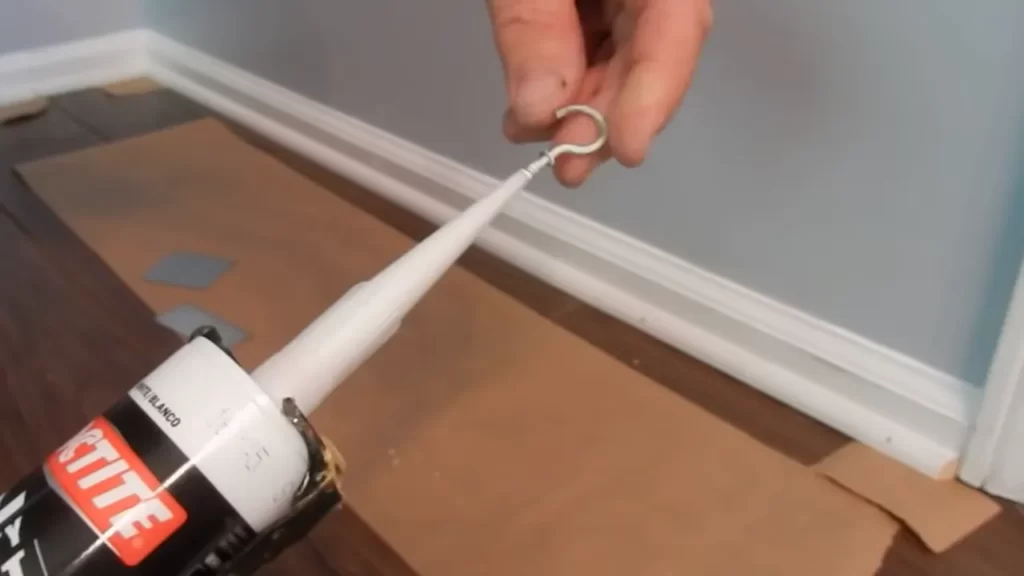
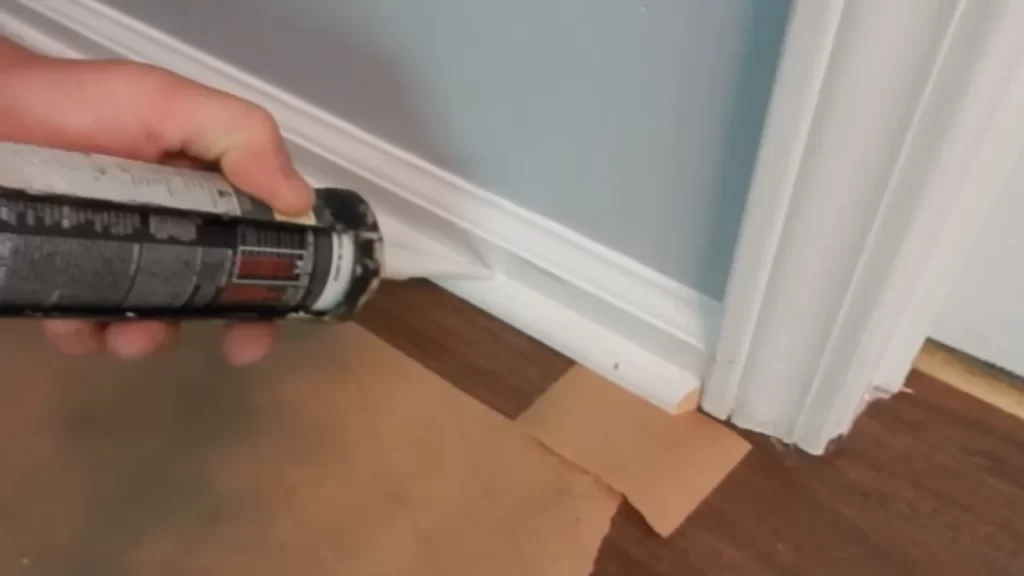
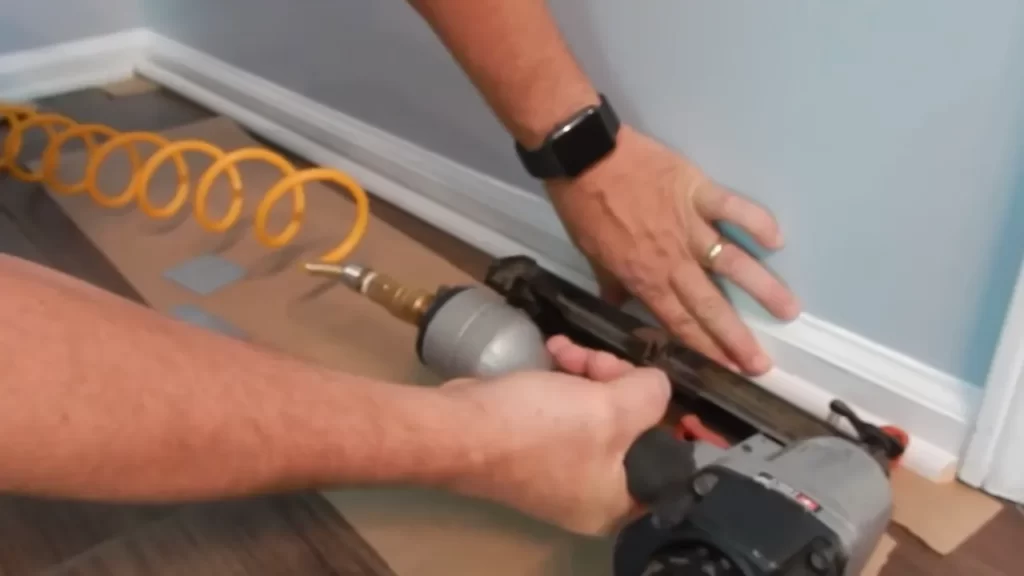
Installing shoe moulding is a simple process that can enhance the appearance of your home. The first step is to apply adhesive or caulk along the back of the moulding. This will help it adhere to the baseboard or walls securely. Next, position the moulding in the desired location, ensuring it aligns properly with the baseboard or wall edges. Use a level to ensure the moulding is straight. Once in position, use finishing nails or a brad nailer to secure the moulding to the baseboard or walls. Be careful not to split the moulding when nailing. Finally, fill any nail holes or gaps with wood filler and sand it smooth. You can then paint or stain the moulding to match your decor. Following these simple steps will result in a professional-looking installation of shoe moulding.
Filling And Finishing
When installing shoe moulding, it is important to take care of the finishing touches to achieve a polished look. The first step is to address any gaps or nail holes. Fill them using a wood filler that matches the color of the moulding. Make sure to apply it smoothly and allow it to dry completely before moving on to the next step.

After filling the gaps or nail holes, sand the moulding to ensure a smooth surface. Use a fine-grit sandpaper and gently sand the entire length of the moulding. This will help create a seamless finish.
Next, prime the shoe moulding before painting. Applying a primer will enhance the adhesion of the paint and provide a more durable finish. Make sure to choose a primer specifically designed for wood surfaces.
Once the primer is dry, proceed with painting the shoe moulding. Use a high-quality paint that is suitable for trim and woodwork. Apply the paint evenly and allow it to dry completely between coats, if necessary.
By following these steps, you can successfully install shoe moulding and achieve a professional-looking finish.
Cleaning And Maintenance
When it comes to installing shoe moulding, it is important to pay attention to cleaning and maintenance. One aspect of maintenance is removing excess caulk or adhesive. Use a putty knife or scraper to gently scrape off any excess caulk or adhesive from the surface. Be careful not to damage the moulding or the wall while doing this. Regular maintenance and cleaning are essential to keep the shoe moulding looking its best. Use a mild soap and warm water solution to clean the moulding, and make sure to dry it thoroughly afterwards. If you encounter any issues during the installation process, troubleshooting common problems can help. Ensure that the moulding is properly aligned and secured, and check for any gaps or uneven surfaces. By following these tips, you can ensure a smooth installation and prolong the lifespan of your shoe moulding.

Additional Tips And Diy Ideas
Shoe moulding is an essential element in enhancing the overall look and finish of a space. Here are some additional tips and DIY ideas to consider when installing shoe moulding. For a budget-friendly alternative, consider using PVC or composite moulding, which is not only cost-effective but also durable and easy to maintain. Another creative way to enhance the look is to paint or stain the shoe moulding to match your existing trim or create a contrasting effect. You can also explore different design inspirations such as geometric patterns or decorative details, which can add a unique touch to your space. Remember to measure and cut the moulding accurately, ensuring a seamless installation. Don’t forget to use **appropriate adhesives** or **nail** the moulding into place securely. With these tips and ideas, you can effortlessly transform the appearance of your space with shoe moulding.
Frequently Asked Questions For How To Install Shoe Moulding
Should I Glue Or Nail Shoe Molding?
It is recommended to glue shoe molding as it provides a strong, secure bond. Nailing can also be used, but may cause damage to the molding or the surface it is attached to. Always follow manufacturer instructions and consider the type of flooring and the desired aesthetic when deciding on the best method.
Is Shoe Molding Hard To Install?
Shoe molding installation is not difficult. It can easily be done by following a few steps. Measure and cut the molding to the required length, then secure it to the wall using a brad nailer or adhesive. Finally, fill any nail holes and paint the molding to match your decor.
Do You Nail Shoe Molding To Baseboard Or Floor?
Nail shoe molding to the baseboard, not the floor.
Conclusion
Installing shoe moulding is a simple and cost-effective way to add a finishing touch to your home’s interior. With proper measurements, tools, and techniques, you can achieve professional-looking results. Remember to choose the right type of moulding for your space and ensure a secure fit.
By following the steps outlined in this guide, you can easily transform the look of any room. So why wait? Start beautifying your home today!
