To install weather stripping on the bottom of a door, measure the width of the door, cut the weather stripping to size, and attach it using adhesive or screws.
Why Weather Stripping Is Important For Doors
Weather stripping is a crucial element in maintaining the energy efficiency of your home. By installing weather stripping on the bottom of your doors, you can prevent drafts, air leakage, and energy loss.
One of the primary benefits of weather stripping on doors is improved energy efficiency. The weather stripping acts as a barrier, preventing cold air from entering and warm air from escaping during the winter months. This results in reduced reliance on heating systems, leading to lower energy bills. Similarly, in the summer, weather stripping helps keep cool air inside, reducing the need for excessive air conditioning and lowering energy consumption.
Another benefit of weather stripping is increased comfort. By sealing gaps and cracks around your doors, weather stripping eliminates drafts, making your living space more comfortable and enjoyable. It also reduces noise infiltration, creating a quieter environment inside your home.
Furthermore, weather stripping helps in preventing moisture and water intrusion. It forms a tight seal that keeps rainwater and humidity outside, protecting your doors, floors, and furniture from potential damage.
| Benefits of weather stripping on doors: |
|---|
| Improved energy efficiency |
| Increased comfort |
| Noise reduction |
| Protection against moisture |
Types Of Weather Stripping
Weather stripping is an essential component for keeping your home insulated and energy-efficient. When it comes to installing weather stripping on the bottom of a door, there are several types to choose from.
| Type of Weather Stripping | Description |
|---|---|
| Self-adhesive weather stripping | This type of weather stripping is the easiest to install. It comes with an adhesive backing that can be easily applied to the bottom of the door. |
| Door sweep weather stripping | A door sweep is a long strip of rubber or bristles that is attached to the bottom of the door. It creates a barrier against drafts and helps to keep out dust, insects, and noise. |
| V-strip weather stripping | V-strip weather stripping consists of a flexible strip that is shaped like a V. It is attached to the jamb or the door and provides excellent protection against drafts. |
Before installing weather stripping, it’s important to measure the length of your door and choose the appropriate type. Once you have the weather stripping, ensure that the door is clean and dry before applying it. Carefully follow the manufacturer’s instructions for installation to ensure a proper seal. Weather stripping not only helps to keep your home comfortable, but it can also save you money on energy bills in the long run.
Step 1: Measure The Door
Step 1: Measure the Door
Measuring the width and length of the door is the first essential step in installing weather stripping on the bottom of the door. This measurement ensures that you get the correct size of weather stripping to effectively seal the door.
Step 2: Choose The Right Weather Stripping
When considering weather stripping options, it’s important to carefully compare different types before choosing the right one for your needs. There are several factors to consider when selecting weather stripping for the bottom of your door:
| Type of Weather Stripping | Advantages | Disadvantages |
|---|---|---|
| Door Sweep | Effectively blocks drafts Easy to install Durable |
May leave a small gap May require regular maintenance |
| Adhesive Tape | Quick and easy installation Economical Can be cut to size |
May not provide a tight seal May wear out over time |
| V-Shaped Strips | Excellent seal Long-lasting Effective against drafts |
May be more expensive Requires precision installation |
Consider factors such as durability, ease of installation, sealing effectiveness, and cost when deciding on the right weather stripping for your door. By carefully comparing the advantages and disadvantages of each type, you can make an informed decision and ensure that you install weather stripping that effectively blocks drafts and improves energy efficiency in your home.
Step 3: Prepare The Door
Once you have gathered all the necessary tools and materials for installing weather stripping on the bottom of the door, it’s time to move on to Step 3: Prepare the Door. This step involves cleaning the bottom of the door and removing any existing weather stripping.
Start by cleaning the bottom of the door thoroughly to remove any dirt, dust, or debris. You can use a mixture of mild soap and water or a non-abrasive cleaner for this task. Make sure to wipe the surface dry afterwards.
Next, you will need to remove any existing weather stripping that may be in place. Use a putty knife or a similar tool to carefully pry off the old weather stripping, taking care not to damage the door in the process. Once the old weather stripping has been removed, use a clean cloth to wipe away any adhesive residue that may be left behind.
With the door now cleaned and any old weather stripping removed, you are ready to proceed to the next step of installing the new weather stripping on the bottom of the door.
Step 4: Apply The Weather Stripping
Installing weather stripping on the bottom of a door is a crucial step to ensure energy efficiency and prevent drafts and leaks. After preparing the door and selecting the appropriate weather stripping material, it’s time to apply it.
Positioning the weather stripping: Begin by aligning the weather stripping along the bottom of the door frame, making sure it creates a tight seal. Use a pencil to mark the location of the weather stripping on the door frame.
Cutting it to the correct size: Measure the width of the door frame and cut the weather stripping to fit. It should extend the full width of the door frame without any gaps.
Attaching the weather stripping to the door: Apply adhesive to the back of the weather stripping, following the manufacturer’s instructions. Press it firmly onto the marked location, ensuring good adhesion. Repeat the process for the entire length of the door frame, trimming any excess stripping if necessary.
Weather stripping is an effective and affordable way to improve energy efficiency and reduce utility costs. By following these simple steps, you can properly apply weather stripping on the bottom of your door and enjoy a more comfortable home environment.
Step 5: Test The Weather Stripping
In step 5, testing the weather stripping is crucial to ensure its effectiveness. Start by examining the area around the door for any visible gaps or air leaks. Pay close attention to corners and edges, as these are common problem areas. To test for air leaks, you can use a candle or incense stick. Light the candle or incense stick, and slowly move it around the edges of the door. If the flame flickers or the smoke is drawn towards a certain spot, it indicates an air leak. Make necessary adjustments by repositioning or adding more weather stripping to areas that are not properly sealed. Repeat the test until no gaps or air leaks are detected. Ensuring a proper seal will help keep out drafts, improve energy efficiency, and provide better insulation.
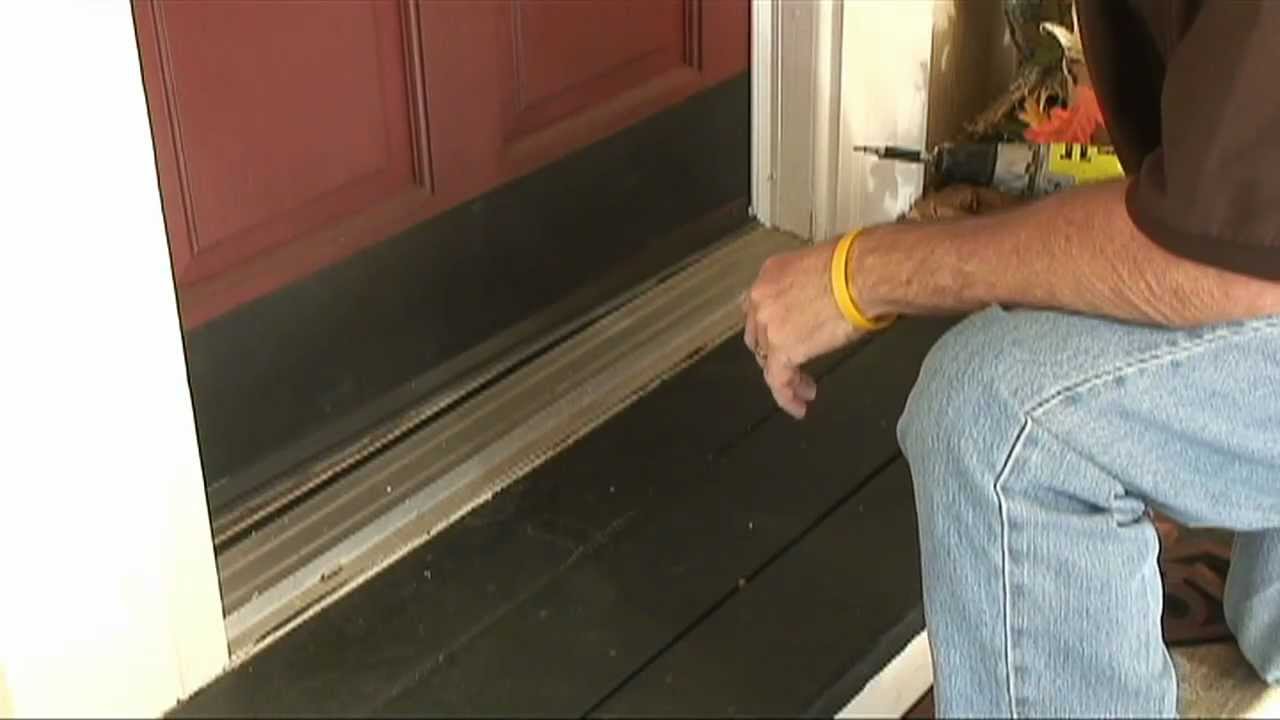
Credit: m.youtube.com
Maintenance Tips For Weather Stripping
Maintaining weather stripping is crucial to ensure the efficiency of your door. Regularly inspect the weather stripping to identify signs of wear and tear. Look for any cracks, gaps, or breaks that may compromise its effectiveness. Cleaning your weather stripping regularly is important to keep it free from dust, dirt, and debris. Use a mild detergent and water solution to gently clean the weather stripping. Avoid using harsh chemicals or abrasive materials that can cause damage. If you notice any damage during the inspection, it’s essential to replace the weather stripping promptly. This will help to maintain a proper seal and prevent energy loss. Installing new weather stripping is a simple process that can be done using adhesive or nails. Take measurements before purchasing weather stripping to ensure a proper fit. By inspecting and maintaining your weather stripping, you can improve energy efficiency and keep your home comfortable throughout the year.
Frequently Asked Questions On How To Install Weather Stripping On Bottom Of Door
Do You Put Weather Stripping On Bottom Of Door?
Yes, weather stripping is typically installed on the bottom of a door to prevent drafts and improve energy efficiency.
How Do You Replace The Rubber Seal On The Bottom Of A Door?
To replace the rubber seal on the bottom of a door, follow these steps: 1. Measure the length of the door where the seal will be placed. 2. Remove the old seal by pulling it out. 3. Insert the new seal into the slot at the bottom of the door.
4. Use a rubber mallet to ensure it is securely in place.
How Do You Seal The Gap At The Bottom Of A Door?
To seal the gap at the bottom of a door, use weatherstripping or a door sweep. These can be easily installed and help keep out drafts, noise, and insects.
Conclusion
To sum it up, installing weather stripping on the bottom of your door is a simple and effective way to improve energy efficiency and keep your home comfortable. By following the step-by-step guide, you can ensure that your door is well-insulated and protected against drafts and moisture.
Regularly checking and maintaining your weather stripping will help extend its lifespan and enhance its performance. Don’t neglect this easy DIY project that will save you money in the long run and make your home more comfortable all year round.