o install weed barrier, place it on the desired area and secure it with landscape staples. The weed barrier prevents weed growth by blocking sunlight and inhibiting weed germination.
Are you tired of dealing with unwanted weeds in your garden? Installing a weed barrier can be a simple and effective solution. By blocking sunlight and preventing weed germination, a weed barrier helps to keep your garden beds weed-free and reduces the need for constant maintenance.
We will provide you with a step-by-step guide on how to install weed barrier in your garden. Whether you are a seasoned gardener or a beginner, this guide will assist you in effectively installing a weed barrier to protect your plants and keep your garden beautiful. Let’s dive in and get started on creating a weed-free garden!

1. Determining The Right Type Of Weed Barrier
Choosing the right weed barrier is essential for effective weed control in your garden. There are several types of weed barriers available, each with its own advantages and disadvantages. Understanding these differences can help you make an informed decision.
One common type of weed barrier is plastic or landscape fabric. Plastic barriers are typically made of black polyethylene that is tightly woven to prevent weed growth. The fabric barriers are made of a porous material that allows water and nutrients to penetrate but blocks weed growth. Both types are relatively easy to install and are effective at preventing weeds from germinating. However, plastic barriers can trap moisture and lead to root rot, while fabric barriers can be prone to tearing over time.
Another option is organic mulch, such as wood chips or bark. This natural weed barrier not only adds aesthetic appeal to your garden but also helps retain moisture. However, organic mulch needs to be reapplied regularly as it breaks down over time and can provide a habitat for pests.
Lastly, there are biodegradable weed barriers made from materials like cornstarch or newspaper. These barriers are eco-friendly and can be tilled into the soil at the end of the growing season. However, they may not be as effective as other types in long-term weed prevention.
1.1 Organic Weed Barrier
| 1.1 Organic Weed Barrier: |
Organic weed barriers offer several benefits when it comes to maintaining a weed-free garden. These barriers are typically made from natural materials such as burlap, newspaper, or cardboard, which decompose over time and add nutrients to the soil. By preventing sunlight from reaching the ground, organic weed barriers effectively suppress weed growth without the need for harmful chemicals. They can also help retain moisture in the soil, reduce erosion, and protect plants from temperature fluctuations.
However, it’s important to consider the drawbacks of organic weed barriers as well. While they are effective at controlling weeds initially, they may need to be replaced or supplemented with additional layers over time as they degrade. Organic barriers may also attract pests or rodents if not properly secured.
To install an organic weed barrier, start by clearing the area of existing weeds and debris. Lay the barrier material over the soil, covering it completely and overlapping the edges to prevent weed penetration. Secure the barrier in place using biodegradable stakes or by weighting it down with rocks or soil. Regularly monitor the barrier for signs of wear or damage, and replace or repair as needed. By following these steps, you can effectively install and maintain an organic weed barrier in your garden.
1.2 Synthetic Weed Barrier

Installing a synthetic weed barrier is a great way to minimize weed growth and maintain a tidy garden. Before getting started, it’s important to understand the advantages and disadvantages of synthetic weed barriers. One major advantage is that they are highly effective in preventing weeds from sprouting. Additionally, they are durable and can withstand different weather conditions, making them long-lasting.
However, there are also some disadvantages to consider. Synthetic weed barriers can be more expensive compared to organic alternatives. Additionally, they may not be as environmentally friendly as organic options. It is important to weigh these factors and choose the best option for your specific needs and preferences.
Now let’s dive into the step-by-step guide for installing a synthetic weed barrier correctly:
- Prepare the area by removing any existing weeds or vegetation.
- Measure the dimensions of the area where you want to install the barrier.
- Cut the synthetic weed barrier to the appropriate size.
- Secure the weed barrier by anchoring it with landscape pins or stakes.
- Overlap the edges of the weed barrier to ensure full coverage.
- Finally, cover the weed barrier with a layer of mulch or decorative rocks.
By following these steps, you can effectively install a synthetic weed barrier and enjoy a weed-free garden for years to come.
2. Preparing The Area For Weed Barrier Installation
Clearing the area from debris and existing vegetation is an essential step in preparing the area for weed barrier installation. By removing any debris, such as rocks, sticks, or other objects, you ensure a smooth surface for the weed barrier installation. This helps to prevent any potential damage to the barrier and ensures its effectiveness in controlling weeds.
In addition to clearing the area, properly leveling the surface is also important. Uneven ground can create gaps or spaces where weeds can still grow through the barrier. Leveling the area helps to create an even surface, minimizing the chances of weed growth.
2.1 Soil Preparation

Soil Preparation:
Preparing the soil before installing a weed barrier is essential for effective weed prevention and maintaining a healthy garden. Soil quality plays a crucial role in the success of weed control measures. Here are some methods to improve soil quality that can enhance the effectiveness of the weed barrier:
1. Soil Testing: Conduct a soil test to determine its nutrient levels and pH balance. This will help identify any deficiencies or imbalances that need to be addressed before installing the weed barrier.
2. Organic Matter: Improve soil structure and fertility by adding organic matter, such as compost or well-rotted manure. This will help retain moisture and provide essential nutrients for plant growth while minimizing weed competition.
3. Mulching: Apply a layer of organic mulch, such as wood chips or straw, to the soil surface. This will suppress weed growth, conserve moisture, and improve soil insulation.
4. Soil Aeration: Regularly aerate compacted soil using a garden fork or mechanical aerator. This will improve water infiltration, root penetration, and overall soil health.
5. Crop Rotation: Practice crop rotation to manage weed populations naturally. Different plants have varying weed suppression abilities, and rotating crops can disrupt weed life cycles.
By implementing these soil preparation techniques, you can create a favorable growing environment while minimizing weed growth and maximizing the effectiveness of the weed barrier.
2.2 Measuring And Marking The Area
To accurately install a weed barrier, it is crucial to measure the area and mark the boundaries. By doing so, you can determine the required amount of weed barrier needed for the installation. Start by measuring the length and width of the area using a measuring tape. Take note of these measurements as they will guide you in determining the amount of weed barrier to purchase. Next, mark the boundaries of the area using stakes or spray paint. This will ensure precise installation and prevent overlapping or gaps in the weed barrier. Remember to measure and mark the area accurately to ensure efficient and effective weed barrier installation.
3. Installing Weed Barrier And Securing It In Place

| Layering the weed barrier effectively for maximum weed control: |
| 1. Start by preparing the ground properly. Remove any existing weeds and level the soil to create a smooth surface. |
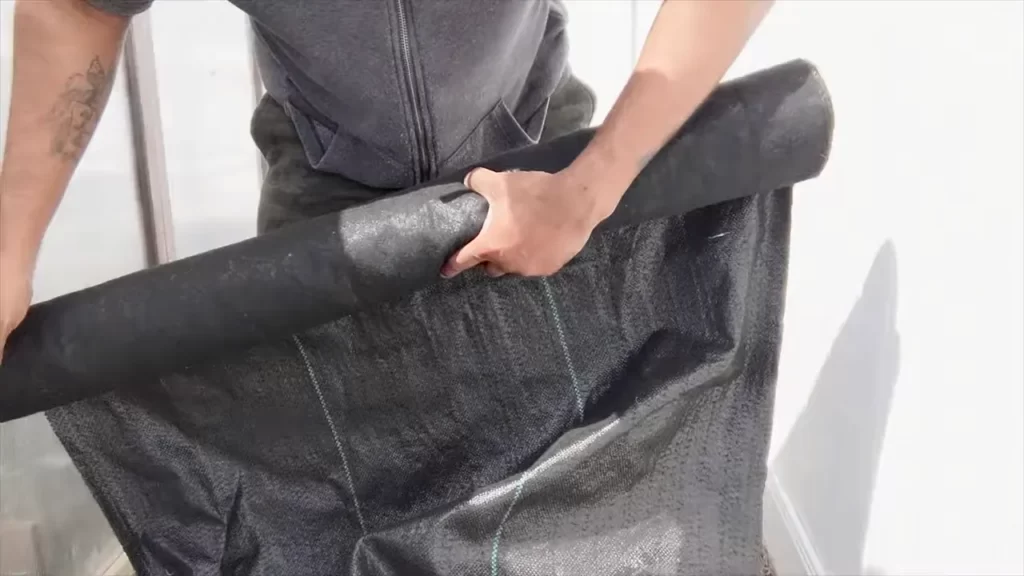
| 2. Unroll the weed barrier fabric across the area you want to cover. Cut it to the desired length and overlap the edges by a few inches. |
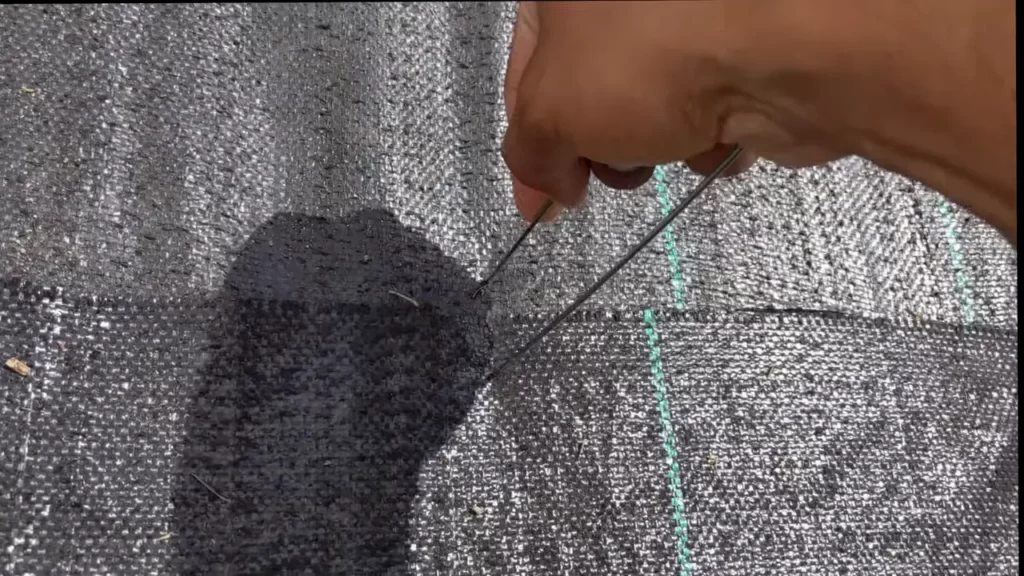
| 3. Secure the fabric in place using landscape staples or anchor pins. Space them out every few feet along the edges and overlap areas. |
| 4. Avoid leaving any gaps or loose areas where weeds can penetrate. Use additional pins to anchor the fabric down if needed. |
| Securing the weed barrier to prevent shifting or uplift: |
| 1. After securing the fabric, cover it with a layer of mulch or gravel. This will help hold it in place and provide a finished look. |
| 2. Alternatively, you can create raised beds or borders around the edges of the fabric using timbers or stones. |
| 3. Regularly inspect the area and reposition or add more pins to ensure the weed barrier stays in place, especially in high wind or heavy rain areas. |
3.1 Cutting And Placing The Weed Barrier
When installing a weed barrier, it is important to cut the material to fit the desired area properly. This can be done by following a few techniques:
- Measure the designated space accurately and mark the dimensions on the weed barrier.
- Use sharp scissors or a utility knife to cut along the marked lines. Take your time and ensure clean cuts.
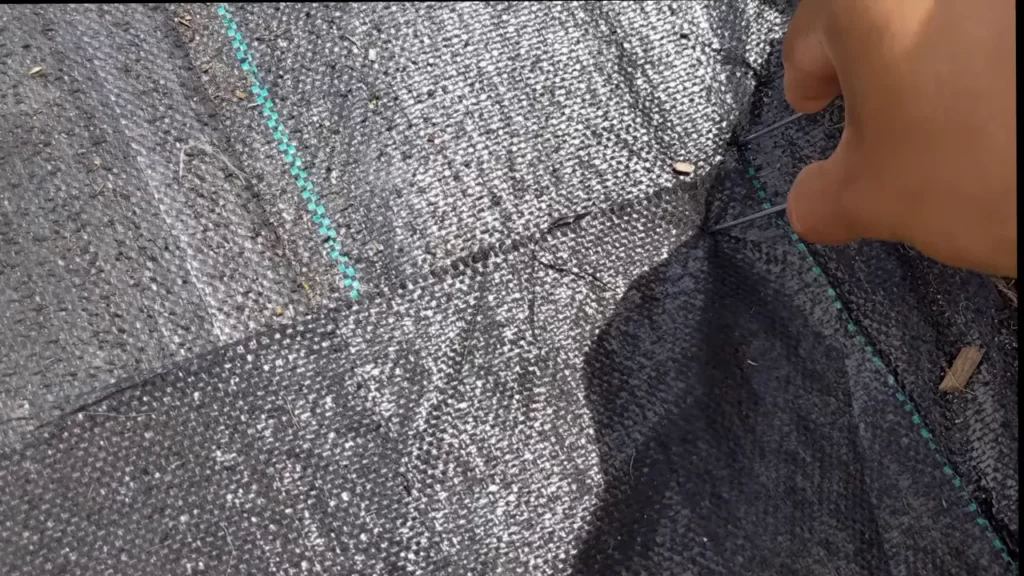
- When placing the weed barrier, make sure it covers the entire area without any gaps. Overlap the edges by a few inches to prevent weed growth in the seams.
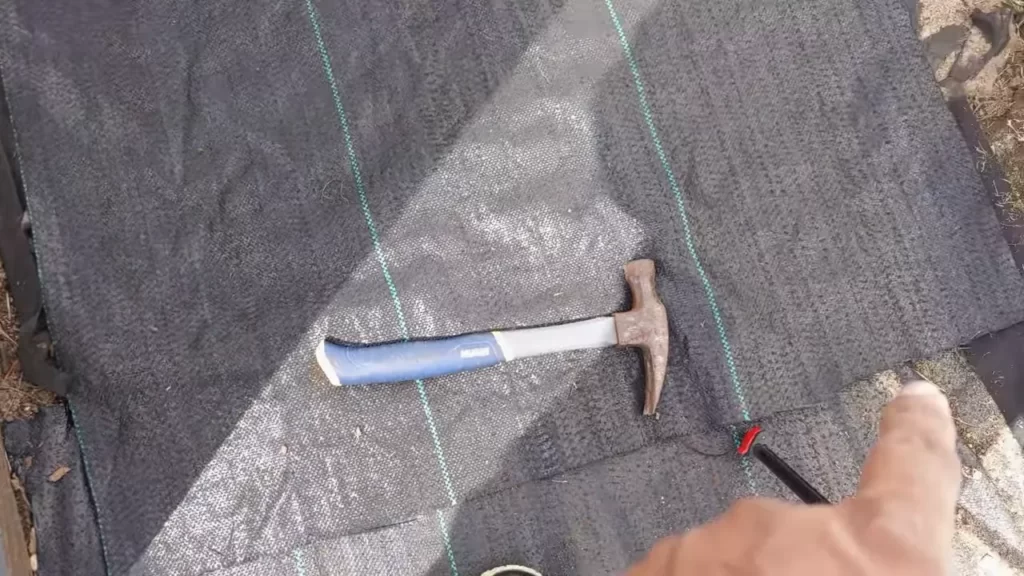
- Secure the weed barrier in place using landscape staples or other suitable fasteners. This will prevent it from shifting or lifting due to wind or other environmental factors.
By cutting and placing the weed barrier correctly, you will create an effective barrier against weed growth, allowing your garden or landscape to thrive without pesky weeds.
3.2 Securing The Weed Barrier

Securing the weed barrier is a crucial step to ensure its effectiveness in preventing unwanted weed growth. There are different methods available to choose from, depending on your specific requirements.
One method is using landscape staples or fabric pins to secure the weed barrier to the ground. These are U-shaped metal or plastic pins that are pushed through the barrier and into the soil, providing a firm grip.
Another option is using rocks or gravel to hold down the edges of the weed barrier. This method is especially useful when dealing with slopes or areas that are prone to erosion. The weight of the rocks or gravel helps to keep the barrier in place.
If you prefer a more aesthetic solution, you can use edging materials such as plastic or metal strips. These can be placed along the edges of the barrier to provide a neat and tidy appearance while also securing it in place.
Regardless of the method you choose, it is important to ensure a tight grip to keep the weed barrier from shifting or lifting. This will ensure its long-term effectiveness in suppressing weed growth and maintaining your landscape.
4. Proper Maintenance And Upkeep Of The Weed Barrier
Regular inspections and upkeep are crucial for maintaining the effectiveness of the weed barrier. By periodically checking the barrier, you can identify any potential issues or damages and take prompt action to address them. Inspect the barrier for any signs of wear and tear, such as tears, holes, or loose edges. Repair any damaged areas as soon as possible to prevent weeds from infiltrating the barrier. In addition, remove any debris or fallen leaves that may accumulate on the barrier surface. This will help to maintain the barrier’s integrity and prevent weed growth. Proper maintenance of the weed barrier also involves clearing any vegetation that may grow near the edges or seams of the barrier, as these areas are prone to weed breakthrough. By consistently monitoring and tending to the weed barrier, you can ensure its long-term effectiveness in preventing weed growth, giving you a low-maintenance garden.
4.1 Weed Control And Management
Implementing effective weed control strategies alongside the weed barrier is crucial to ensure its optimal performance and longevity. One such strategy is to identify and remove any weeds that manage to penetrate the barrier. Regularly inspect the area for any signs of weed growth and promptly address them. Thoroughly uproot the weeds, ensuring that their roots are completely removed. Dispose of the weeds properly to prevent reinfestation.
In addition to manual weed removal, consider incorporating a pre-emergent herbicide treatment to further suppress weed growth. Consult with a professional to select the most appropriate herbicide and apply it according to the manufacturer’s instructions. This will help to prevent the emergence of new weeds, complementing the weed barrier’s effectiveness.
Remember that proper weed control and management should be an ongoing process. Regularly monitor the area, implement necessary weed control measures, and adjust your strategy as needed. By proactively addressing weed growth and maintaining the integrity of the weed barrier, you can enjoy a weed-free landscape and protect your plants from unwanted competition.
4.2 Inspecting And Repairing The Weed Barrier
Inspecting and repairing the weed barrier is a crucial step in maintaining its effectiveness. Regular inspections should be carried out to identify any damages or weaknesses. These inspections ensure that the barrier continues to function properly, preventing weeds from infiltrating your garden or landscape.
If any damages or weaknesses are found during the inspection, prompt repair or replacement of the affected sections is necessary. By addressing these issues, you can ensure that the weed barrier remains intact and does its job effectively. This involves carefully removing the damaged section, preparing the area, and installing a new piece of weed barrier.
Periodic inspections and repairs are essential to prolong the lifespan of the weed barrier and maintain its functionality. By investing time and effort into this task, you can enjoy a weed-free environment and save yourself from the hassle of dealing with unwanted plants.
Frequently Asked Questions Of How To Install Weed Barrier
How Do You Install Weed Barriers?
To install weed barriers, follow these steps: 1. Prepare the area by removing weeds and debris. 2. Measure and cut the barrier to fit the desired area. 3. Lay the barrier on the ground, ensuring it overlaps at the seams.
4. Secure the barrier with landscape fabric pins or staples. 5. Cover the barrier with mulch or rocks for added stability and aesthetic appeal.
Which Side Of The Weed Barrier Do You Put?
The weed barrier should be placed with the fabric side facing up. This helps to prevent weeds from growing by blocking their access to sunlight.
Do You Put Soil Down Before Weed Barrier?
Yes, it is recommended to put soil down before installing a weed barrier. The soil provides a stable base for the barrier and helps to prevent weeds from growing through it.
Conclusion
Installing a weed barrier is an effective way to prevent unwanted weed growth and maintain a neat and organized garden. By following the step-by-step guide mentioned in this blog post, you can easily install a weed barrier without any hassle.
Remember to choose the right type of weed barrier and properly prepare the soil before installation to ensure optimal results. Happy gardening!
