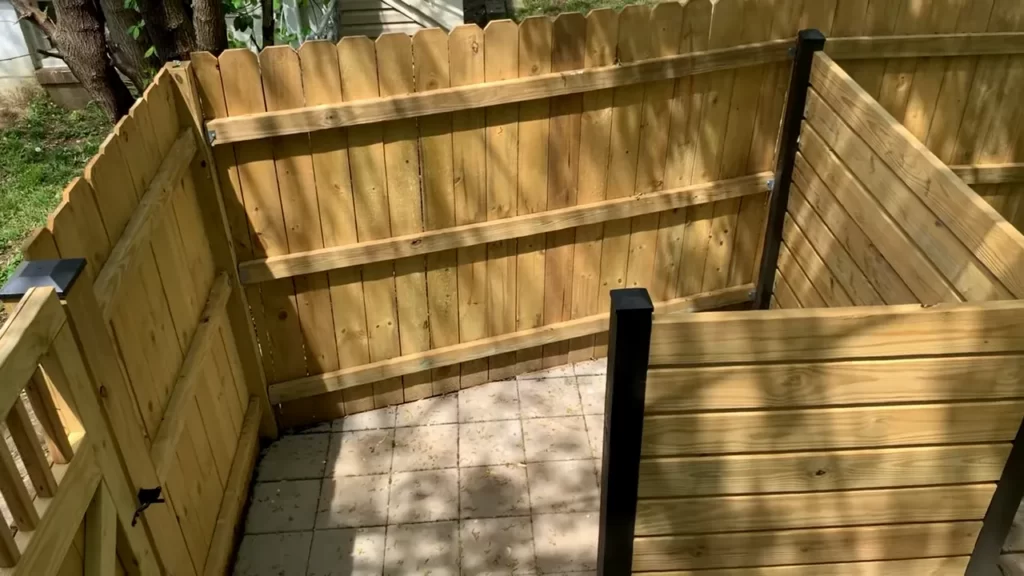
o install your own fence, measure and mark the desired area, dig post holes, set the posts, attach the rails, and hang the fence panels. Installing your own fence is a cost-effective way to enhance the privacy, security, and aesthetics of your property.
Whether you are a DIY enthusiast or looking to save money on installation fees, this step-by-step guide will help you successfully complete the project. By measuring and marking the desired area, digging the post holes, setting the posts, attaching the rails, and hanging the fence panels, you can create a sturdy and attractive fence that suits your needs.
With careful planning and attention to detail, you can achieve a professional-looking fence that enhances the value and curb appeal of your home. Read on for a detailed guide on how to install your own fence.

Planning Your Fence Installation
html
Determine your property boundaries and obtain necessary permits: Before installing your fence, it is crucial to identify your property boundaries accurately. This will help you avoid disputes with neighbors in the future. Additionally, check with your local municipality or homeowner’s association to confirm if any permits are required for fence installation. Adhering to permit regulations is essential to avoid costly fines later on.
Consider your budget and desired fence material: Determine how much you are willing to spend on your fence installation project. By establishing a budget, you can make better decisions regarding the type and quality of materials to use. Whether you opt for wood, vinyl, metal, or another material, consider the durability, maintenance requirements, and aesthetic appeal of each option.
Measure and mark out the fence line: Measure the perimeter where you intend to install the fence. Use stakes and string or a measuring tape to mark the fence line accurately. This step is crucial to ensure you purchase the correct amount of materials and to plan the layout of your fence properly.
Gathering Materials And Tools
Gathering Materials and Tools
Purchase the necessary materials, such as fence panels, posts, and concrete. Prepare the tools needed for the installation, including a post hole digger, level, and saw. Plan ahead and measure the area where the fence will be installed to determine how much material will be needed. Take into consideration the type of fence you want and the purpose it will serve, such as privacy or keeping pets contained. Choose fence panels and posts that are durable and suitable for your specific needs. Once you have gathered all the necessary materials and tools, you are ready to begin the installation process.
Installing Fence Posts

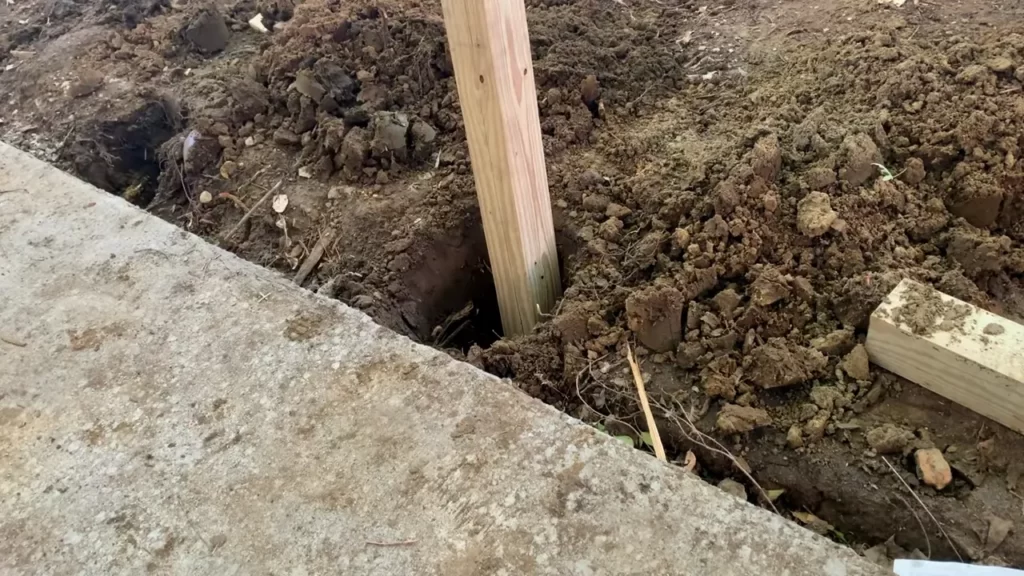
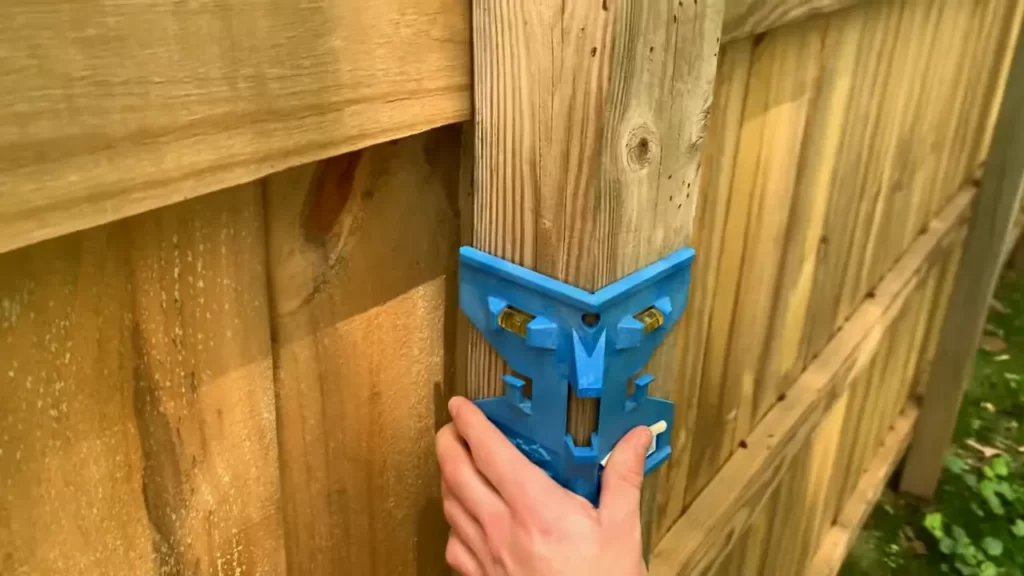
Installing a fence can be a DIY project that adds value and security to your property. When installing fence posts, it is important to dig the post holes at regular intervals along the fence line. This helps ensure that the fence is supported properly and remains sturdy. Insert and secure the fence posts using concrete or gravel, depending on your preference and soil conditions. Concrete provides a strong foundation, while gravel allows for better drainage. Whichever method you choose, make sure that the posts are level and properly aligned to ensure a straight and even fence. Taking the time to properly install your fence posts will result in a durable and long-lasting fence that enhances the look and functionality of your property.
Attaching Fence Panels
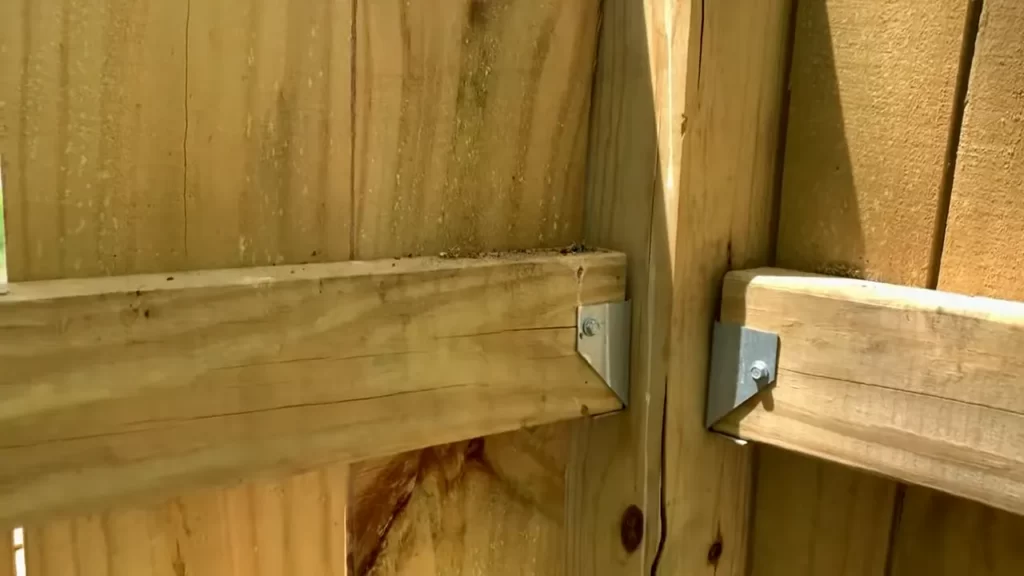
In order to attach fence panels to the posts, there are two common options: using brackets or nails. Whichever method you choose, it is important to ensure that the panels are level and properly aligned. This will not only enhance the overall appearance of the fence but also contribute to its durability.
Start by positioning the panel against the first post, making sure that it is flush against the post and is plumb. Secure the panel by attaching the brackets or nailing it into place. Repeat this process for the remaining panels, checking for levelness and alignment each time.
If you notice any loose panels, it is crucial to adjust and secure them immediately. Loose panels not only compromise the fence’s stability but also pose a safety risk. Use the appropriate tools to tighten any loose brackets or nails, ensuring that the panels are securely fastened to the posts. A sturdy fence not only serves its purpose but also adds aesthetic appeal to your property!
Installing Gates And Hardware

Determine the location and size of gates for access points: Before installing gates and hardware for your fence, it is crucial to determine the appropriate location and size of the gates. Consider the purpose of the gate, whether it is for humans or vehicles, and measure the space accordingly. This step ensures that the gate fits perfectly, allowing for easy access.
Install gate posts and attach hinges and latches: Once you have determined the location and size of the gate, it is time to install gate posts. Dig holes for the posts, ensuring they are deep enough for stability. Place the posts securely and level them. Next, attach the hinges to the gate posts. Make sure the hinges are aligned properly and securely fastened. Attach the latches to the gate and the adjacent fence post, ensuring they are functioning correctly.
Test the gate functionality and make any necessary adjustments: After installing the gate and hardware, it is essential to test the gate’s functionality. Open and close the gate several times to check its smooth operation. Test the latch and hinges to ensure they are working properly. In case of any issues, make the necessary adjustments, such as tightening screws or realigning the gate. This step guarantees that your gate functions effectively and provides the desired security.
Adding Finishing Touches
After successfully installing your own fence, it’s time to add the finishing touches to ensure it looks aesthetically pleasing and lasts for years to come. One way to protect your fence from weather elements is to apply a protective finish or paint. This will not only enhance its durability but also add an appealing touch to your outdoor space.

Another option to consider is installing post caps or decorative elements. These can add a decorative element to your fence and help to prevent moisture from penetrating the wood. Choose caps or elements that match your overall style and preference to create a cohesive look.
Lastly, don’t forget to remove any excess debris and clean up the installation area. This will ensure a neat and tidy appearance and also prevent any potential hazards.
Ensuring Proper Maintenance
Ensuring Proper Maintenance
Regularly inspect the fence for damage or wear. Look for any broken or loose boards, damaged hardware, or rusted nails. Perform necessary repairs to maintain the stability and integrity of the fence. Reapply finish as needed to protect the wood from weathering and extend its lifespan. Keep the surrounding area clear to prevent damage. Trim any overgrown vegetation that could potentially push against the fence or cause it to weaken over time. Remove debris, such as fallen branches or leaves, that could accumulate and retain moisture. By regularly inspecting, repairing, and keeping the surrounding area clear, you can ensure that your fence remains in good condition and continues to serve its purpose effectively.
Frequently Asked Questions On How To Install Your Own Fence
How Deep Should Fence Post Holes Be?
The depth of your fence post holes should be at least one-third of the total height of the fence.
What Are The Best Materials For A Fence?
The best materials for a fence depend on your specific needs, but popular options include wood, vinyl, and metal.
How Far Apart Should Fence Posts Be?
Fence posts should be spaced about 6 to 8 feet apart to provide enough stability and support for your fence.
Conclusion
Installing your own fence may seem daunting at first, but with the right tools and knowledge, it can be a rewarding DIY project. Whether you’re looking to increase privacy, enhance security, or simply enhance your home’s curb appeal, following these steps will help you successfully install your own fence.
From measuring and planning to digging holes and securing your fence panels, this guide has provided you with all the essential steps to get the job done. So, don’t hesitate! Roll up your sleeves and start building the fence of your dreams today.
